Page 1 of 3 123 LastLast
Results 1 to 10 of 27

Thread: Strut Spacer Install

  1. #1
    Lifetime Member Getting Dirty Matt's Avatar
    Join Date
    Feb 2011
    Posts
    7,771
    Rep Power
    22

    Strut Spacer Install

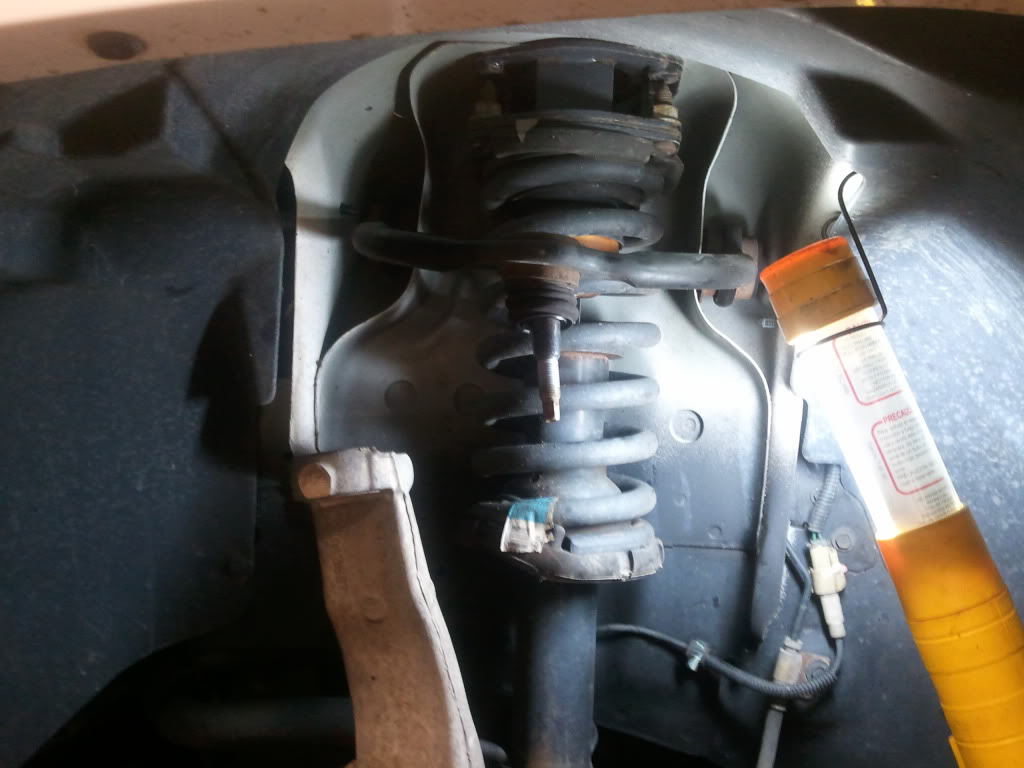
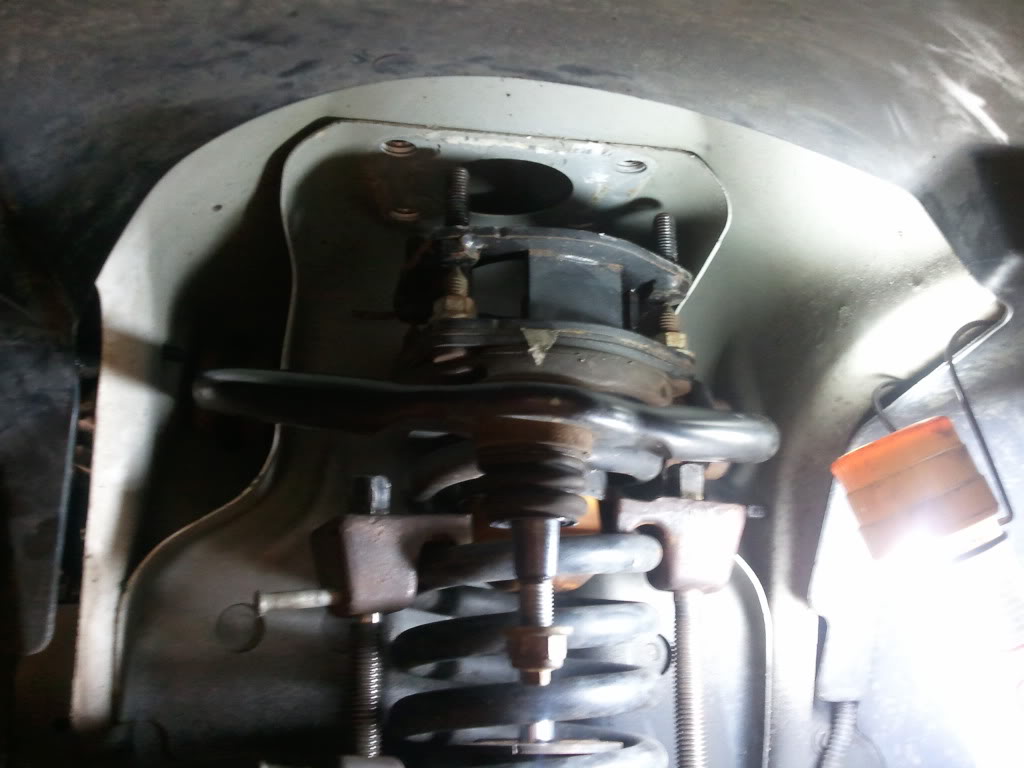
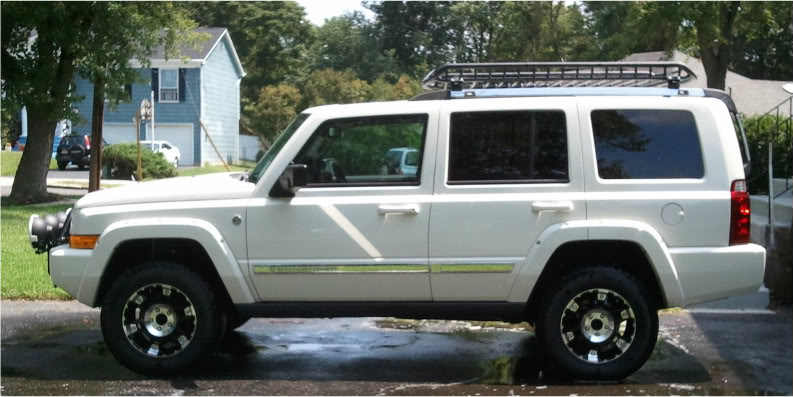
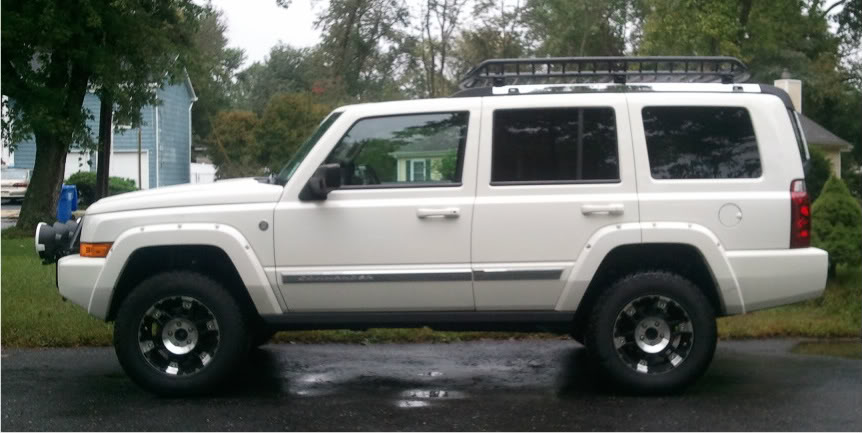
    I threw on my 1/4" thick (1/2" lift) strut spacers on today.

    NOTE: I installed these spacers on top of my RC spacer lift as a TEMPORARY solution to a sagging front end caused by added weight from accessories. I do not condone running extra spacers, especially without limiting straps. IF you do this, make sure you have plenty of slack in your ABS and brake lines at full suspension drop or you will break them.

    All of the pictures can be found HERE

    It's a horribly rainy day here... so I did this install one side at a time and only needed a floor jack and 1 jack stand.

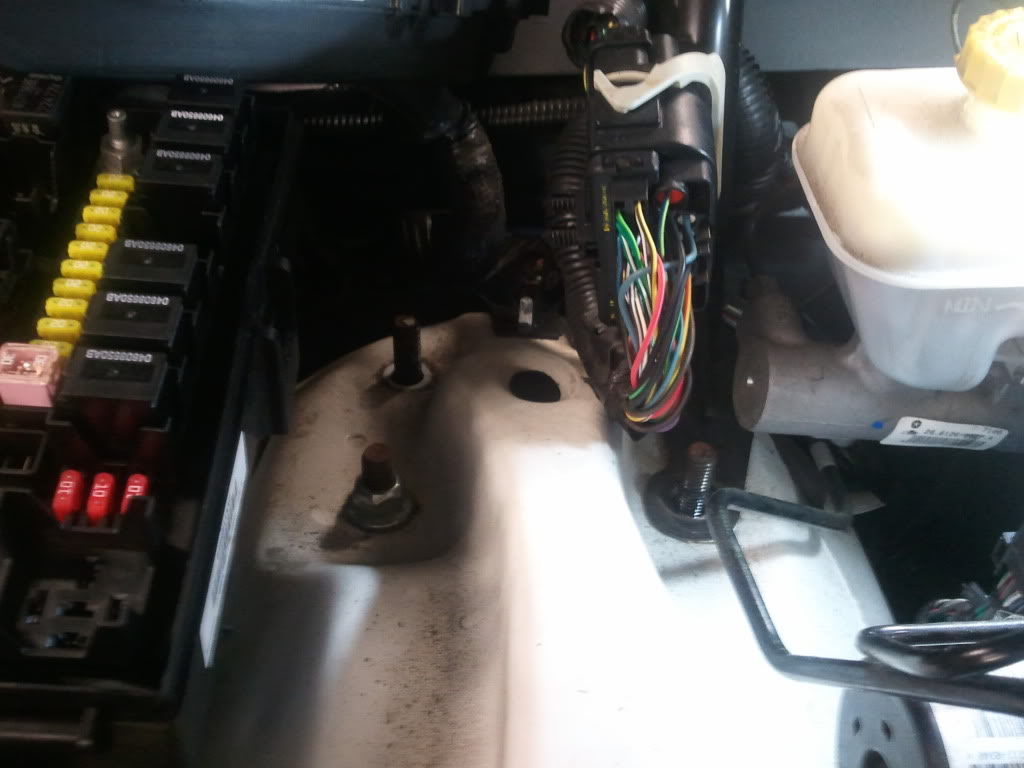
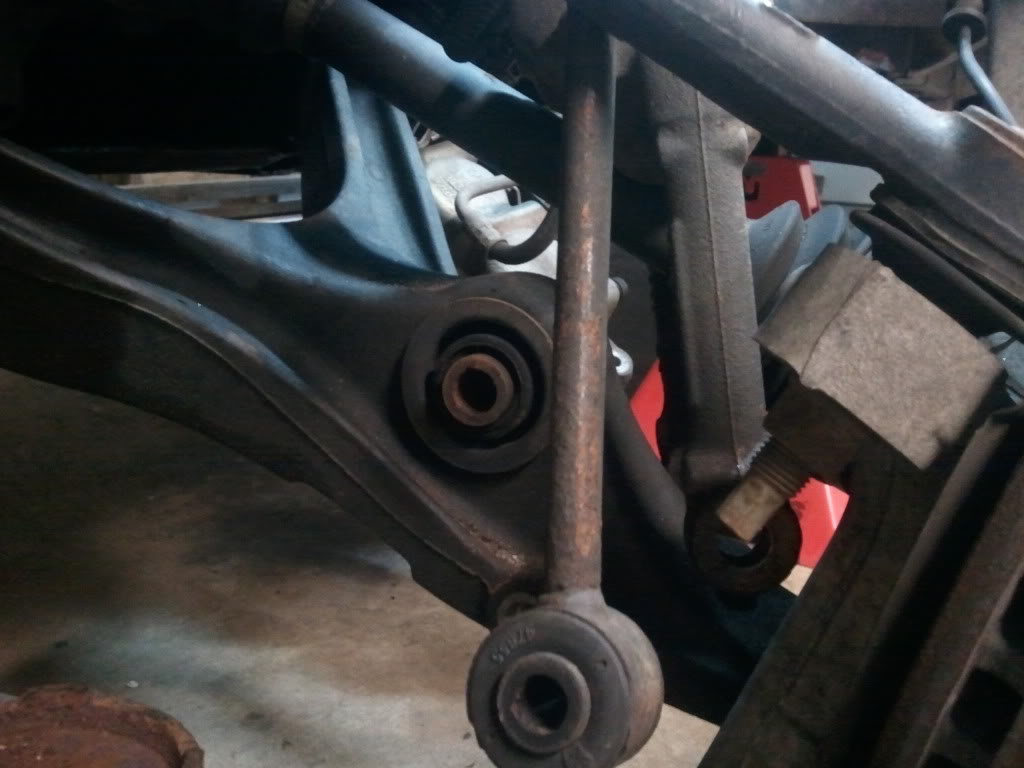
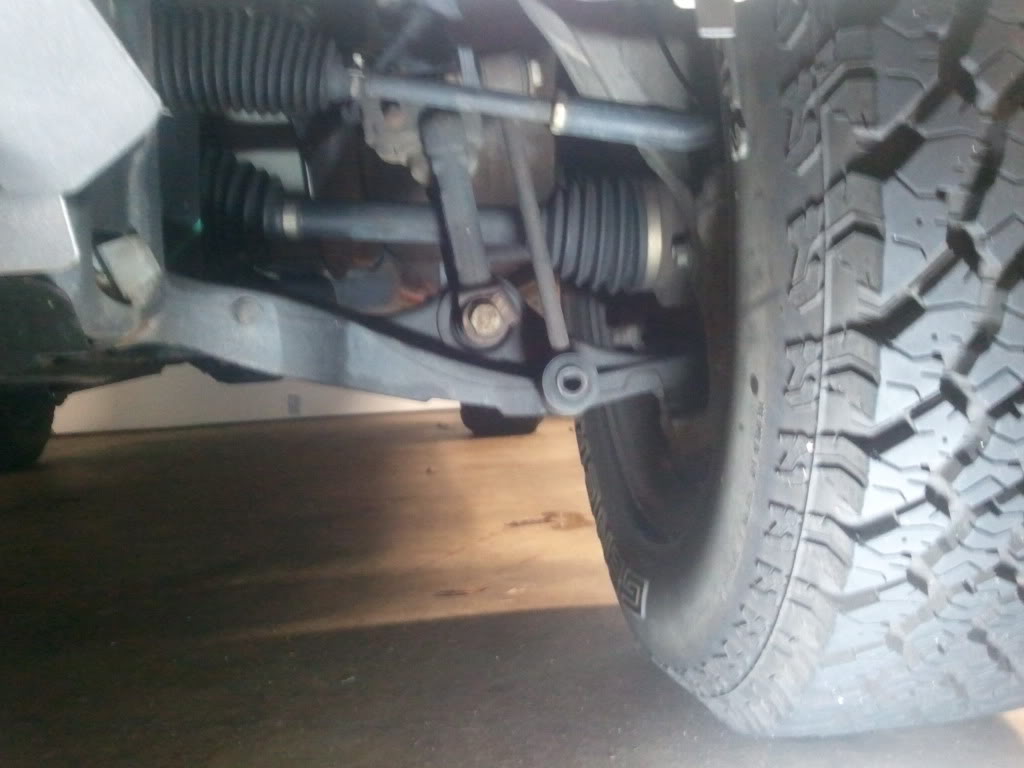
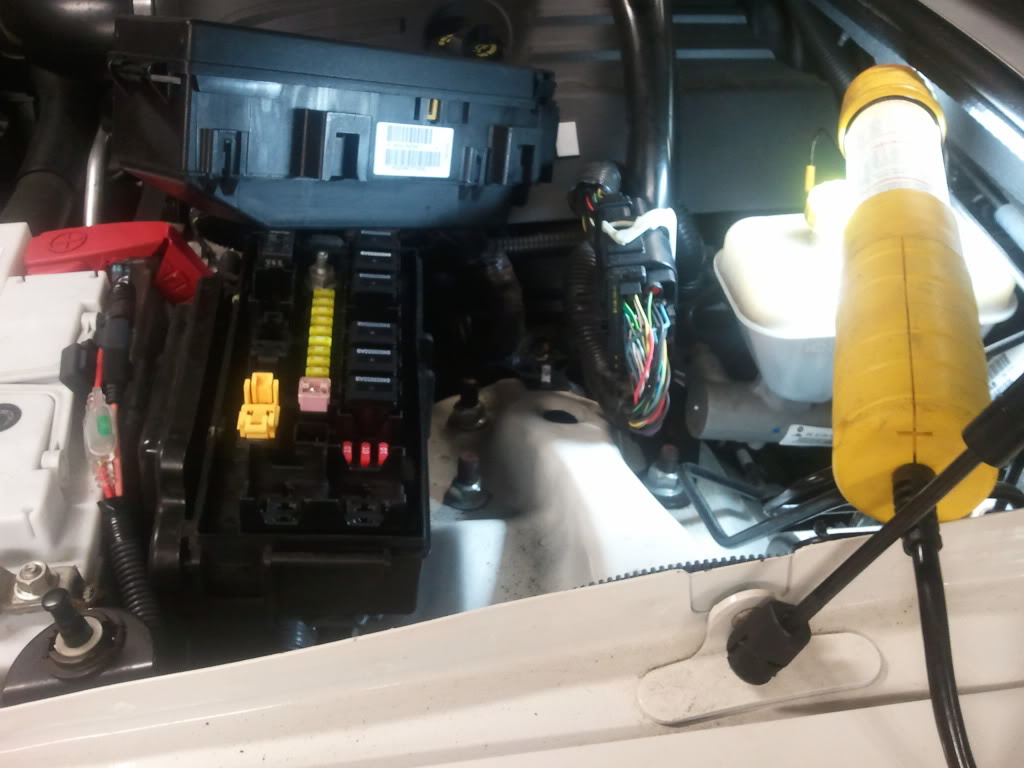
    First things first, while both tires are on the ground, remove the sway bar bolts:


    One of the most annoying parts of this job is getting to the driver side nuts... take a bit of patience:


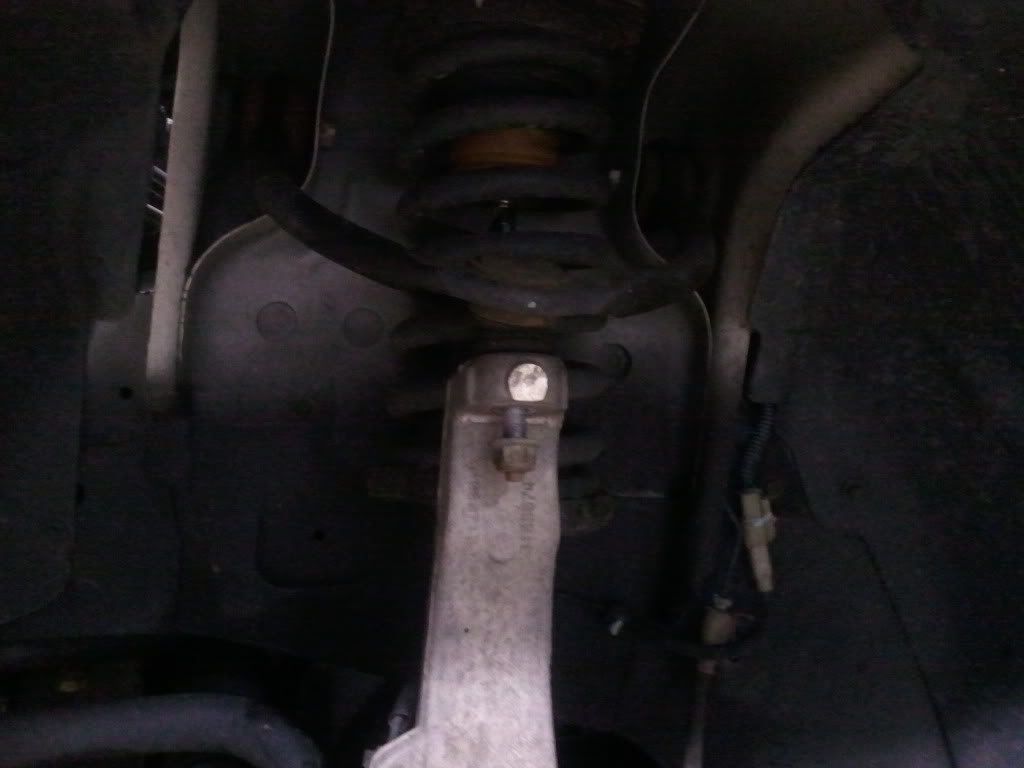
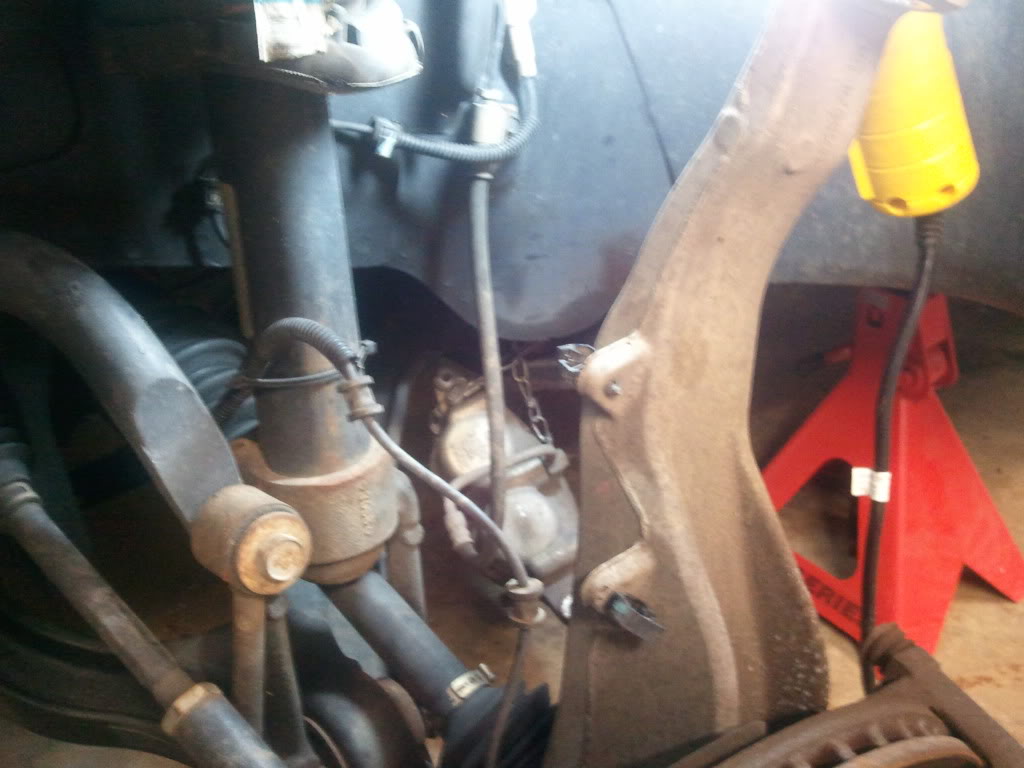
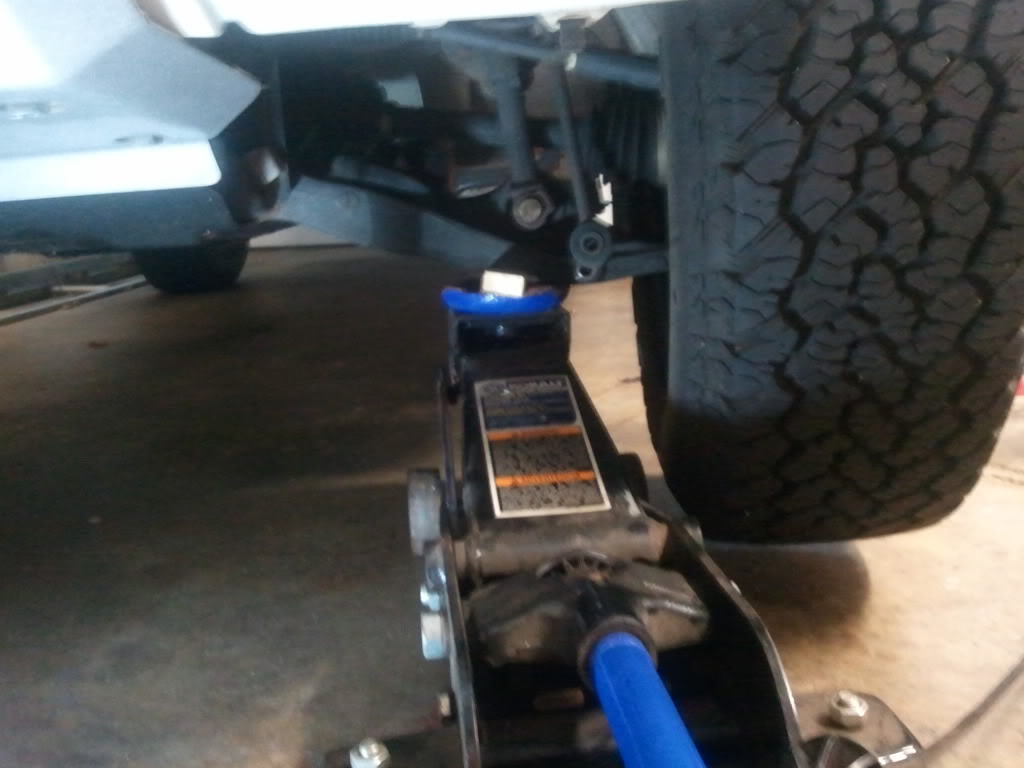
    Then use the jack to lift the front end via the LCA, place a jack stand under the body, remove the tire, and let the suspension drop:


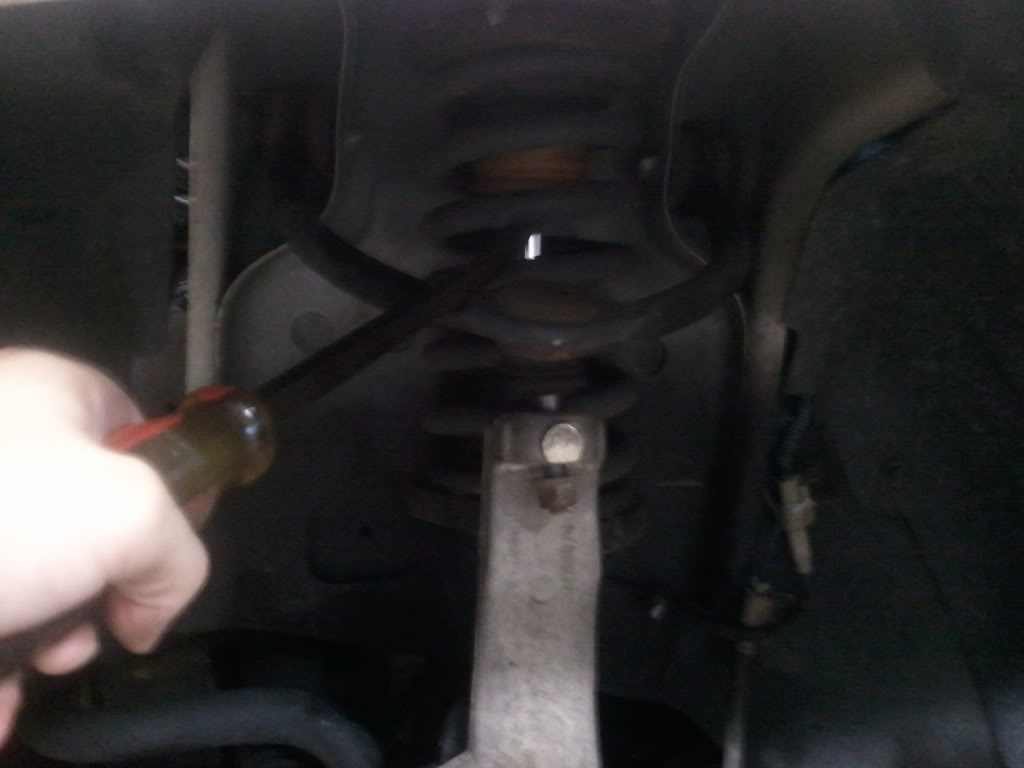
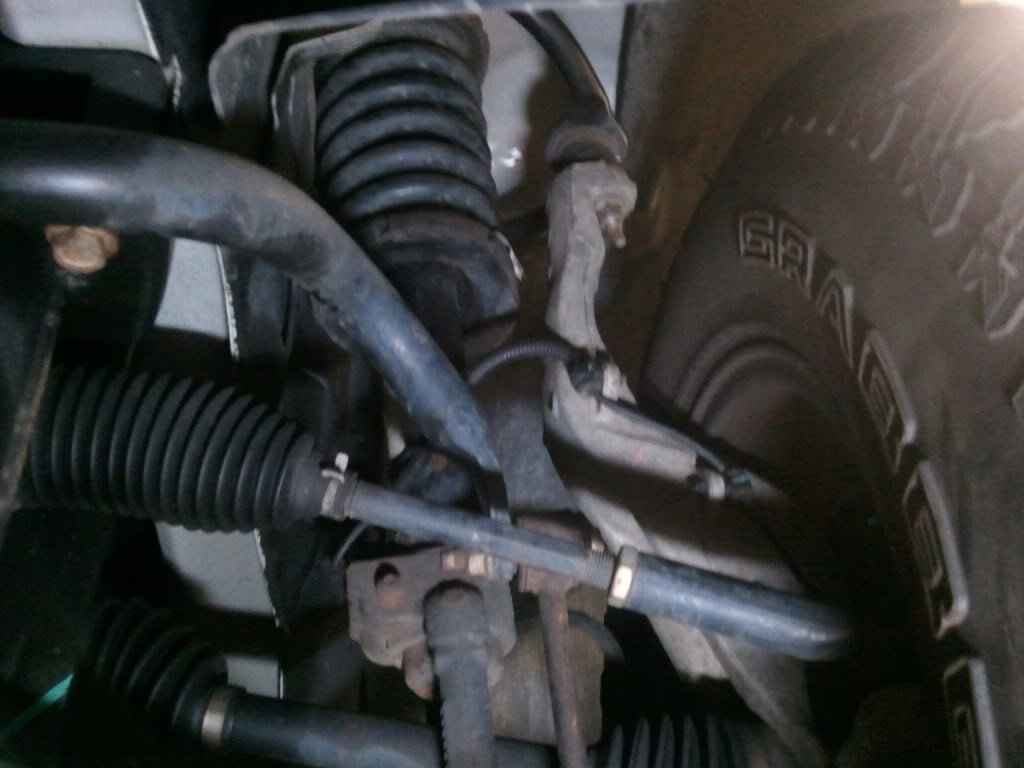
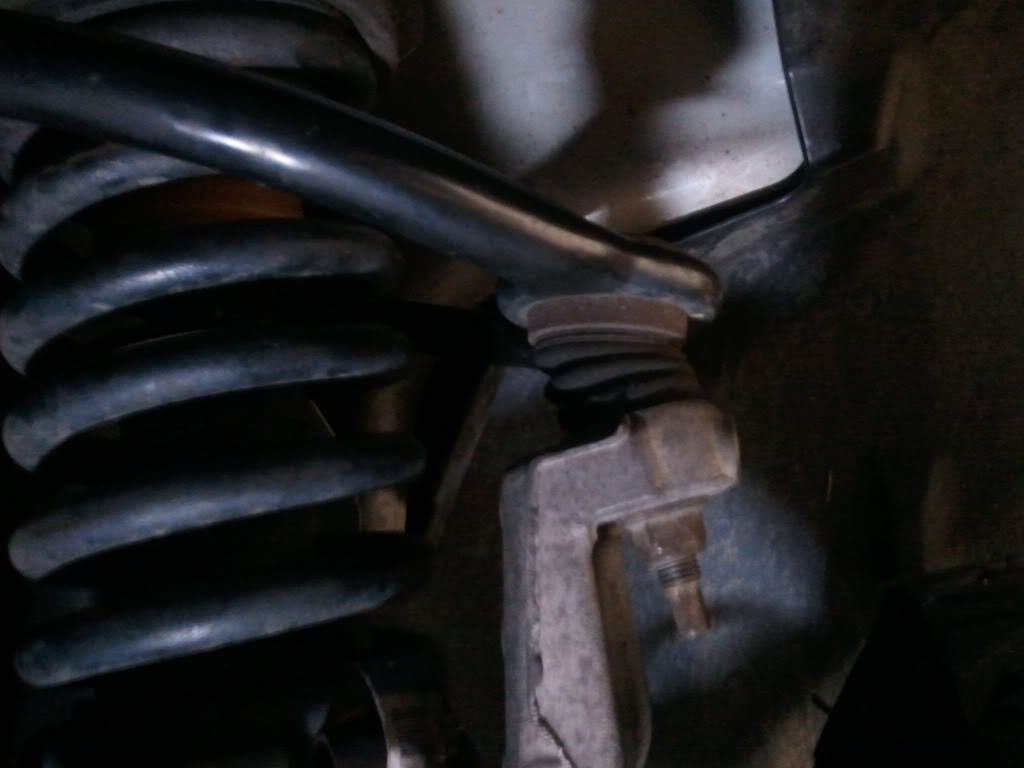
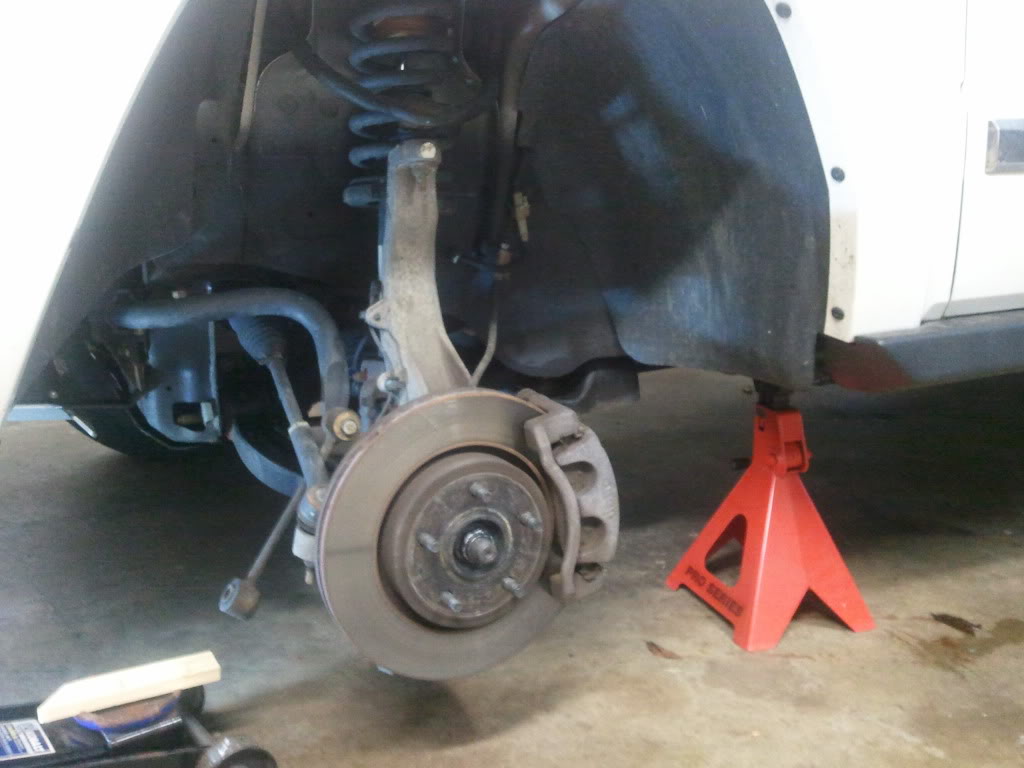
    Make sure you disconnect the ABS lines from their holsters and take the caliper off. I chained the caliper to the LCA mount.

    Last edited by Matt; 10-04-2011 at 06:44 PM.

  2. #2
    Lifetime Member Getting Dirty Matt's Avatar
    Join Date
    Feb 2011
    Posts
    7,771
    Rep Power
    22
    Support the LCA with a floor jack and remove the strut mounting nuts.


    With the LCA still suppored with the floor jack so that the knuckle is not hitting the strut, remove the ball joint nut. Quick tip, COMPLETELY remove the nut, this cleans the threads. THEN reinstall the nut just a few turns, and hit the flat spot of the knuckle with a hammer (dont be shy).


    Then just use a pry bar to take the load off the nut, take the nut off, and the UCA will rise up out of the way.


    Then let the LCA Drop.

    FOR THOSE WITH SPACERS: Yup... you still have a lot of work to do...

    FOR THOSE WITH STOCK VEHICLES: At this time, you can try to put the spacer on the strut. If theres a second person helping you they may be able to push down on the spindle to get enough clearance to put the plate on, then just jack the suspension back up in place, then put everything back together. If you're doing this by yourself you may need to try spring compressors as shown below to get adequate clearance with minimal exertion (updated after installing spacers on Sean's vehicle in Maryland)


    For us guys with spacers, or doing this solo on stock or OME suspensions ... you'll need to install some spring compressors. I put the compressors on with the suspension at full drop, then use the floor jack on the LCA to compress the suspension incrementally as i tighten the spring compressors. This makes it 1000% easier since you can simply tighten them by hand since the floor jack is using the vehicle weight to compress the spring. Once all of the weight is taken up, then use a wrench to tighten the spring compressors a few extra turns.

    Then you can drop the suspension back down. If you have 2" spacers already installed like me you'll probably have the same issue i had, even with my axle nut removed the studs were not clear of the body, so i could not get the spacer in. So I had to remove the lower fork bolt. NOTE!!! Do NOT remove the lower fork bolt if there is not some clearance between the top of the strut mount and the unibody!! Remember, you will need to get that bolt to line back up. If there is not ~1/4" of clearance, then tighten the spring compressors up some more!!..... obviously you dont need to remove the lower fork bolt if you can get the spacers in, so make sure you try first.


    It was easy at that point... install the spacer:


    Here's an important step. Snug up all of the strut mount nuts. This will raise the strut assembly up as far as possible. With this done, and because I made sure there was almost 1/4" of clearance before removing the fork bolt, I was able to line up the lower fork bolt with relative ease. With body weight and a pry bar it's easy to flex things into place (and im a measly 170 lbs). Also, i coated that bolt with a ton of antisieze!


    At that point... you're ready for putting everything back together.

    I'm not going to give you a reverse step-by-step. If you're doing this job, you should be able to figure that out!!

    A few tips:

    1) Do your FINAL torque on the strut bolts after you put the vehicle weight back on it.

    2) Use a pry bar to push down on the UCA while you're tightening the ball joint nut... this will prevent it from spinning.

    3) Quadruple check all of your bolts... make sure you tightened everything up!

    4) Primarily for those with lift spacers installed, make sure no lines are stretching at full drop.

    5) As always, have your alignment checked after driving it around for a day or so. The toe will need to be adjusted.
    Last edited by Matt; 04-30-2012 at 07:16 AM.

  3. #3
    Lifetime Member Getting Dirty Matt's Avatar
    Join Date
    Feb 2011
    Posts
    7,771
    Rep Power
    22
    Here are some angle pics:


    And a BEFORE/AFTER:


    ^^ yeah... it's actually hard to tell the difference in those pics. But standing next to it in the garage it was a night/day difference
    Last edited by Matt; 09-23-2011 at 12:57 PM.

  4. #4
    Senior Member Getting Dirty CmmdrDan's Avatar
    Join Date
    Mar 2011
    Posts
    782
    Rep Power
    14
    Keep me in mind for those when you slap the new stuff on. Even more interested now that I have a job

  5. #5
    Lifetime Member Getting Dirty Matt's Avatar
    Join Date
    Feb 2011
    Posts
    7,771
    Rep Power
    22
    Will do. But i probably won't know before the 8th. If i even have the OME on by then i'll want to drive around for a while to see how those springs settle before getting rid of the spacer.

  6. #6
    Senior Member Getting Dirty ItsMeKO3's Avatar
    Join Date
    Sep 2011
    Location
    New York
    Posts
    257
    Rep Power
    13
    Awesome write up. I'll be doing this tomorrow.
    2005 WK - MY GARAGE

  7. #7
    Senior Member Getting Dirty CmmdrDan's Avatar
    Join Date
    Mar 2011
    Posts
    782
    Rep Power
    14
    Matt I completely understand. When you are good and ready..if you decide to sell...Leave me on your short list.

  8. #8
    Senior Member Getting Dirty superacerc's Avatar
    Join Date
    Sep 2010
    Posts
    801
    Rep Power
    14
    Did mine last night thanks to the handy write up. Took about 2 hours (and i recoated a squeaky brake with brake grease while i had the caliper off). Since i have longer springs (OME) I ended up removing the entire strut. I didn't use any spring compressors.

    As far as removing stuff in the engine bay: (4.7L) The passenger side you have to take a bolt off the coolant resevoir (right next to engine) and a little screw on paper thin nut right next to breather side then it will slide toward the engine and pull it up and out of the way. I didn't remove any coolant lines. I just twisted it around and sat it down on the front of the engine. This allowed quick access to the 4 strut top bolts.

    The driver's side is more intimidating but not hard. The two fuse boxes just have tabs on them that you can use a flat head screwdriver to push in and pull up the fuse box. I didn't unhook any wires or anything, just twisted them up and out of the way. The plate that they mount to has 3 small nuts holding it on. I also didn't remove this cover just pushed it up while i accessed the 4 strut top bolts. It was slightly inconvienent but easy enough.

    Hope that can clarify the engine removal stuff for future DIYers
    2007 Commander 4.7L, QTII, OEM Towing Option, tow hooks, 2"OME + 1/4" rusty's leveling spacer, Bilstein 5150 Rear Shks, Rear sway bar removed, 4xguard front skid, Offroad Unlimited Defender Roof Rack, Hella 500FF lights, 265/70/R17 BFG KM2 M/Ts 1.5" Rough Country Wheel Spacers
    http://www.theultimatejeep.com/showt...acerc-s-Garage

  9. #9
    Lifetime Member Getting Dirty Matt's Avatar
    Join Date
    Feb 2011
    Posts
    7,771
    Rep Power
    22
    good info... I guess I jumped over a few steps in my write up.

    For installing the spacer with the OME, were you unable to slide the spacer in there with the suspension fully dropped? (so you removed the lower fork bolt as well)

  10. #10
    Senior Member Getting Dirty superacerc's Avatar
    Join Date
    Sep 2010
    Posts
    801
    Rep Power
    14
    Quote Originally Posted by Matt View Post
    good info... I guess I jumped over a few steps in my write up.

    For installing the spacer with the OME, were you unable to slide the spacer in there with the suspension fully dropped? (so you removed the lower fork bolt as well)
    Exactly. The top of the bolts wouldn't come down far enough to put in the spacer. On the bright side now know how to remove my entire struts should I ever buy new ones.
    2007 Commander 4.7L, QTII, OEM Towing Option, tow hooks, 2"OME + 1/4" rusty's leveling spacer, Bilstein 5150 Rear Shks, Rear sway bar removed, 4xguard front skid, Offroad Unlimited Defender Roof Rack, Hella 500FF lights, 265/70/R17 BFG KM2 M/Ts 1.5" Rough Country Wheel Spacers
    http://www.theultimatejeep.com/showt...acerc-s-Garage

Page 1 of 3 123 LastLast

Thread Information

Users Browsing this Thread

There are currently 1 users browsing this thread. (0 members and 1 guests)

Similar Threads

  1. Wheel Spacer Failure (Fact or Fiction)
    By AJeepZJ in forum Wheels & Tires
    Replies: 20
    Last Post: 08-18-2011, 02:00 AM
  2. rough country 2" or is it just a spacer for the front end?
    By my4thjeep in forum Suspension & Lifts
    Replies: 21
    Last Post: 08-17-2011, 03:22 PM
  3. Velocity Off Road Inc. 2.5" Front Billet Spacer Lift
    By Knappster in forum Product Review
    Replies: 5
    Last Post: 11-27-2010, 01:19 PM
  4. Auxillary Gas tank install
    By HueyPilotVN in forum Technical Articles & How To's
    Replies: 18
    Last Post: 09-01-2010, 06:43 PM
  5. Wheel Spacer Dilema
    By strokeZ in forum Wheels & Tires
    Replies: 1
    Last Post: 08-24-2010, 12:23 PM

Posting Permissions

  • You may not post new threads
  • You may not post replies
  • You may not post attachments
  • You may not edit your posts
  •