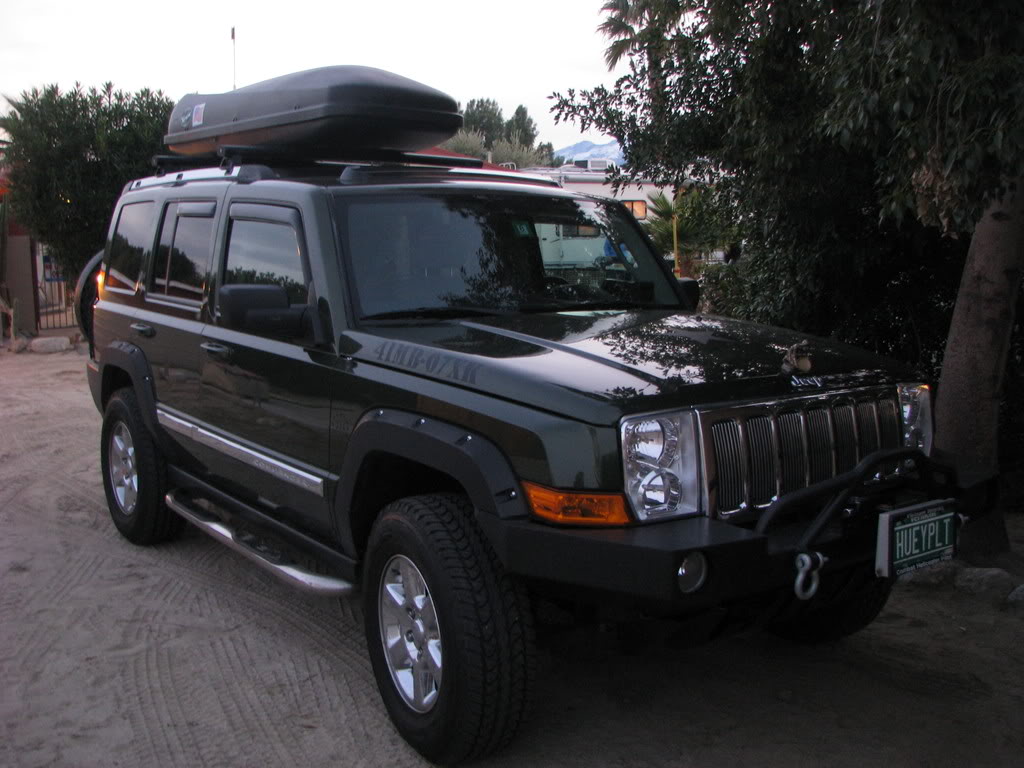
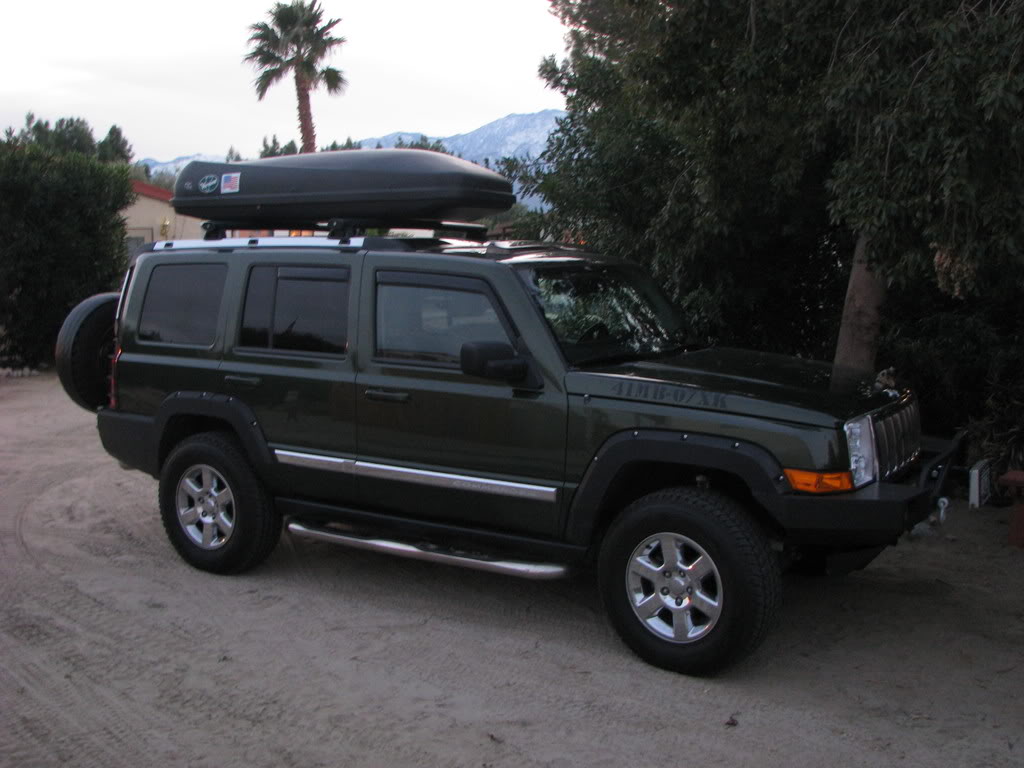
Page 2 of 2 FirstFirst 12
Results 11 to 19 of 19

Thread: Auxillary Gas tank install

  1. #11
    Senior Member Getting Dirty HueyPilotVN's Avatar
    Join Date
    Jun 2010
    Posts
    283
    Rep Power
    14
    more pictures:

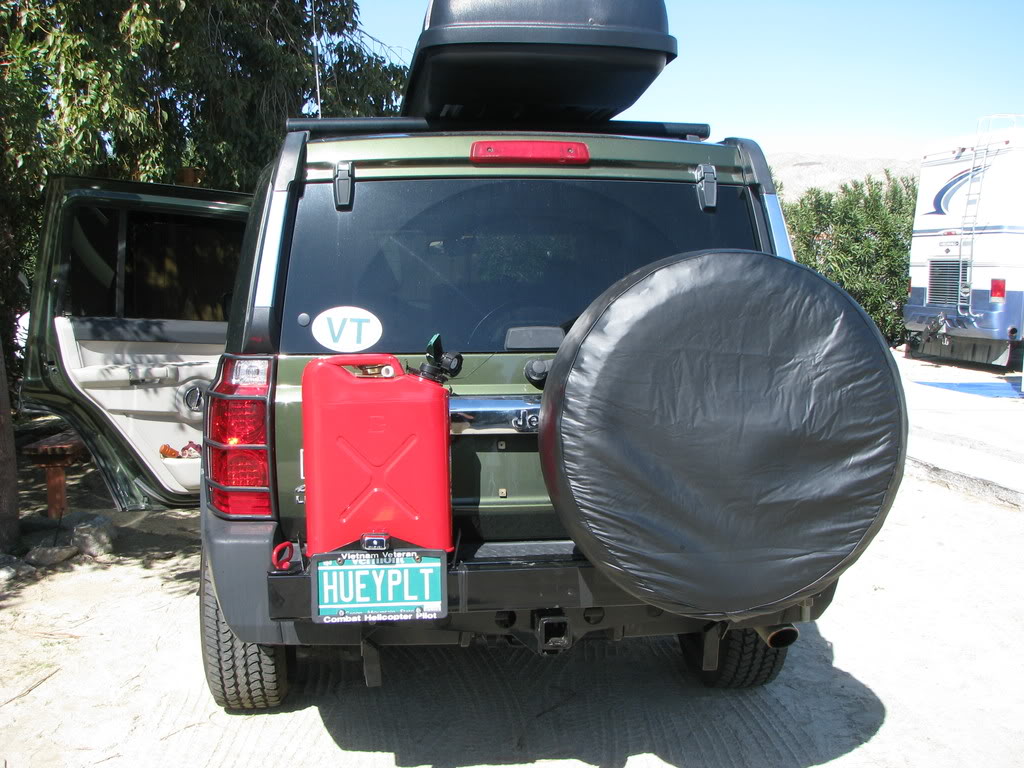
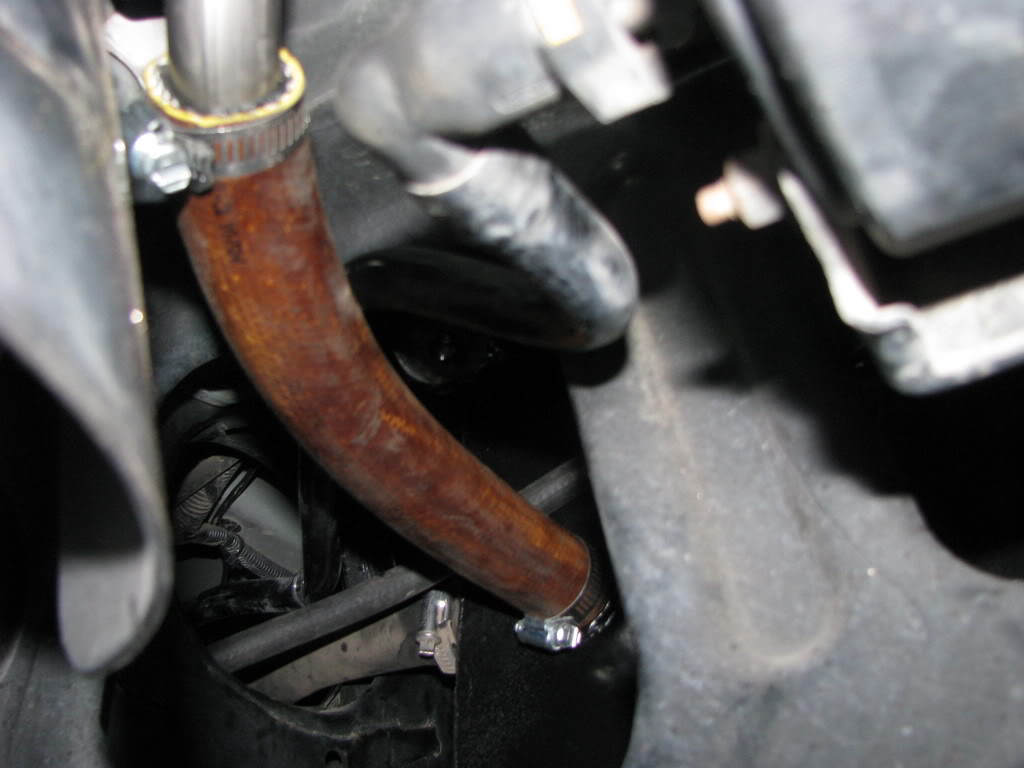
    Here you can see really well how the fuel filler works. The rust colored tube is the original filler tube turmed to the right, (it used to go to the left). The large hose at the bottom of the picture with a clamp on it takes the gas from the back tank into the original port in the main tank.


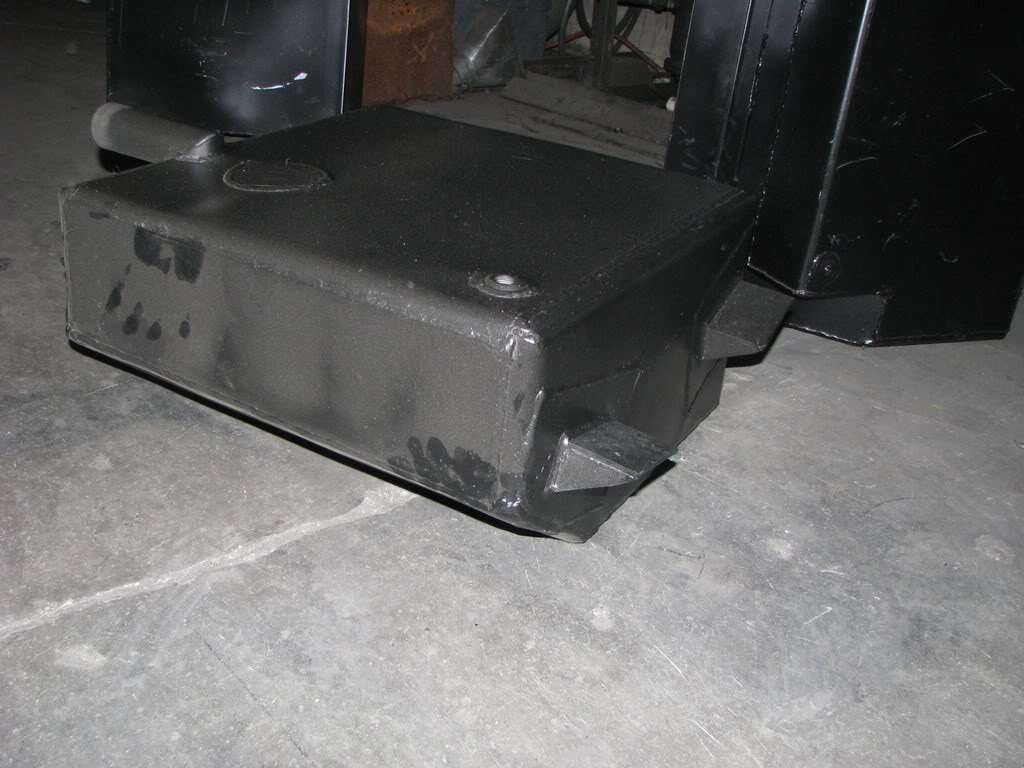
    Skid plate welded under a similar tank:


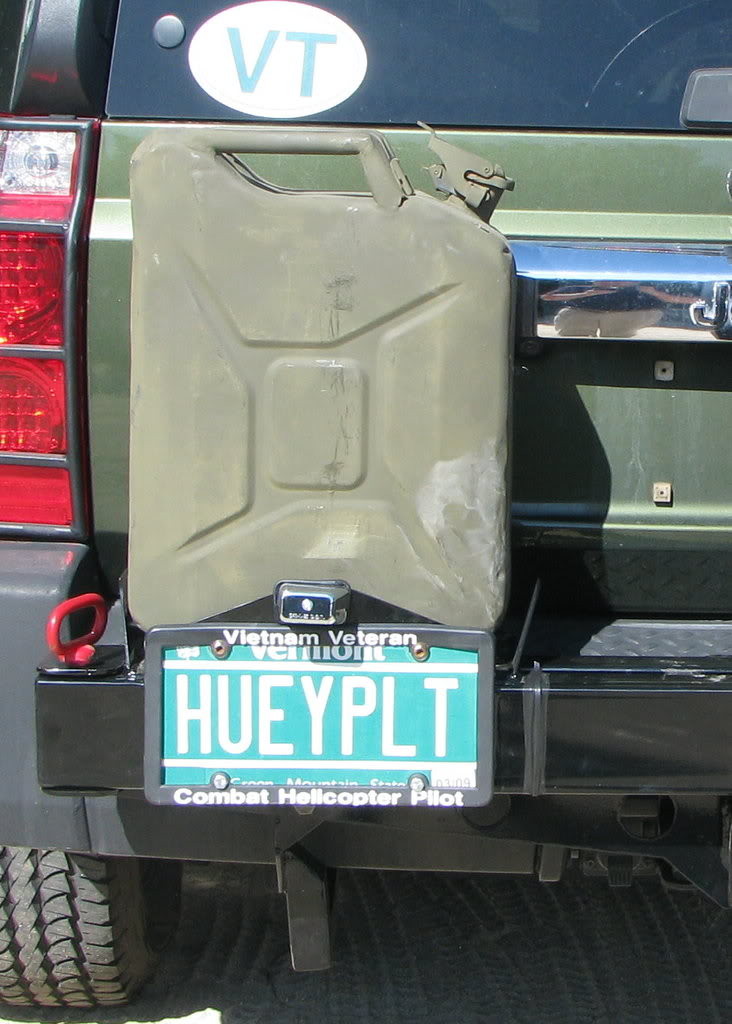
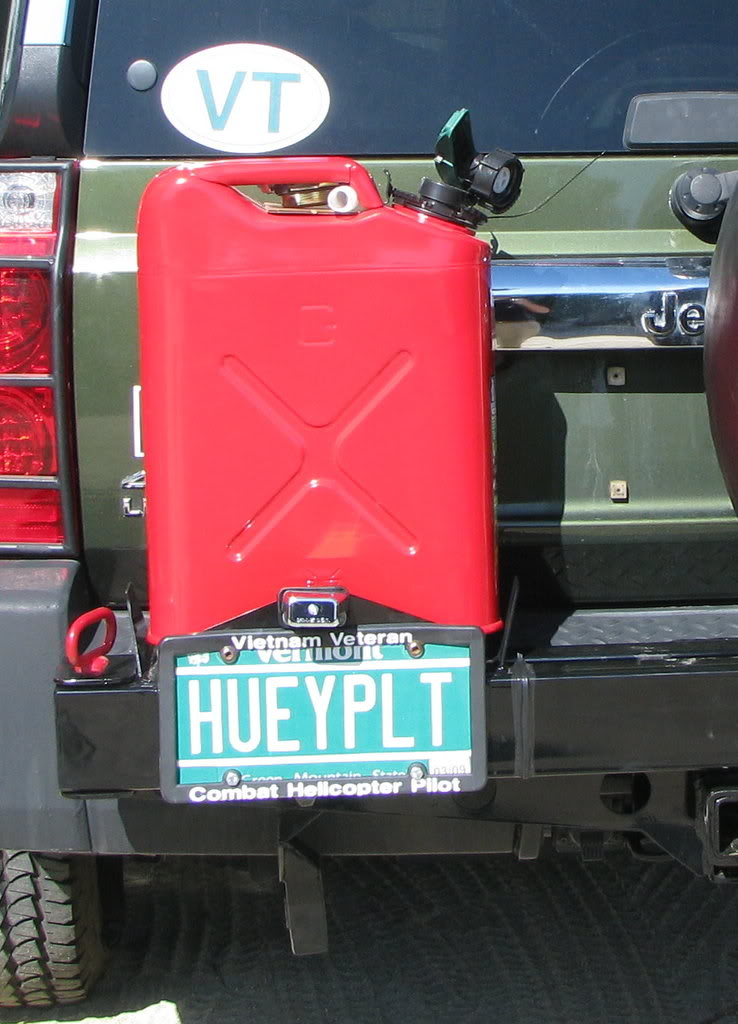
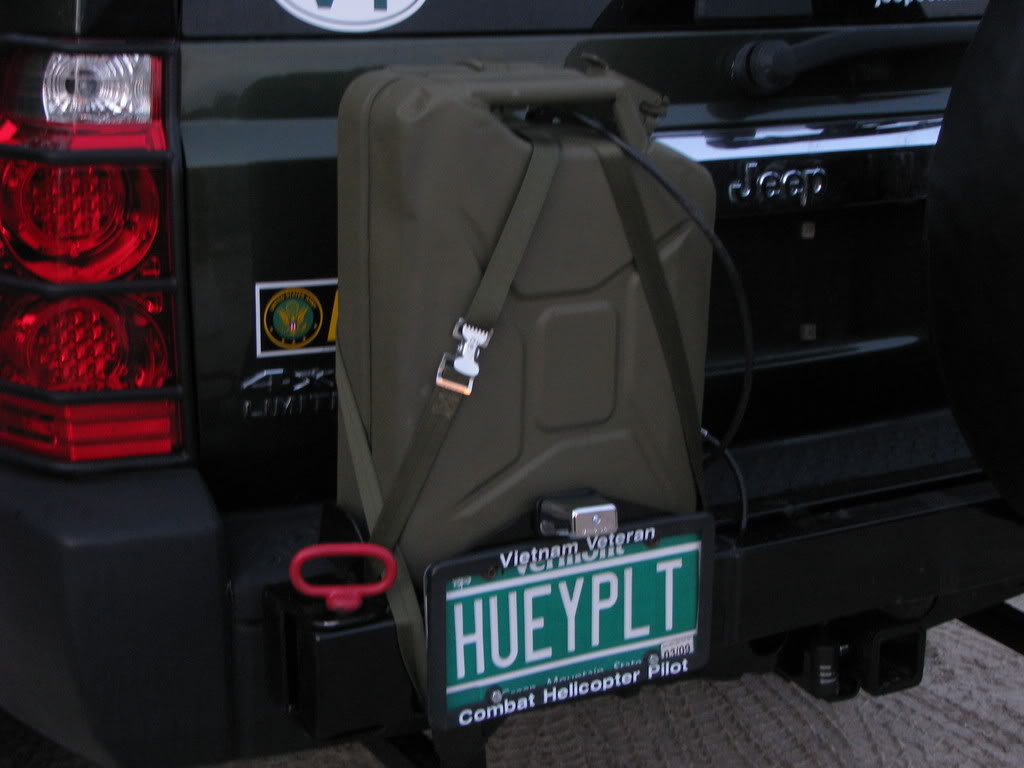
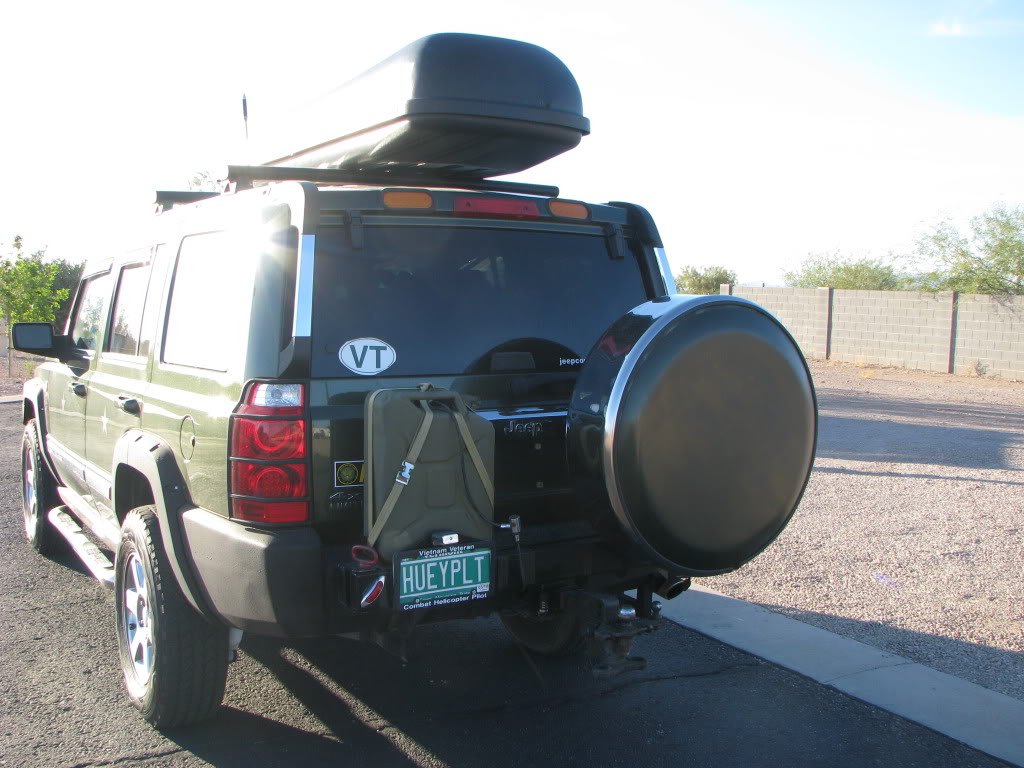
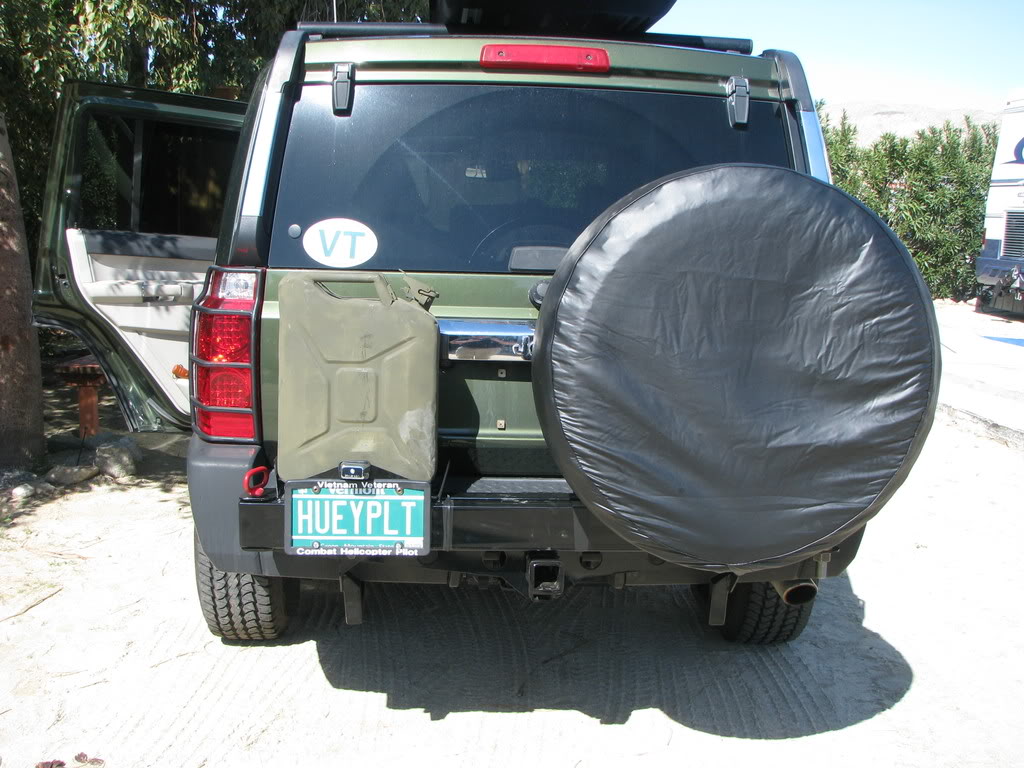
    On the way home I got a red Blitz can at 4 Wheel Parts for about $70. I found a surplus store down the road and got the Nato OD Green can for $30. Which one do you think I will use?


  2. #12
    Senior Member Getting Dirty HueyPilotVN's Avatar
    Join Date
    Jun 2010
    Posts
    283
    Rep Power
    14
    more pictures:


  3. #13
    Senior Member Getting Dirty HueyPilotVN's Avatar
    Join Date
    Jun 2010
    Posts
    283
    Rep Power
    14
    They made the kit so that it includes everything that you need. Hanging the tank was very easy. Drill four holes to hang the tank and connect the lines and the pump. Then wire the timer, pump and the gauge.
    __________________

  4. #14
    Senior Member Getting Dirty HueyPilotVN's Avatar
    Join Date
    Jun 2010
    Posts
    283
    Rep Power
    14
    Ross is working on the price. By the way I have no financial interest in this product. I just wanted to make sure that we could have a complete kit solution that will fit all of our Commanders.

    I can tell you what is involved in the installation. First you remove the spare tire and the spare tire cable. You next remove the sheild that is located in the passenger side forward area of the spare tire. I am not sure if this is necessary, but they did remove mine. You would next mount the transfer pump to the unibody on the drivers side. The filler tube is then turned to the right to connect to the new tank. The filler hose from the main tank is used to connect to the new tank for transferring during fueling. There are several vent hoses that will connect when you put the tank in place. It looks like all of the connections are made behind the axle and are easy to get to. You do not have to drill into the main tank and I had 3/4 of a tank when they installed the second tank. The mounting of the new tank involves drilling four holes in the unibody panel to allow the "J" bolts to hook into the holes. The four bolts hang down and you use them to hang the tank. They fit into the four reinforced brackets and are secured with two nuts for each hanger bolt. I would think that you would want help installing it and maybe a transmission jack or some kind of support while installing the tank. The last part is running the wire for the timer and the gauge. I would wire the pump before the tank is in place. I will ask the manufacturer of the kit to put together more complete instructions and I will send them the pictures that they took on my camera for me.

    I could have done this install, especially after seeing the pros do it, but it is easier for me to sit back and watch. Since I had open heart surgery I have trouble laying on my back to work under any vehicle.
    __________________

  5. #15
    Senior Member Getting Dirty HueyPilotVN's Avatar
    Join Date
    Jun 2010
    Posts
    283
    Rep Power
    14
    Quote:
    Originally Posted by wmjacobsjr
    Huey, the tank is very nice and the tire carrier looks really great with the plate light and the green can on the back. Have you had any issues with where they placed the pump switch?


    Thanks, The pump switch is not in the way at all and it is a timer that you have to twist to set it for up to 15 minutes so there is no danger of turning it on accidently. Even if you could it turns itself off. It is acutally a large 110 volt timer like you would put on a hot tub, however you cannot see the back part of it. These guys really knew what they were doing and the timer was a nice touch to insure that the pump only ran 15 minutes.

    I do like that NATO can also and I repainted it with OD Green paint. I used a strap to make it tight and a cable lock to keep it there.

    I am looking for a stainless steel continental ring to go over the spare tire and a plastic or fiberglass disc to paint the matching "Jeep Green Metalic" color.
    __________________

  6. #16
    Senior Member Getting Dirty HueyPilotVN's Avatar
    Join Date
    Jun 2010
    Posts
    283
    Rep Power
    14
    I just went outside as the sun was going down and got some new pictures of the NATO can and also I took some to show that the back is still at least level. It has both tanks full right now.


  7. #17
    Senior Member Getting Dirty HueyPilotVN's Avatar
    Join Date
    Jun 2010
    Posts
    283
    Rep Power
    14
    Update on the second fuel tank.

    I have put over 400 miles on the Commander since installing the second tank and here are some of the statistics and results.

    Last night the two gauges were each reading 1/2 tank, so I have reached the point where the back tank is no longer feeding the front tank automatically due to gravity. I turned the timer on and the back tank transferred gas to the fromt tank. After transfer the front tank is now full again and the back tank has just under 1/4 tank. The shows that the overflow of fuel returned to the back tank.

    Based on the remaining fuel I believe that I have a range of between 700, (easy), and 800, (pushing it) miles on the two tanks. Since my tires are larger than stock I actually have another 5% or so different than the computer calculated miles, (so 735 to 840 miles). Even with this range the miles to empty from the computer would still keep you out of trouble. The extra 5 gallons on the back will be for anyone else that needs gas. I am getting between 14 and 15 miles per gallon.

    One other intresting fact. The other day while coming back from town, I looked at the main gas gauge and it was full. A few minutes later I heard the warning tone and looked down. The gauge read empty and the check engine light was on. I pushed distance to empty button and it said "0". I knew that I had a full tank. When I got home I did two things. I loosened the gas cap and felt a whosh of air going into the tank. It seemed to have a vacuum in the tank. I also disconnected the ground cable from the battery for a few minutes. I restarted the Commander and everything was back to normal, full tank, no check engine light and a reading of 328 miles to empty. Jake at the gas tank place had said that I might get a vacuum condition in the tanks and maybe that is what happened. It only happened that one time, and I will see if it reoccurs.

    After filling it a few times and recording accurate odometer reading I will post more accurate numbers.

  8. #18
    Senior Member Getting Dirty HueyPilotVN's Avatar
    Join Date
    Jun 2010
    Posts
    283
    Rep Power
    14
    Quote:
    Originally Posted by Ahmed
    I'm really interested to make such a project.

    Questions,

    What are those small pipes at the top edge of the tank for?

    What is the maximum range for the two tanks combined?

    The Aux tank has the same kind of connections as the main tank. The connection at the top include a sending unit for the gas gauge, a pickup tube with a sock type filter, and lines for the transfer pump to send fuel to the main tank as well as return lines from the main tank in case it overfills. For the first 1/3 to 1/2 tank the two tanks have a common hose that allows the gas to gravity fill the front tank. The timer switch can be used to refill the front tank from the aux tank by using the transfer pump.

    The maximum range depends on your gas mileage. The aux tank adds a little over 30 gallons to your capacity. I also carry a NATO 5 gallon gas can. It is mostly for helping someone else that needs gas. Good way to make friends on long trail rides.

    The fellow that made my aux tank is located in California and is willing to sell the entire kit for out of state use. I think that he has one kit made up and in inventory now. I have no financial interest in his business.

    I recall that it cost me $1,000. for the setup. I do not think that Ross is distributing the kit so PM me if you want more details.
    __________________

  9. #19
    Senior Member Getting Dirty HueyPilotVN's Avatar
    Join Date
    Jun 2010
    Posts
    283
    Rep Power
    14
    In this picture you can see that I did find a chrome ring for my spare. It came with a white disc that I painted with a can of factory matched paint and the NATO can is now OD Green.

    2007Jeep Green Limited
    4.7 Flex Fuel, Rocky Road 2.5" Lift on front, 4 inch Superlift coils on rear, Spidertrax 1.5" Spacers, Bridgestone 265/70/17
    Chrome Nerf Side Bars, K&N CAI, Flowmaster muffler, Aluminum Diamond Plate Locking Trunk installed
    Factory Roof Pod, Blue Ox Baseplate w/D-rings, "Get Lost 4X4" Front Bumper, T-Max 9000 winch, "Get Lost rear tire carrier, 30 gal second gas tank.
    Did anyone else read the fine print in the brochure and get a $500 rebate for being a Veteran?

Page 2 of 2 FirstFirst 12

Thread Information

Users Browsing this Thread

There are currently 1 users browsing this thread. (0 members and 1 guests)

Posting Permissions

  • You may not post new threads
  • You may not post replies
  • You may not post attachments
  • You may not edit your posts
  •