Alright, I was not the first to mount a second fuel tank in the spare tire location, the guy from Austrailia beat me.
I was not the first to get a rear tire carrier, Phunkeydude beat me.
I also was not the first to get a "Get Lost" front bumper.
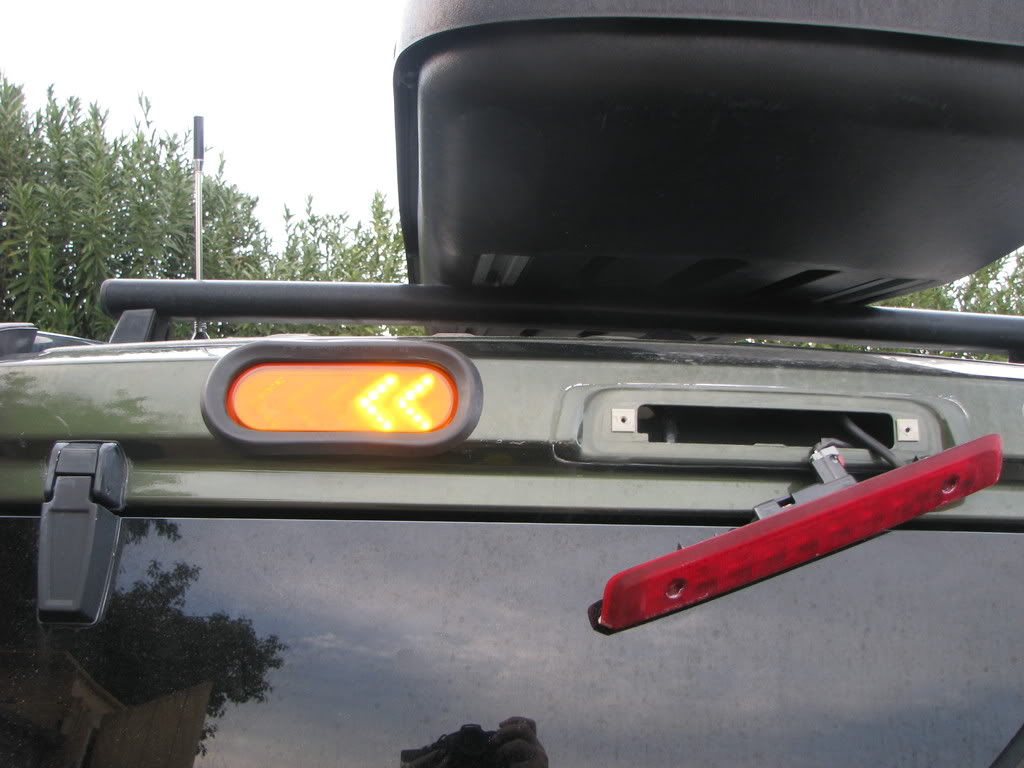
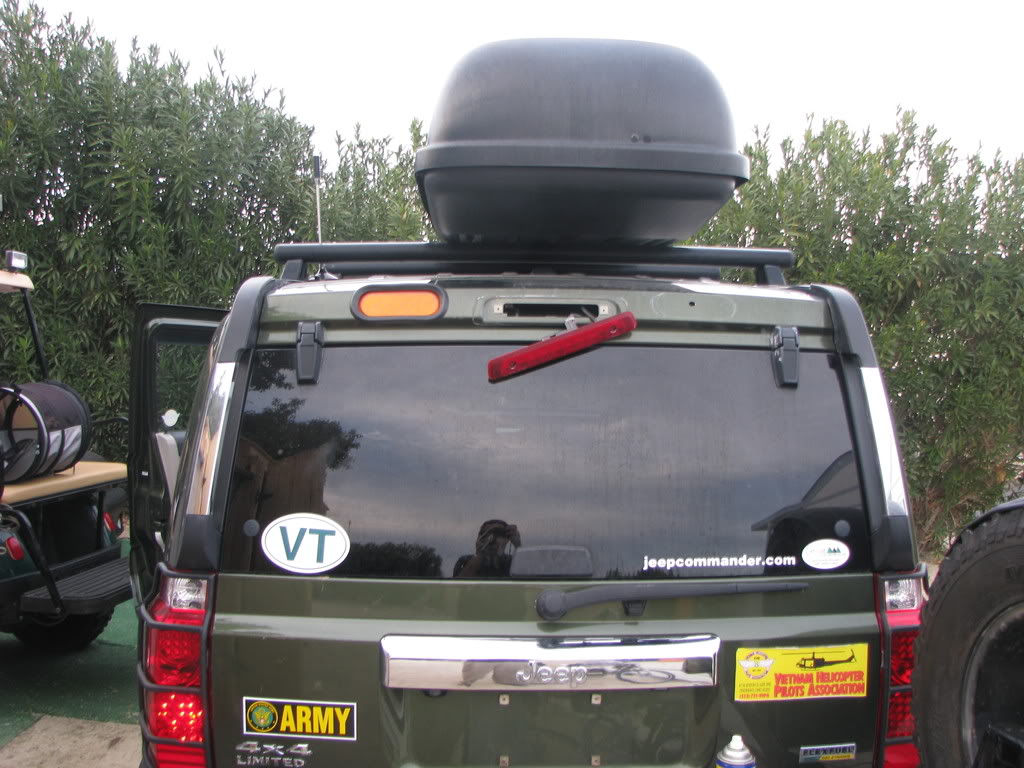
However, I bet that I am the first to have Sequential Turn Signals on a Commander.
I was concerned that my right turn signal and brake light might be obstructed by the spare tire on the rear carrier. I looked at several LED lights online and finally selected the same light that I installed on my old motor home a couple of years ago. I ordered the lights, but since they will take a few weeks to get here, I removed the ones from the motor home to use till the new ones come in.
They have three wires, the white is ground, the red is turn signal and the black is for the brake light.
Here is the link for the lights:
http://www.buytruckstuff.com/product...=61&p_gpID=233
Here are some pictures:
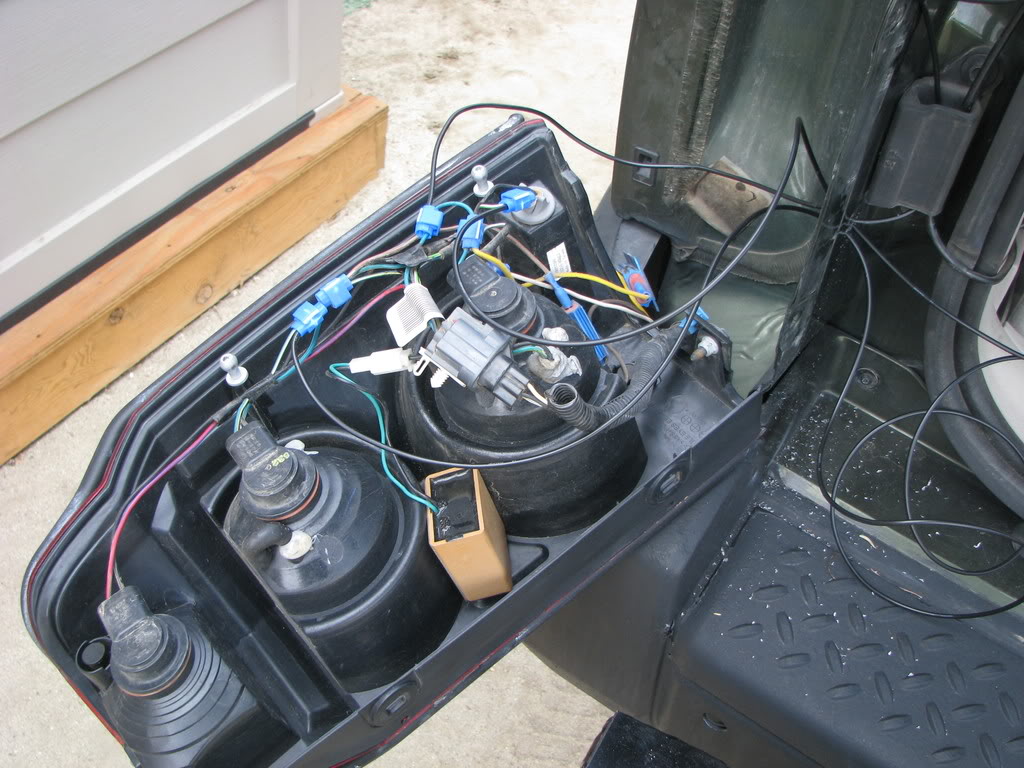
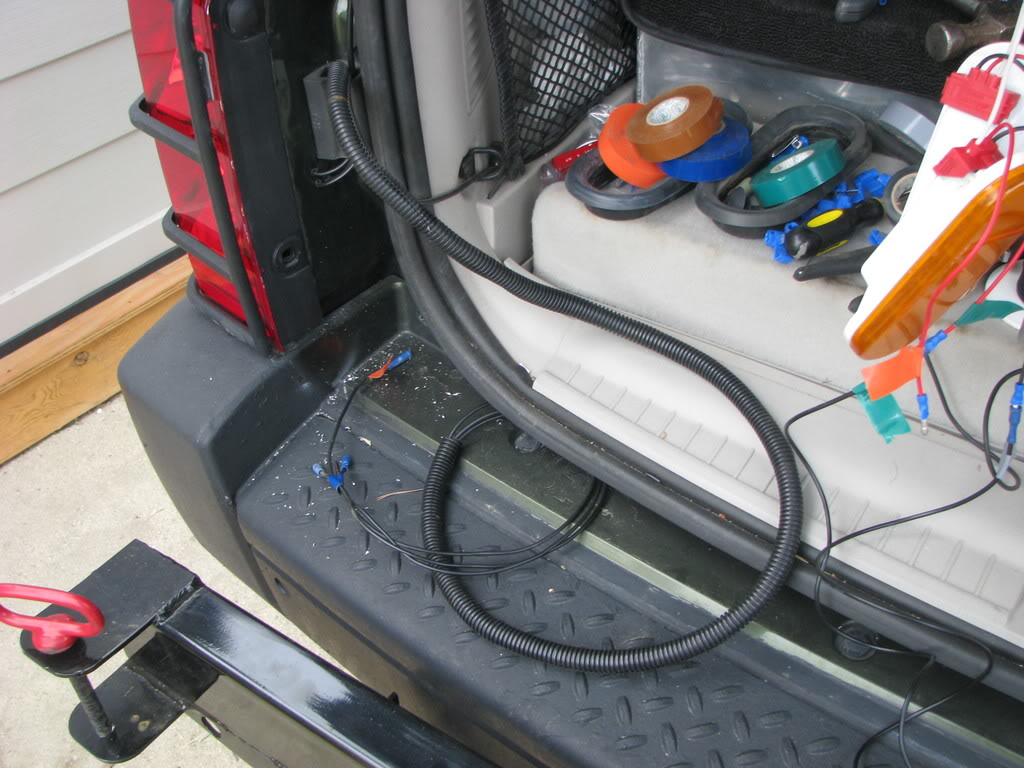
The wiring for the lights comes directly from the tail lights.
The Dark green wire from the bottom light is for the turn signal and goes to the red wire on the light, the Yellow green wire from the middle light is for the brake light and goes to the black wire on the light.
I also tapped into the tail light because I will add a small round red LED light later so I ran the wire now. It comes from either the white green wire from the little clearence light or from the green wire from the middle light.
The wiring for the right side is the same.
All the extra wiring is from my Blue OX towing wire. They allow the motor home wiring to feed thru diodes to my rear lights when the Commander is towed.
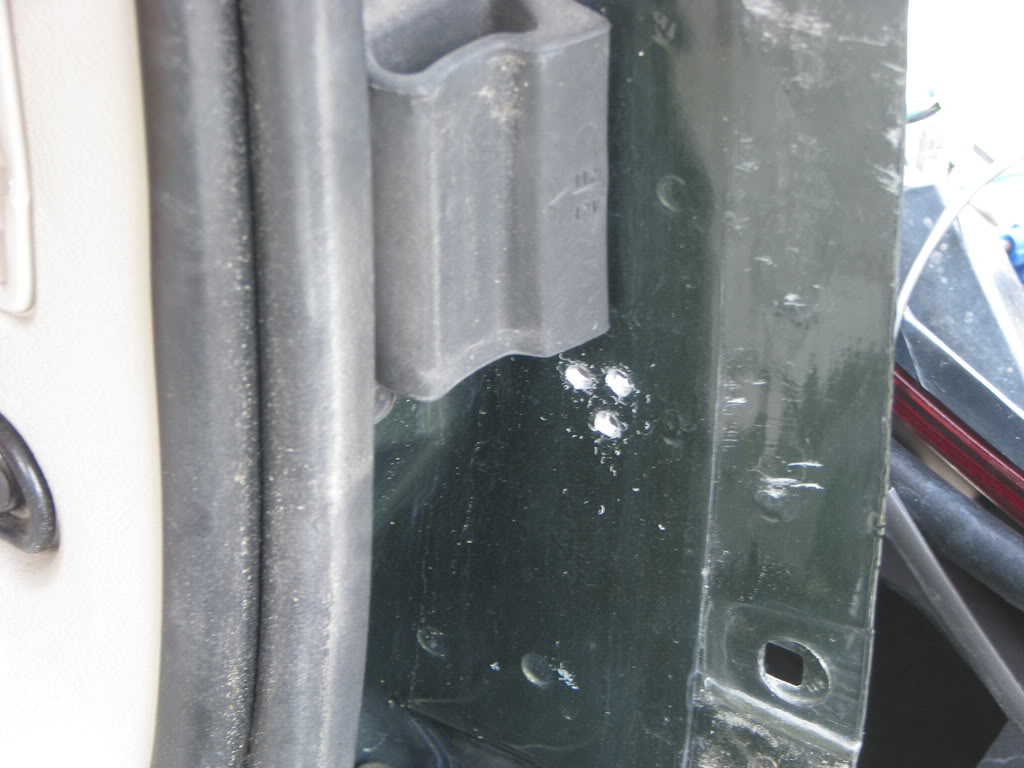
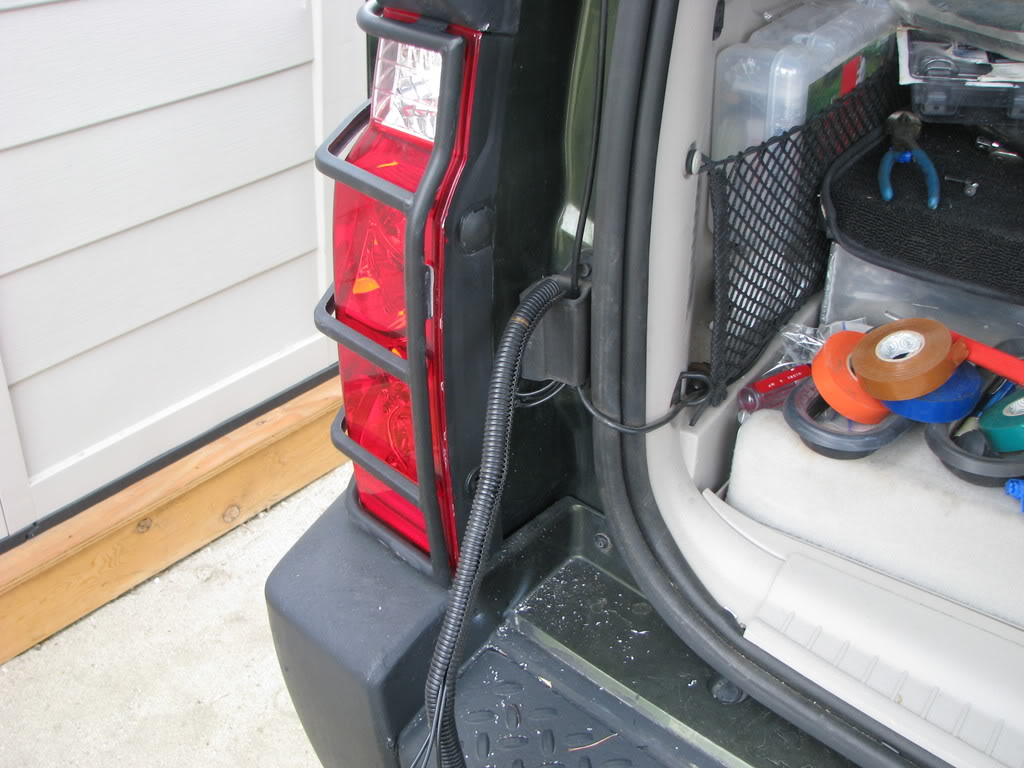
The three wires come thru holes that I drilled into the tail light housing area and then the wire goes into a loom and up the sides of the open tailgate gasket.
There is a large black wire in the bundle at the top of the door where the wiring goes into the door that I used for all the grounds.
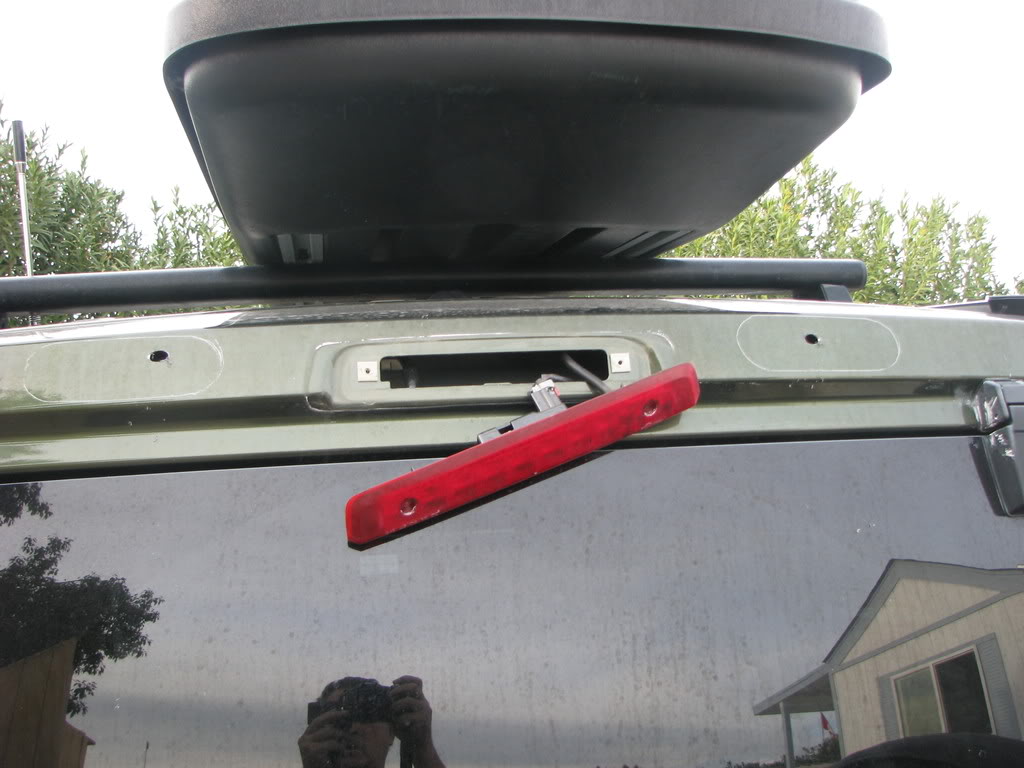
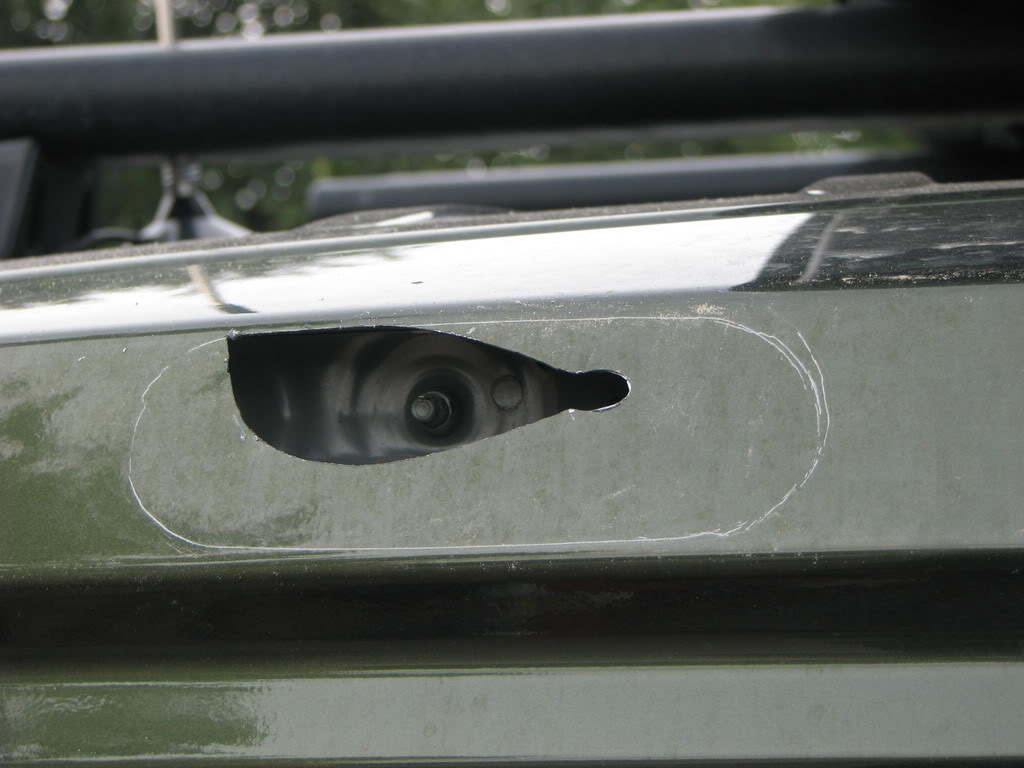
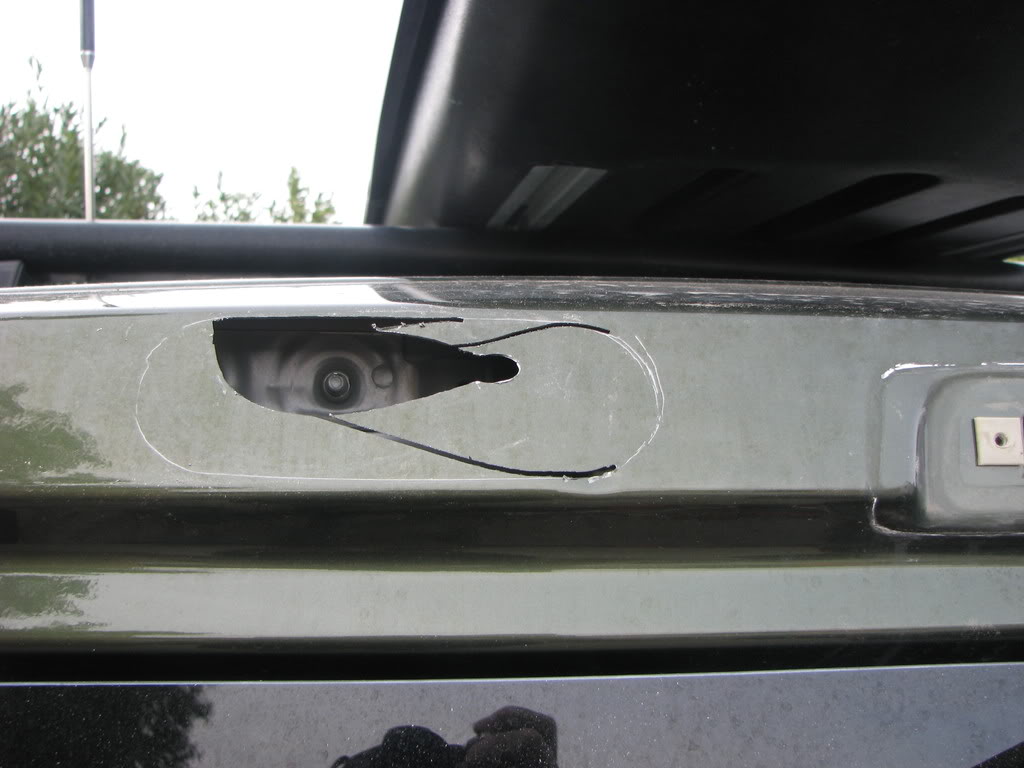
This is where the light will be mounted in a rubber grommet.
First I drilled a hole after removing the third brake light to check to see what was behind and how deep it was. I then used a jig saw to cut out the hole smaller than I needed. I carefully enlarged the hole with a small grinder to approach the correct size, checking with a test fit several times.
Here is the first one installed and recessed in a grommet