7) This part is a bit tricky and im not sure how to explain my method of molding the shape of the liner... you'll figure it out, just be patient. Just use a heat gun (i used a cheapy one that i bought in college for building an airplane) and a pair of heavy gloves. Heat up the liner and shape it for extra clearance. I had a spray bottle with water.... this helped because i was able to hold the liner how i wanted, then spray it with water so it would cool down quicker to keep its form.
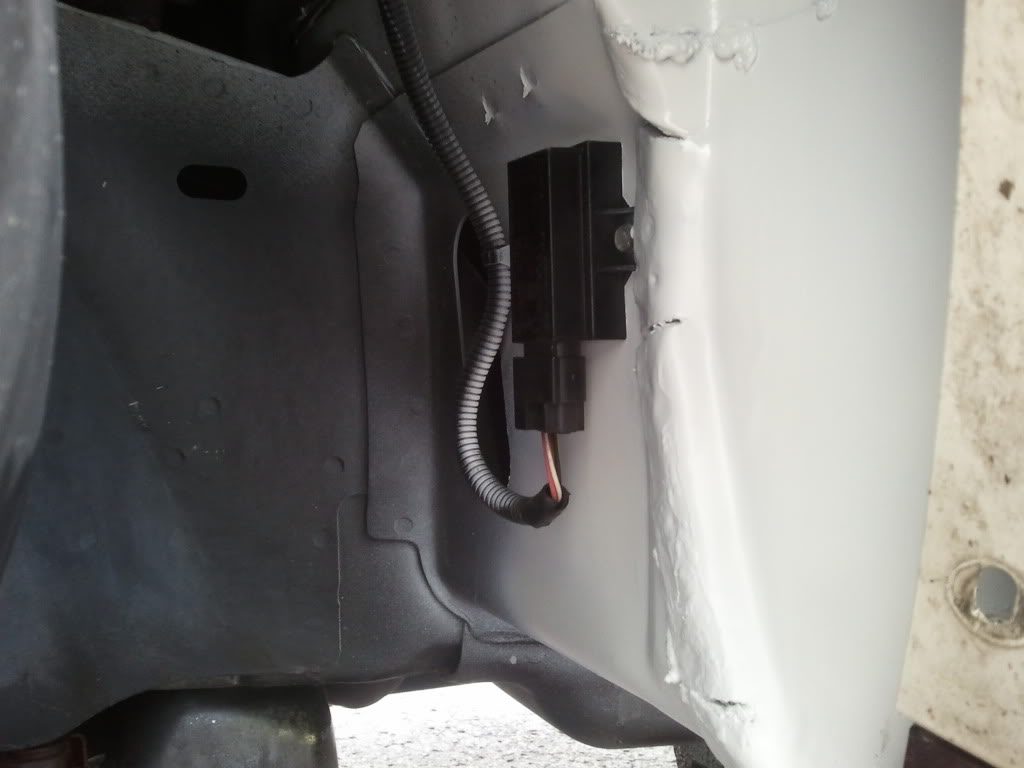
This is also why you don't want to put the TPMS receiver back in place before this step, it would get damaged from the heat.
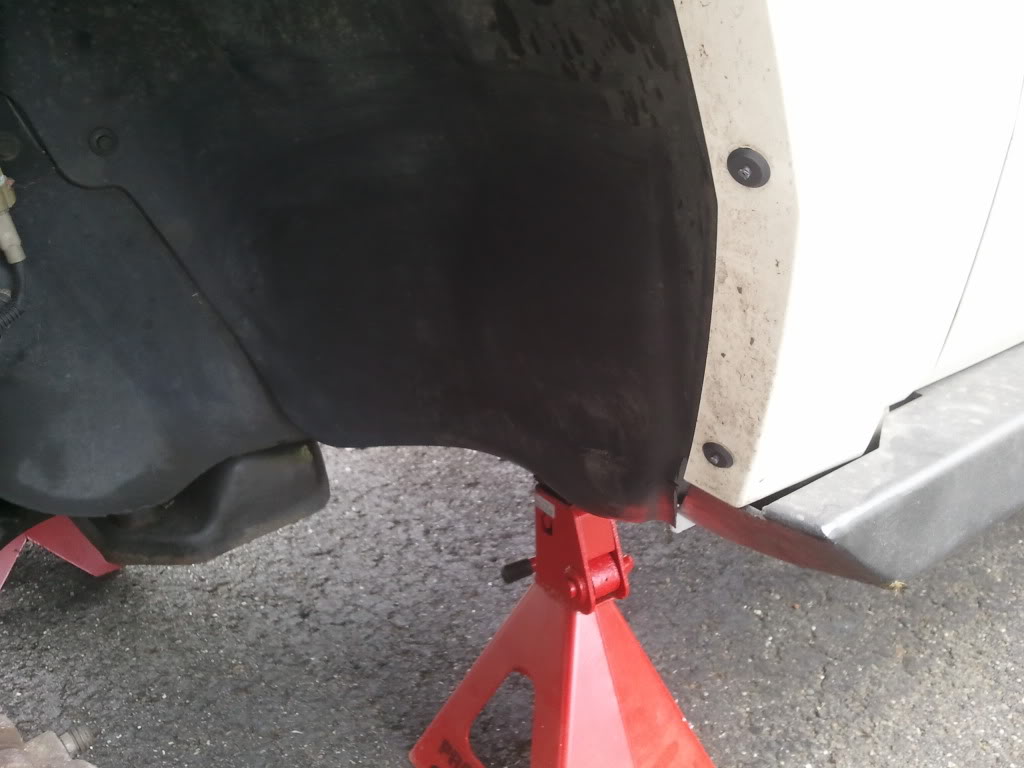
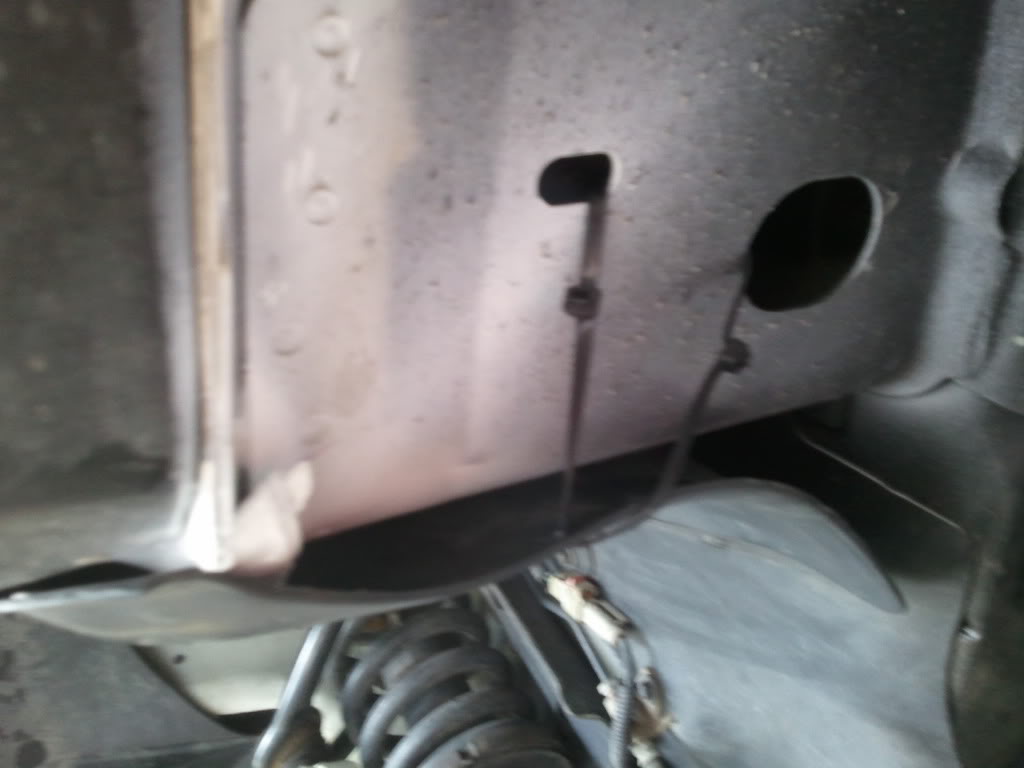
This is also more challenging on the passenger side because of the coolant lines. They don't allow you to mold the liner as far back as you can on the drivers side.
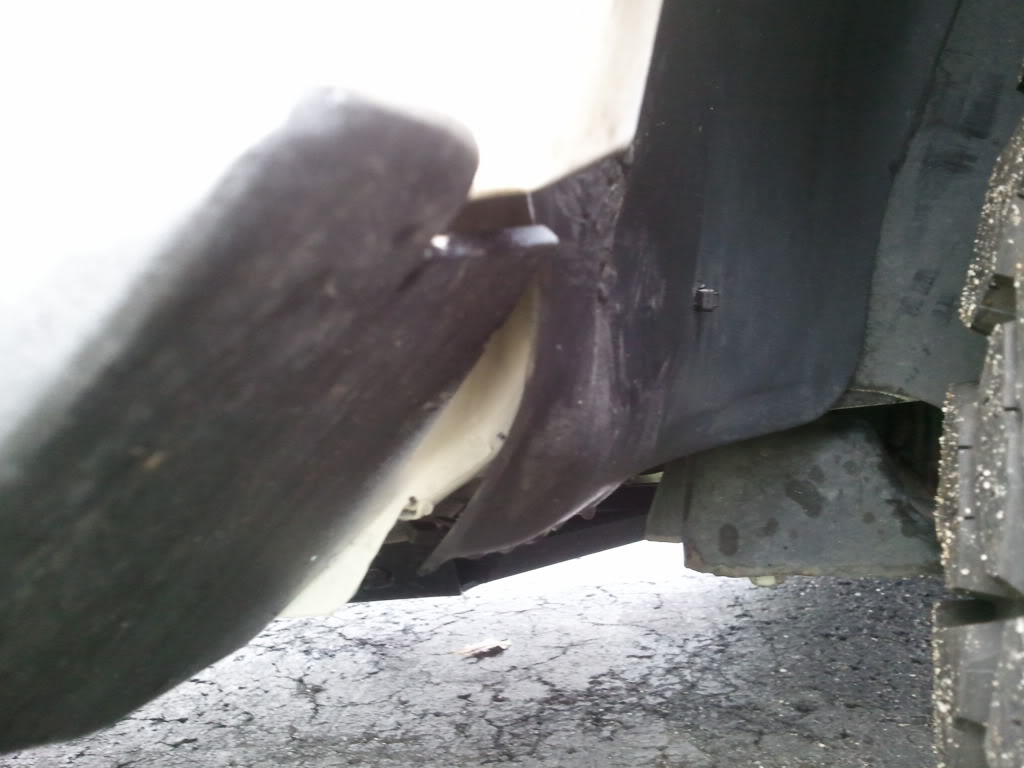
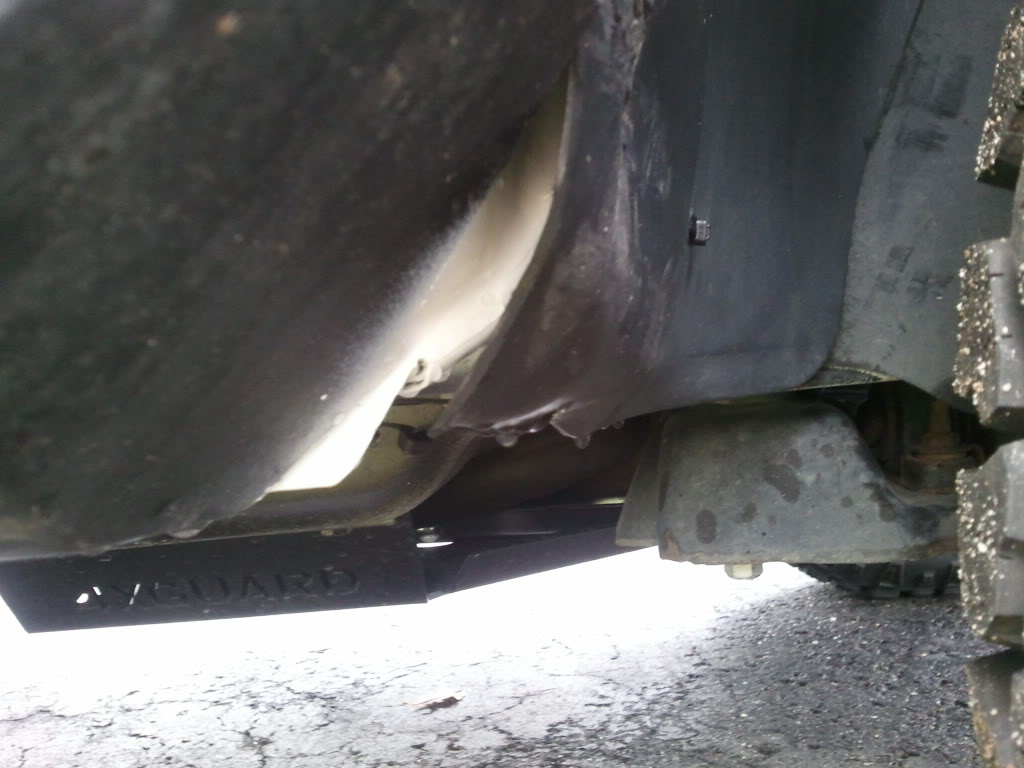
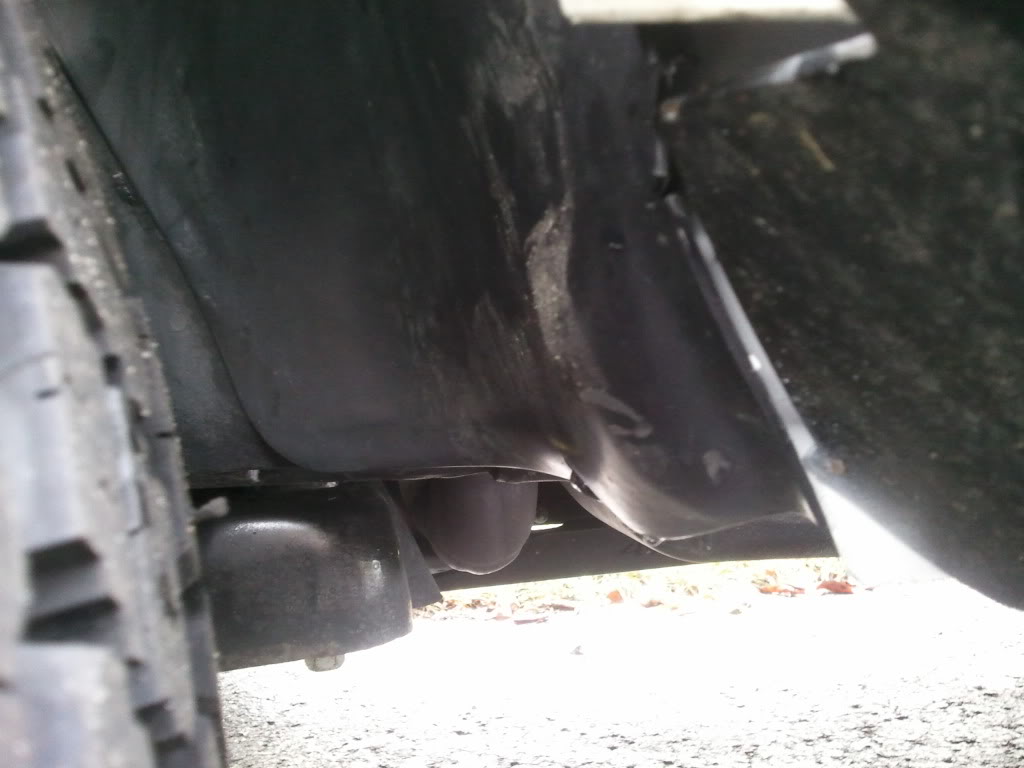
^^^^ It's hard to see in the pictures, but the first thing i did was heat up the part of the liner that's convex outwards, then push it in so its concave inwards (this is where you get the bulk of the clearance). When you do that, the bottom of the liner is going to flip towards the wheel well and decrease clearance, but dont worry. After you get that "rubbing" area as concave as possible, make sure you cool the liner down with water. THEN, heat the bottom of the liner below the concave area and flex it back/under the jeep. This results in a really smooth and clean transition. This is actually important because if you're flexing offroad, there wont be an edge for the tire to grip onto and rip up the liner, so if you do rub while flexing the tread will just rub on the liner and not cause damage.
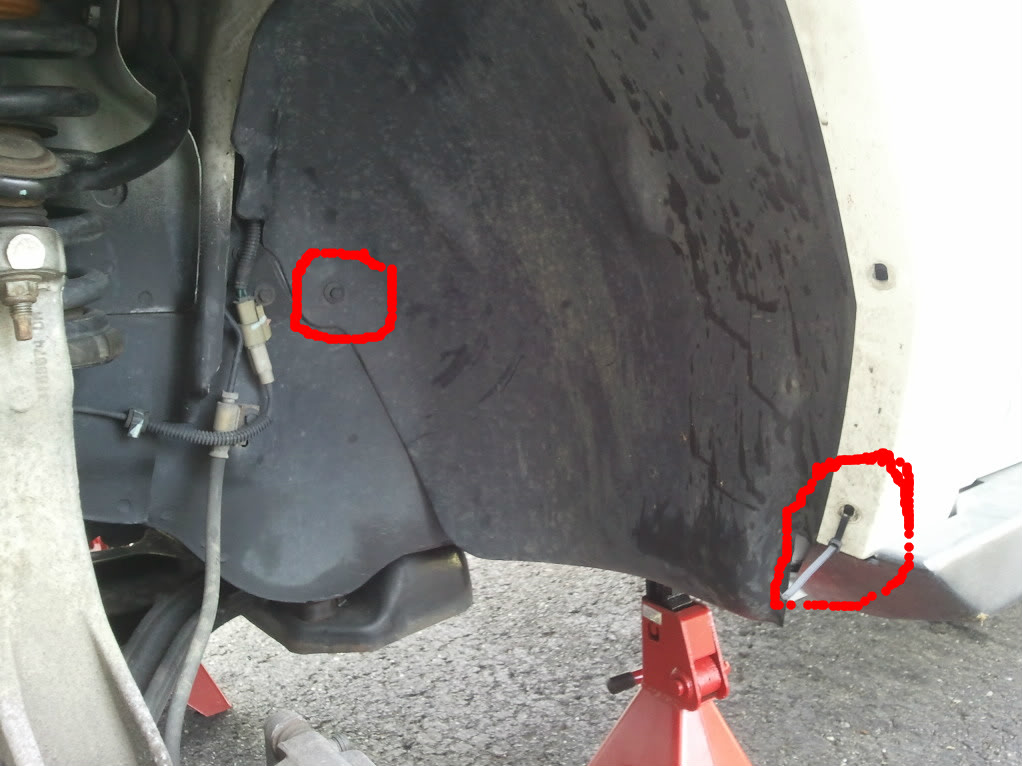
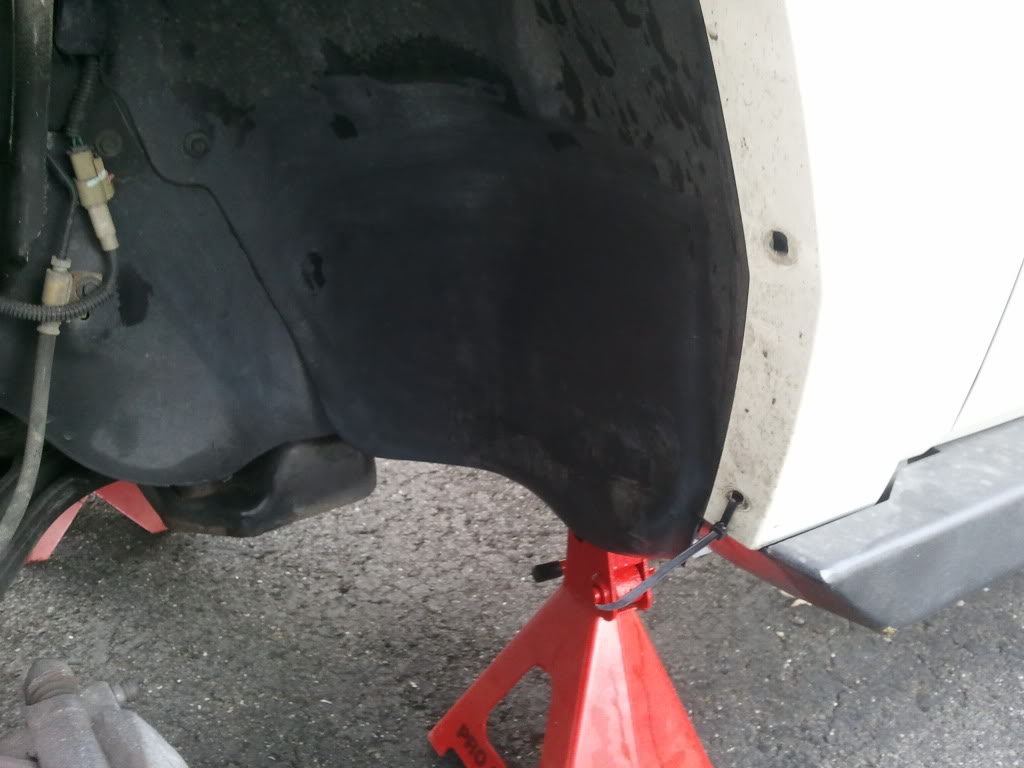
Here are a few pictures to show the concave sections and how the bottom folds under. Also, FYI, the fender liner is all the way up against the firewall (well, up against the bent pinch weld)... so you gain A LOT of tire clearance via this method.
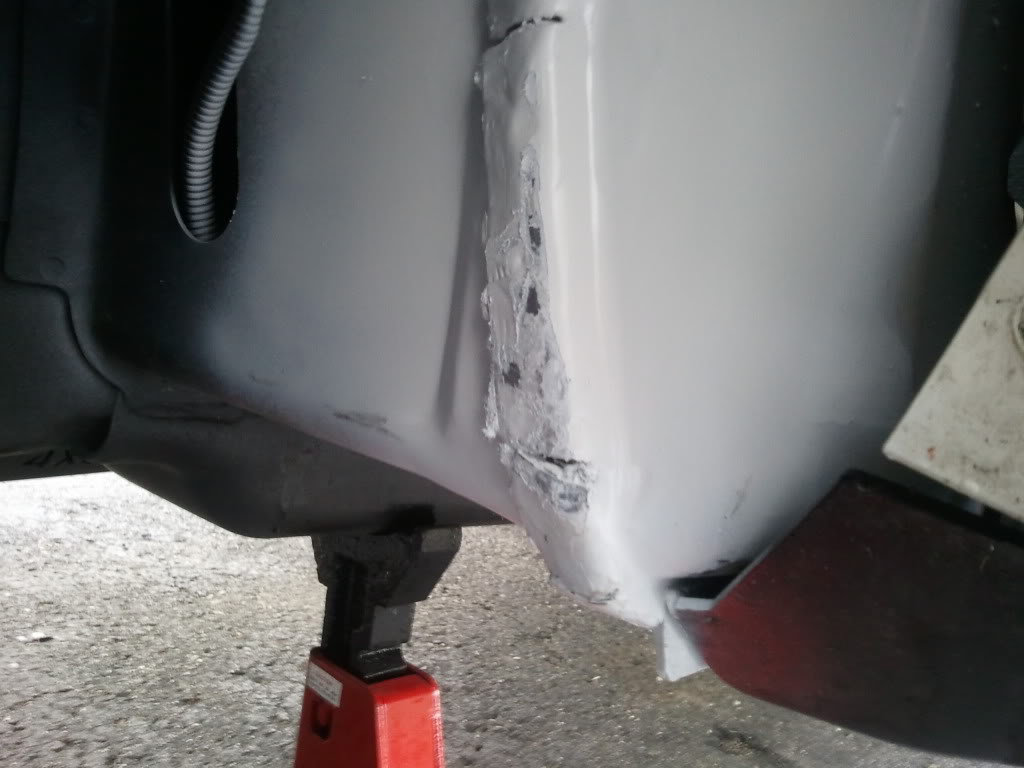
8) After you're done shaping the liner, you'll need to pull the rear section away and touch up some of the paint.

 Reply With Quote