


<<<<<<<<<<< . >>>>>>>>
I Installed an Air-Zenith, OB2, Black, Off-Road Kit.
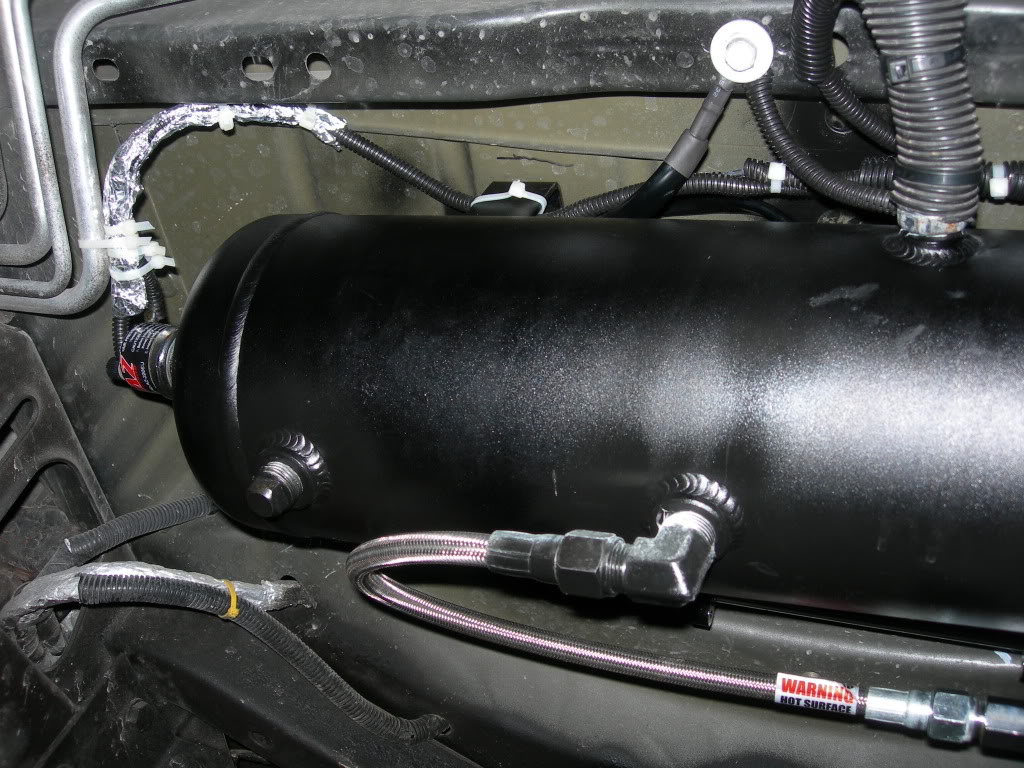
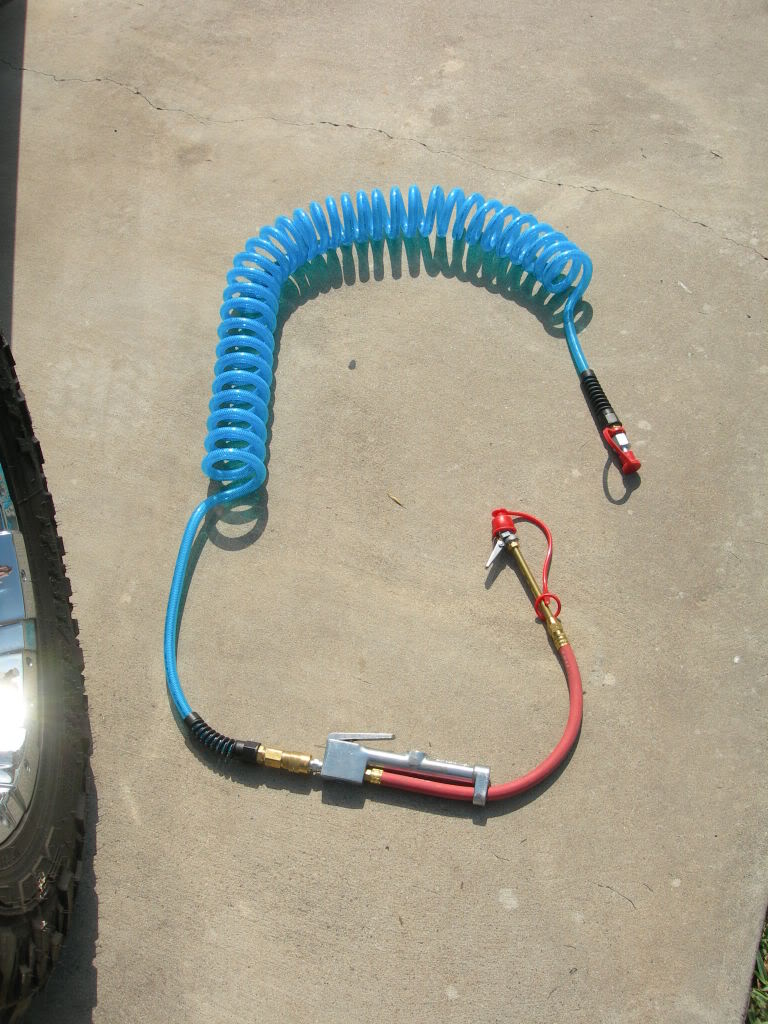
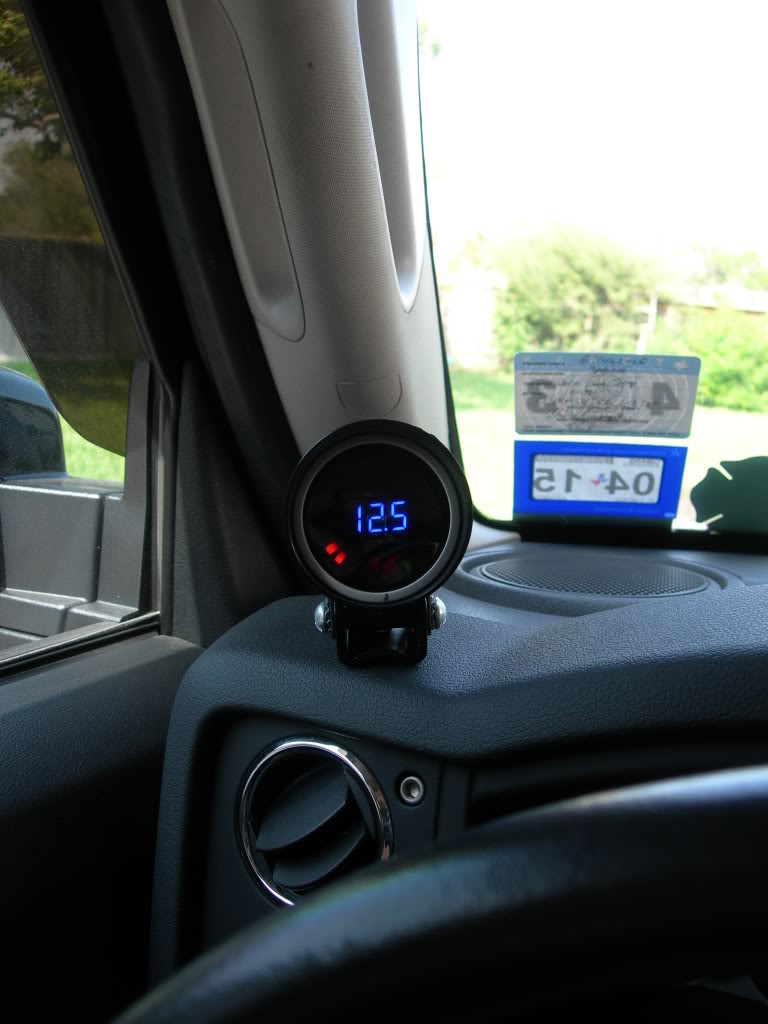
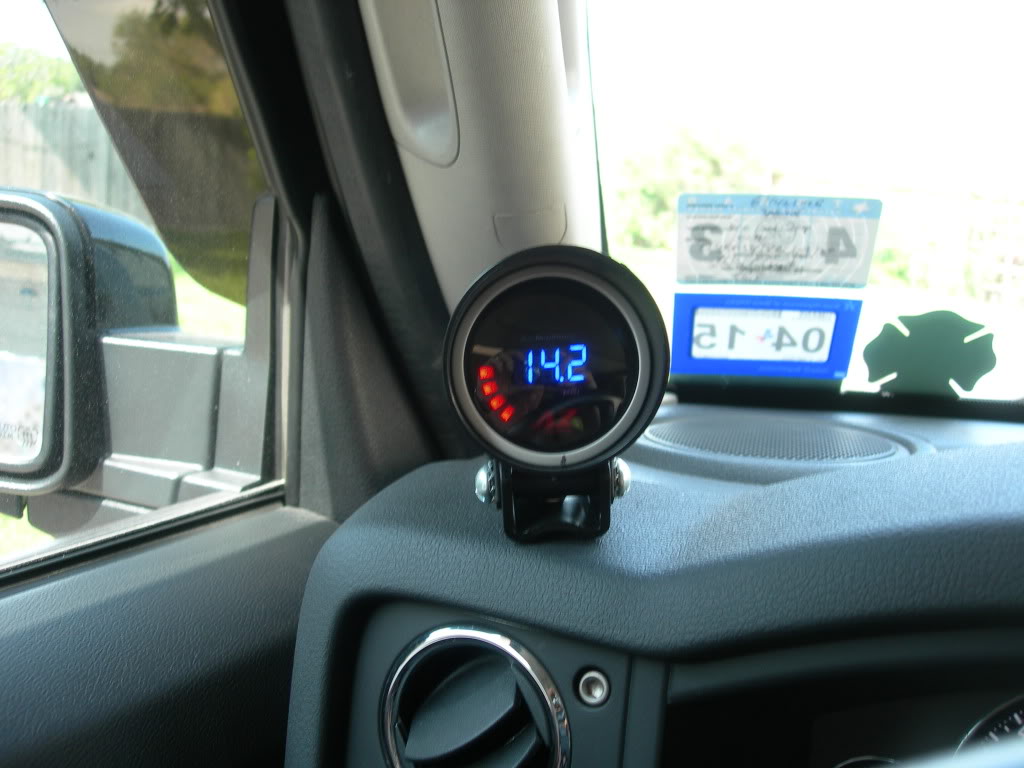
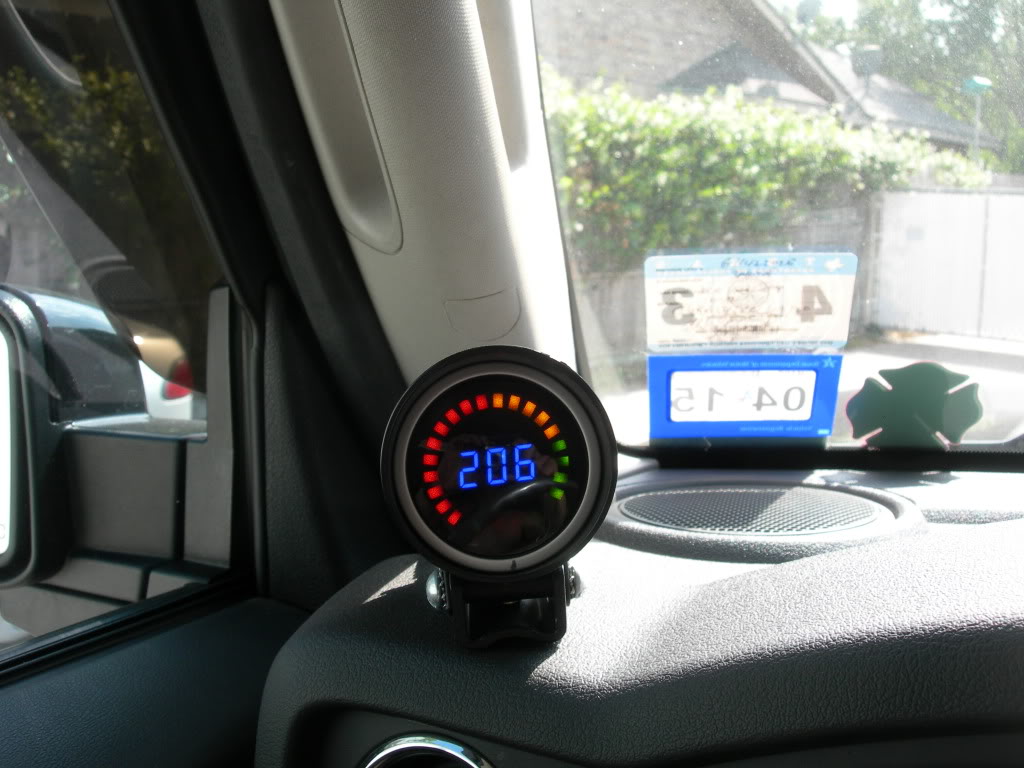
The Kit came with a 200psi / 100% Duty / 4.25CFM compressor, a 3 gallon black anodized aluminum tank , digital pressure gauge and all relays, sensors, automatic pressure switch , sockets and the air hose from the compressor to tank. I also got their remote air intake hose and fittings.
It did not come with any plugs for the Bunch of extra threaded holes in the tank.
Product Review link here >> http://www.youtube.com/watch?v=yfNf4tgTGTU
Manufactures link here>> http://www.air-zenith.com/
My photos of the pre-installation with all the components laid out on the floor, so I could remember how I did it myself, have vanished . Grrrr..(along with the same for my dual battery installation). They must have been sucked into some digital black hole, due to an unexpected sun spot etc.. ( ie. I didnt lose them.. Lol .ya sure ). Sorry...
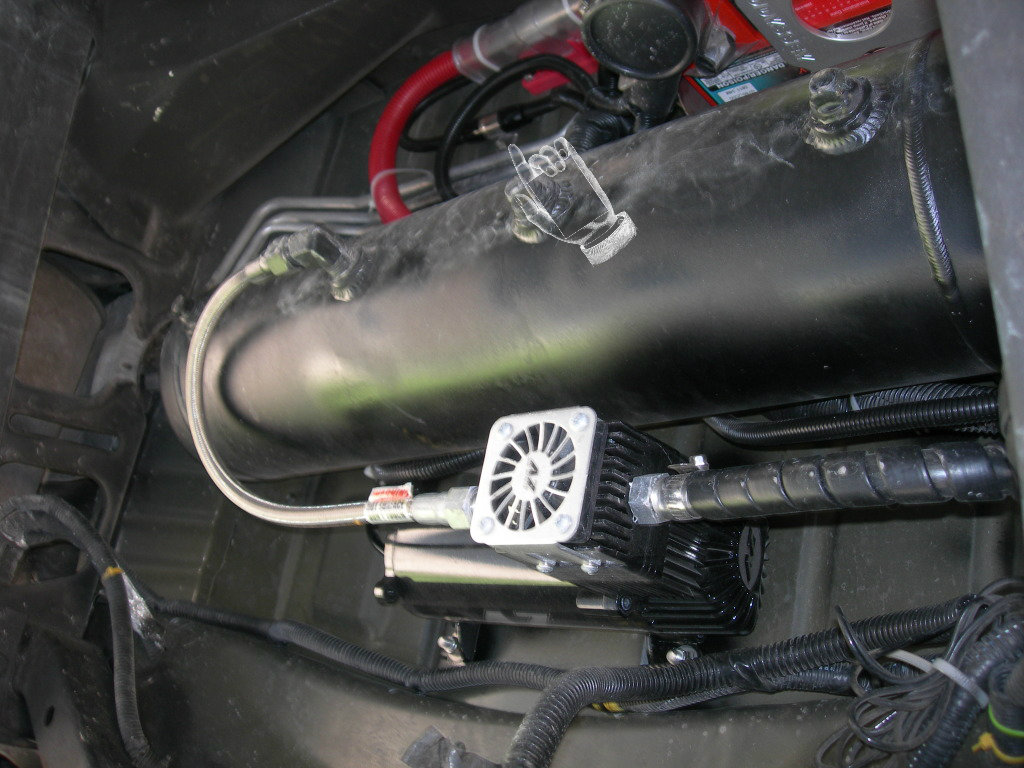
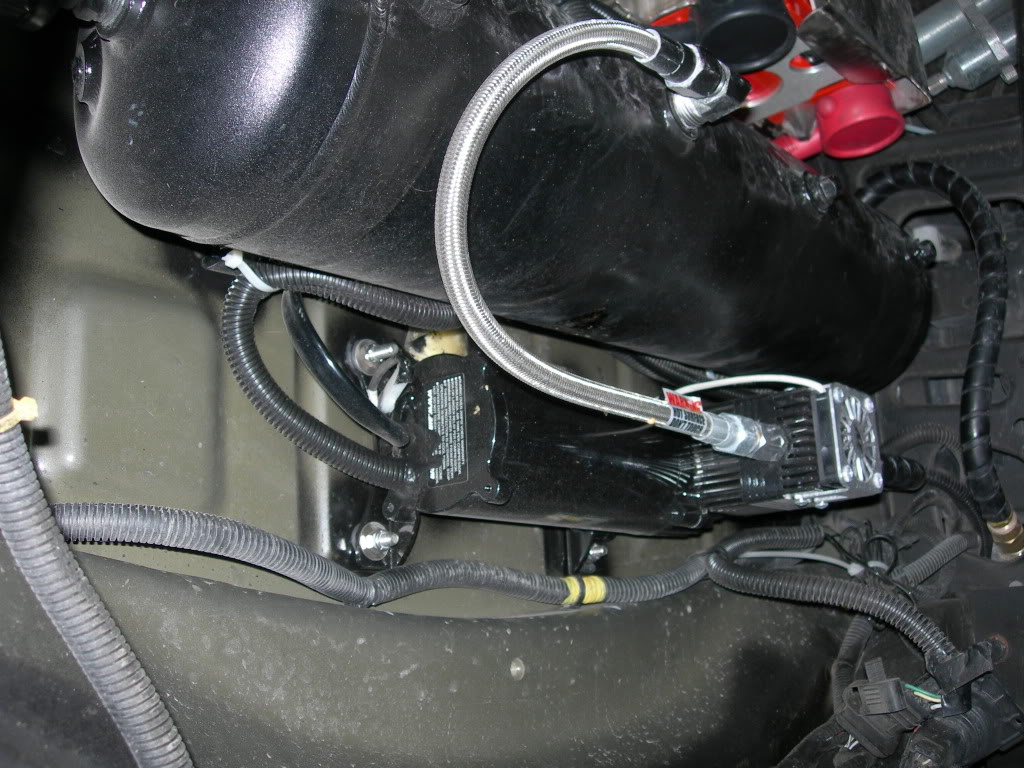
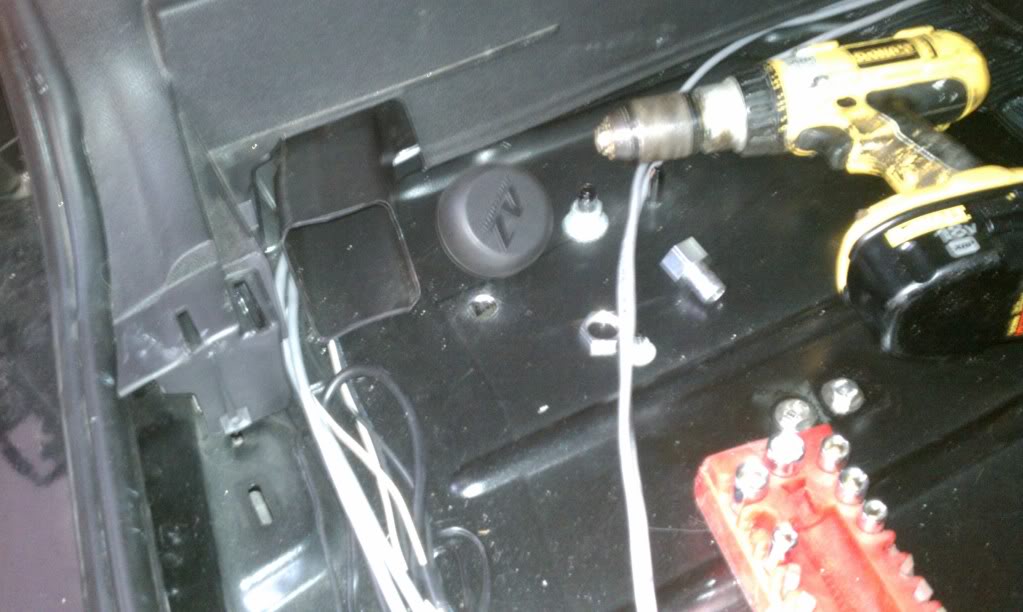
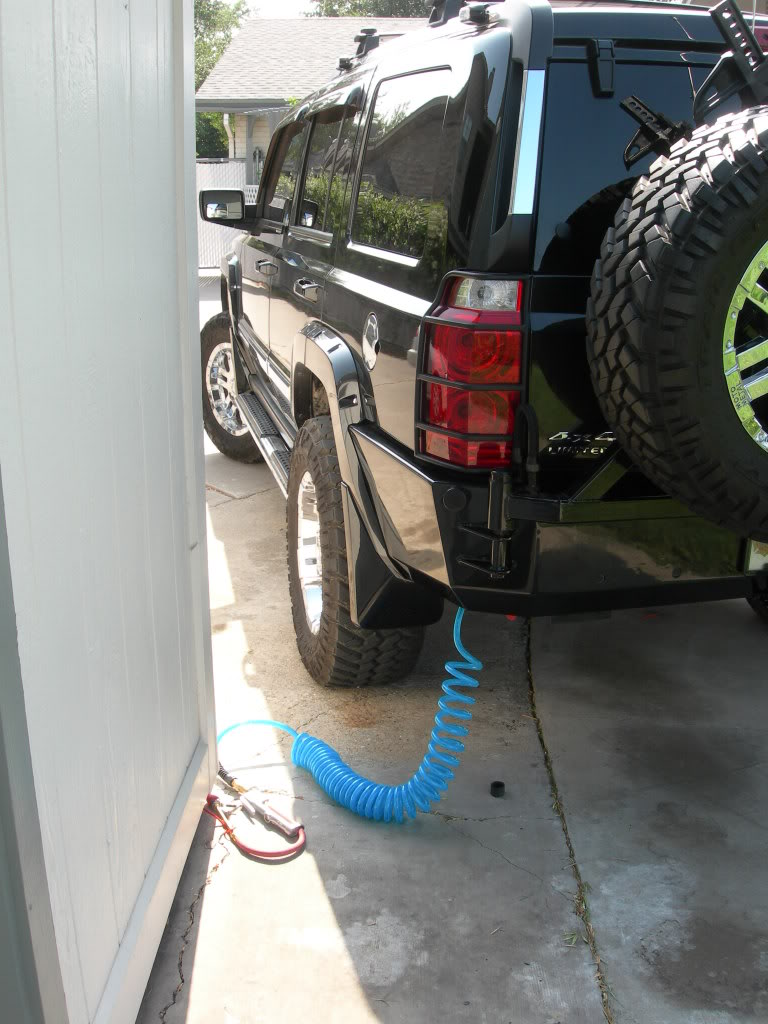
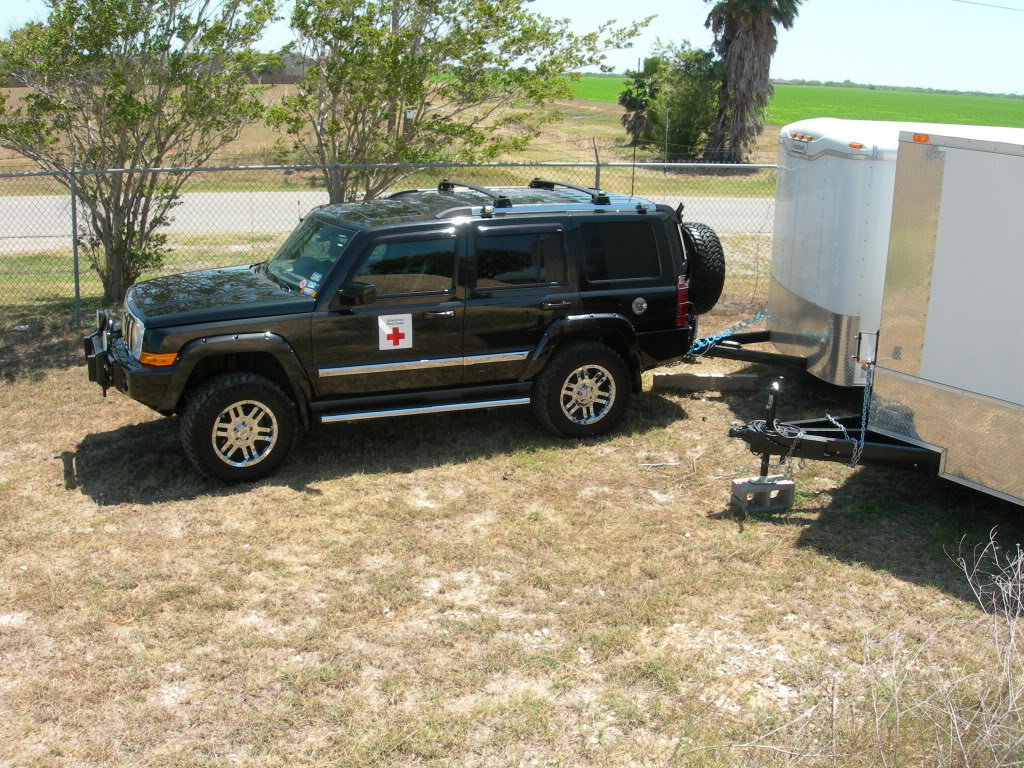
The compressor and tank are mounted in the space vacated by my spare tire thanks to the SAs rear tire carrier.
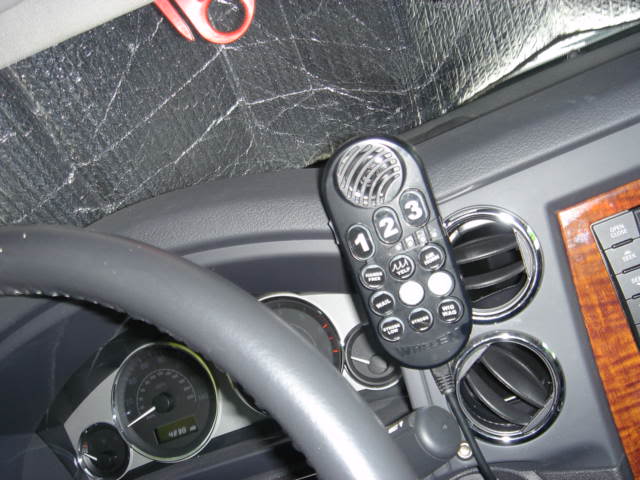
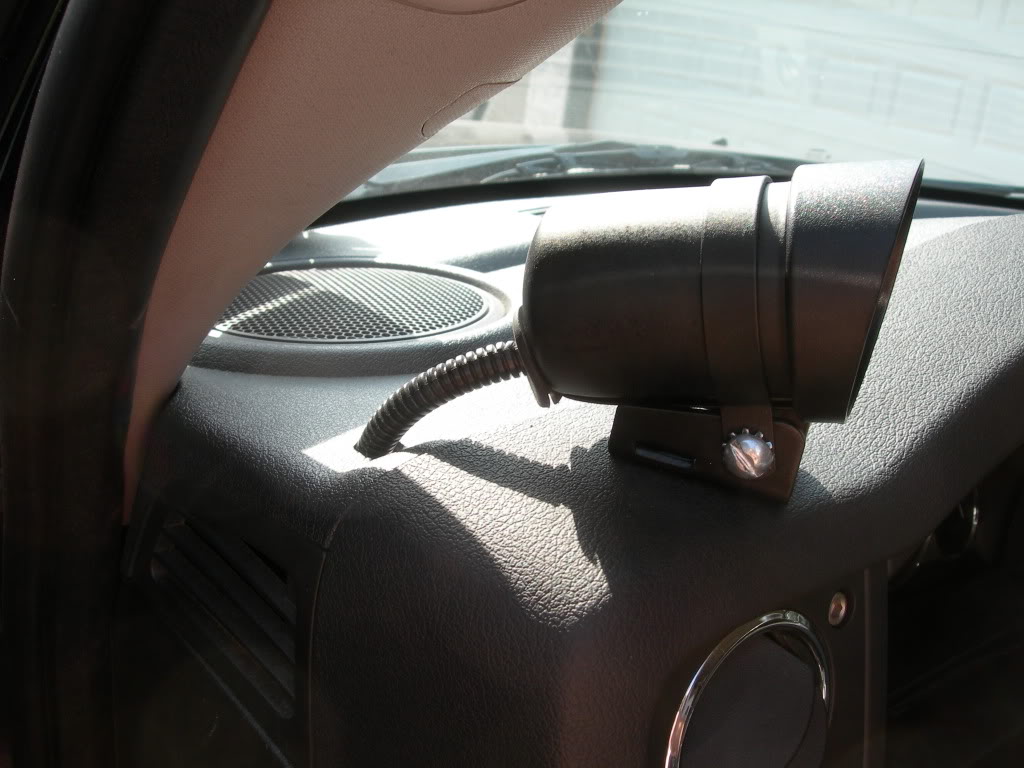
The electrical circuit is powered by my 2nd battery (mounted very close to it) and controlled by one push button on the PA/Siren light controller. This controller pictured below, now has a sticker on the center right blank button that is now labeled Fan with the symbol of a fan on it. The last blank is reserved for my future rack lights strobe flasher.
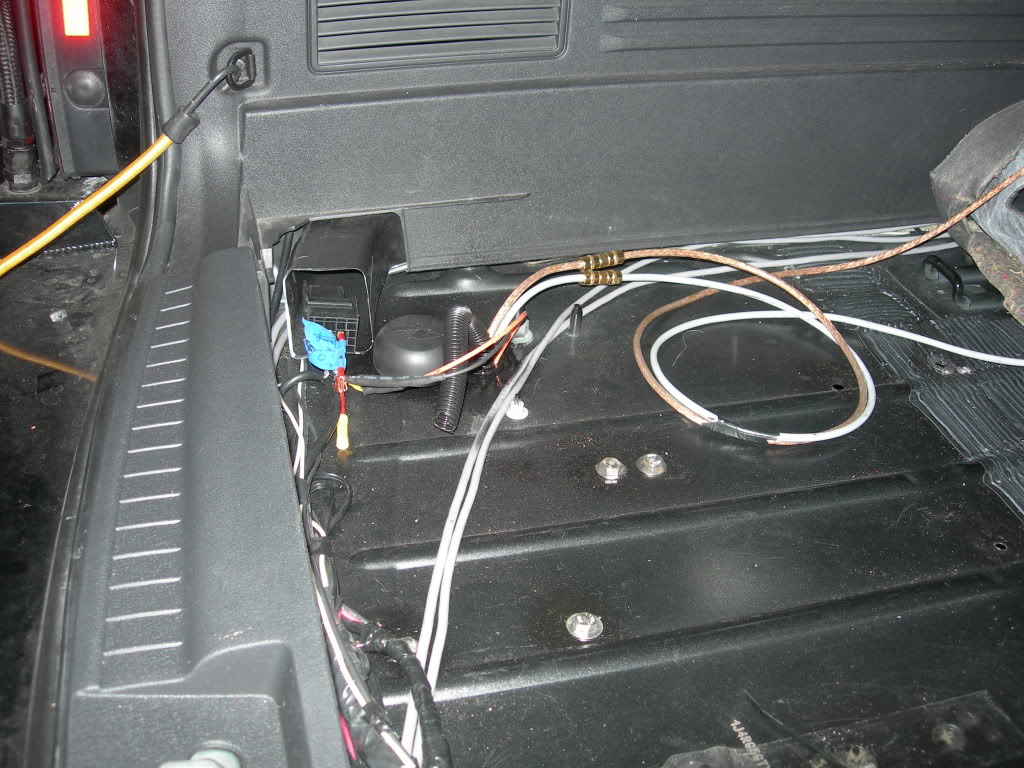
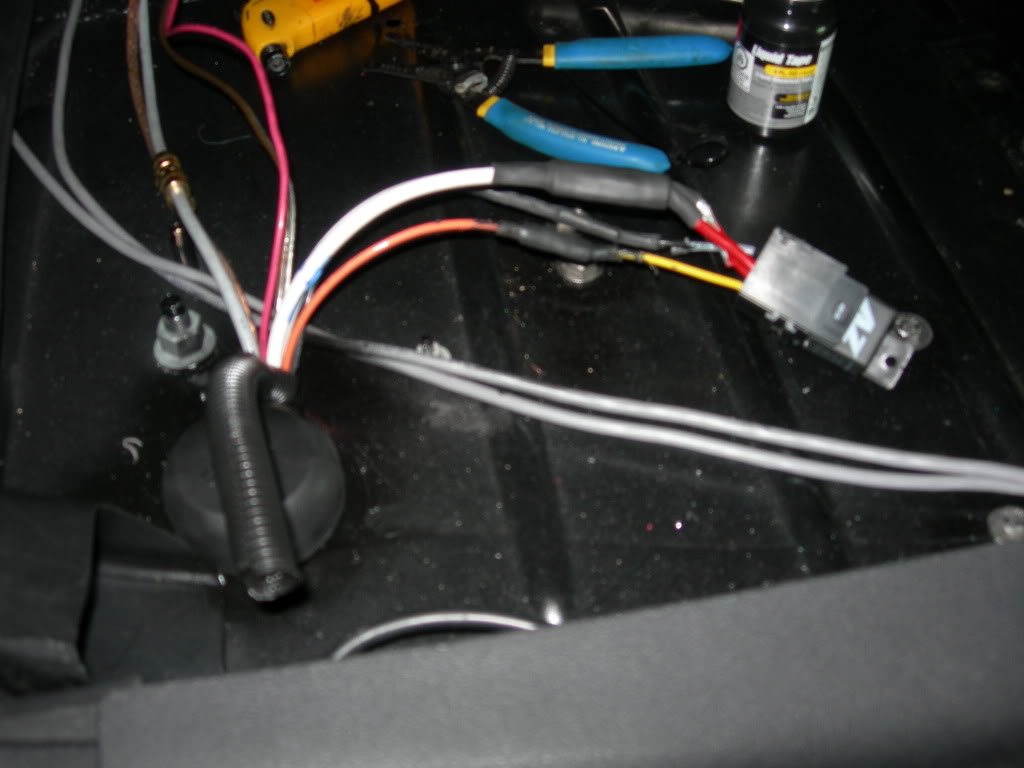
I brought all the relays, fresh air intake and its filter into the rear cargo area.
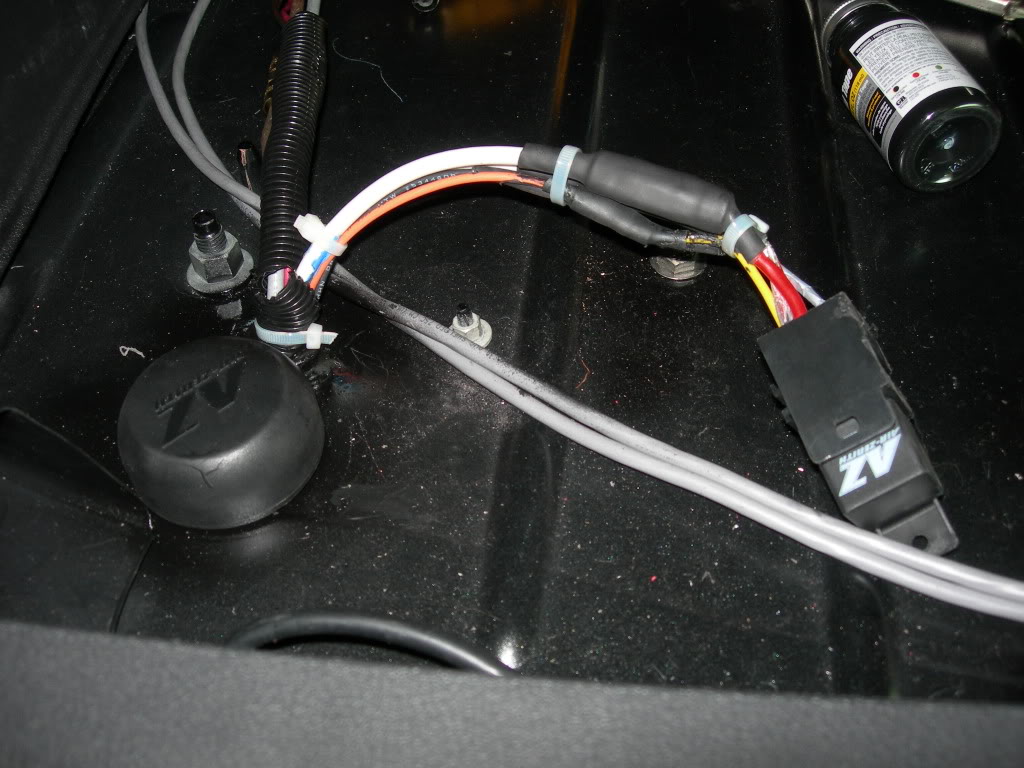
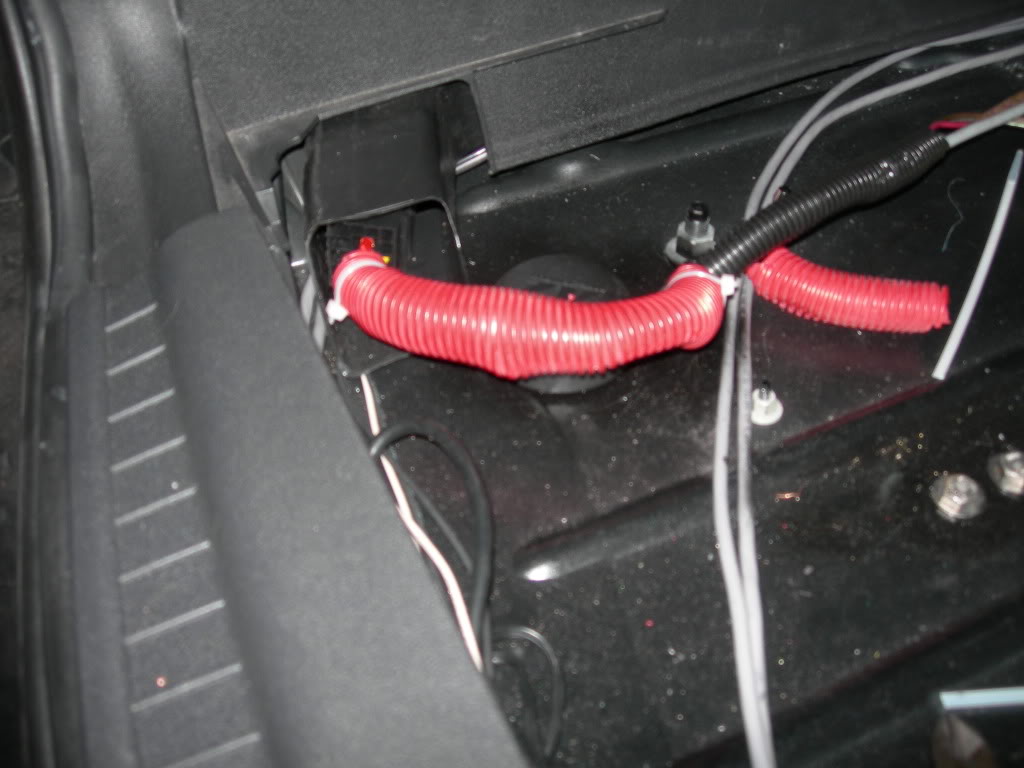
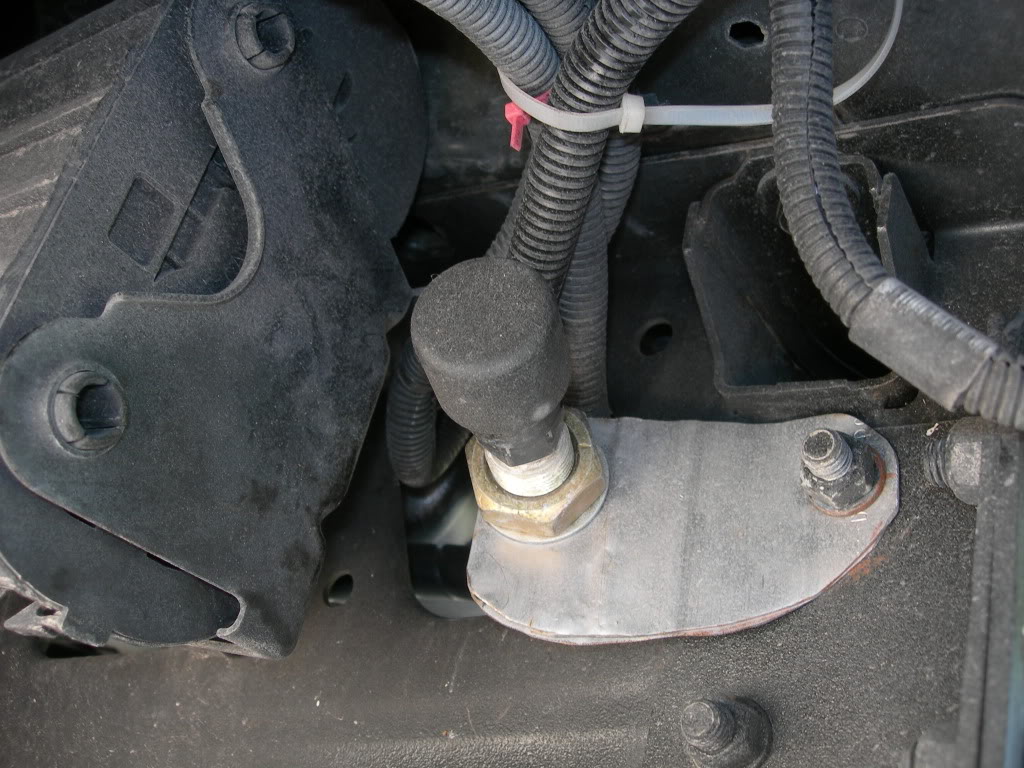
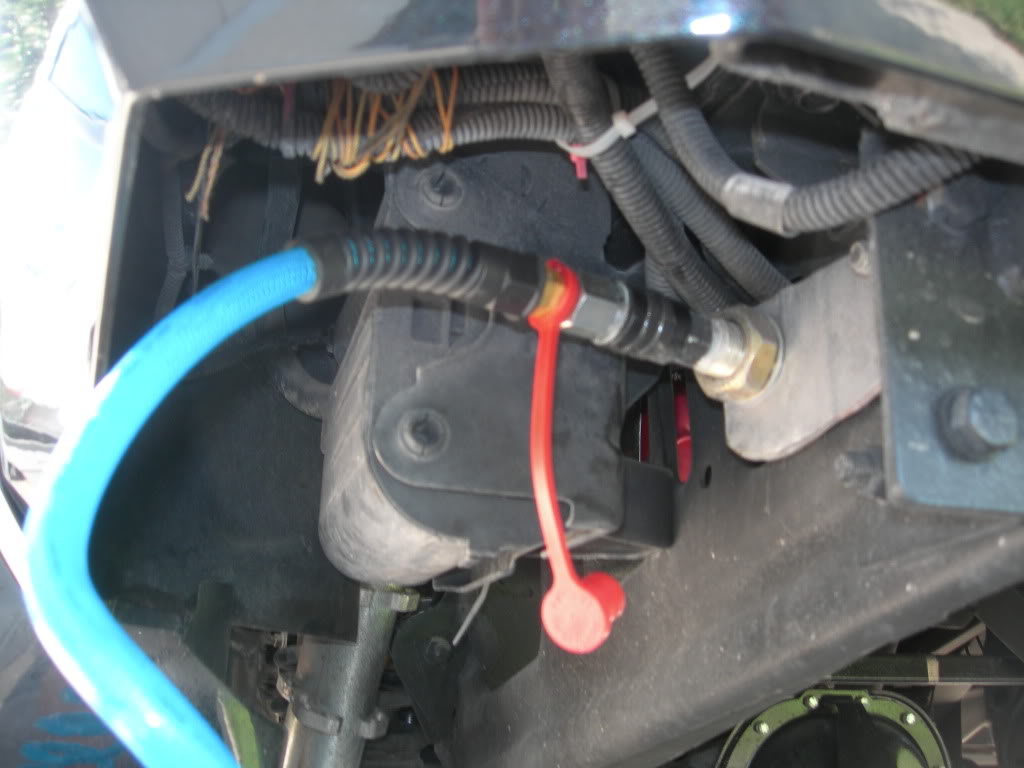
The compressor is grounded both to the frame and the 2nd battery. Anything touching something hot or cold is wrapped.
The fuse is located here and waterproofed as well as possible.

 Reply With Quote
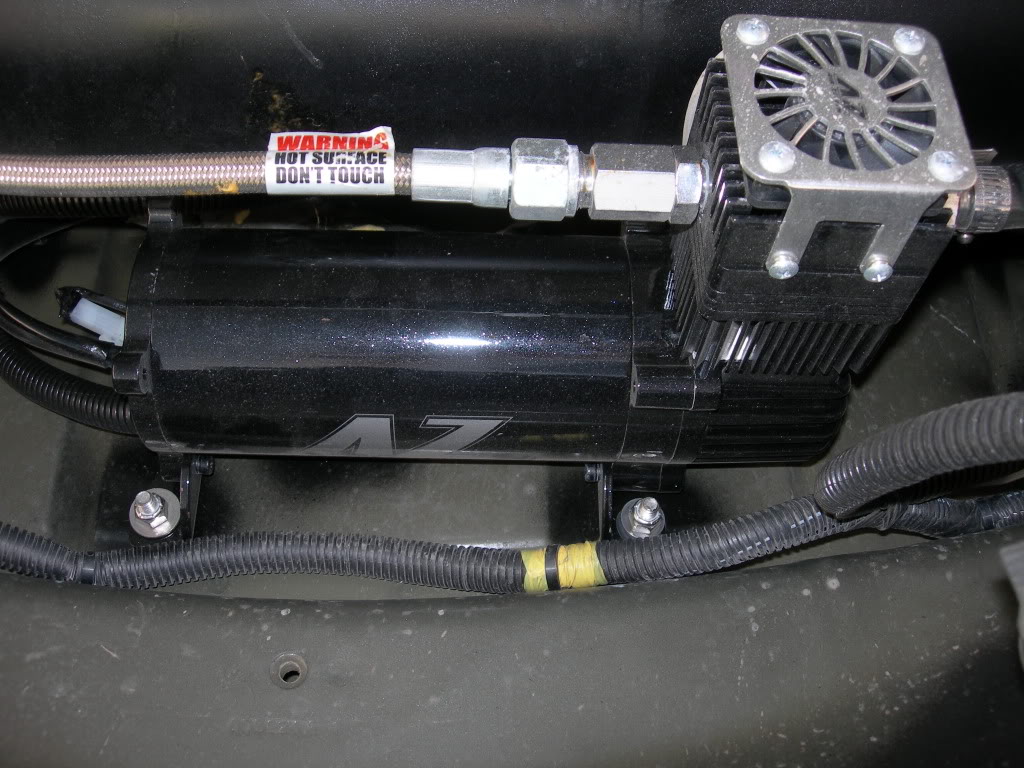


 I love your style!


