Results 1 to 9 of 9

Thread: My Duel Batteries

  1. #1
    Lifetime Member Getting Dirty 1USMC's Avatar
    Join Date
    Dec 2010
    Location
    South Texas
    Posts
    371
    Rep Power
    14

    My Duel Batteries

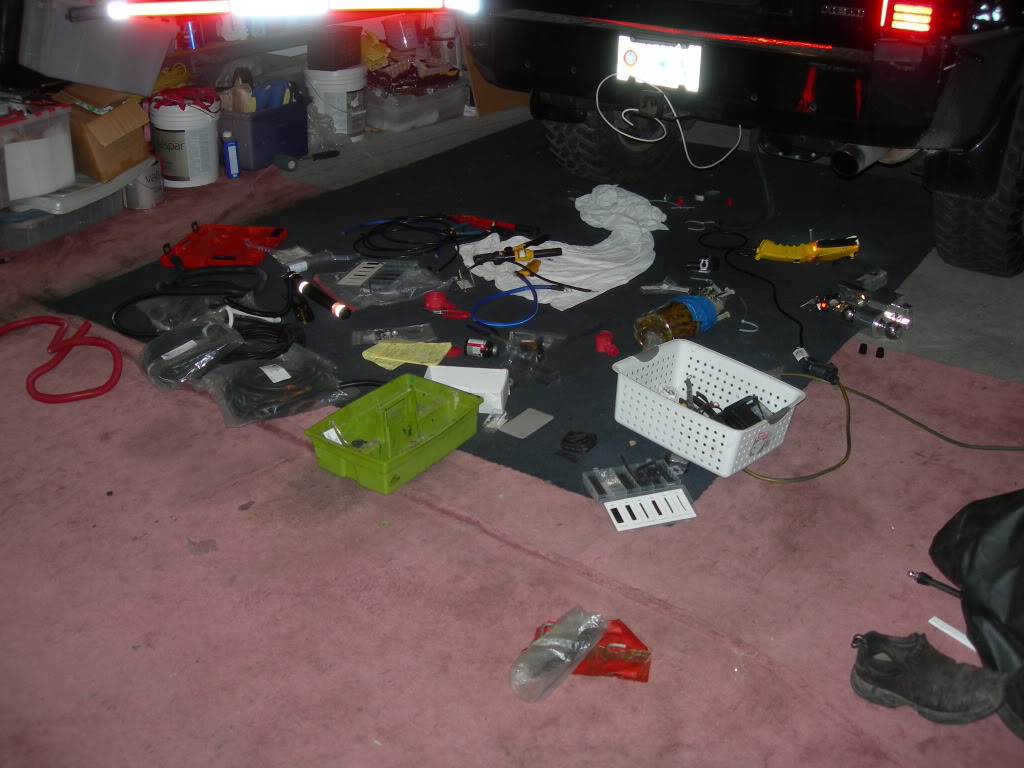
    As some of you might know my Commander may sit for weeks without being started, sit at an emergency location all night with scene and warning lights on, support multiple communications devices, jump start others, or winch myself or someone else when needed etc. . So as I have had to do on my other vehicles, I had to find the time to install a reliable 2nd battery and controller.

    < My apologies again, because the photos that I had of the OBA project with all the parts laid out before installation that were lost in a digital black hole somewhere; also lost where the photos of the battery box I had made and others at the beginning of my duel battery project. >

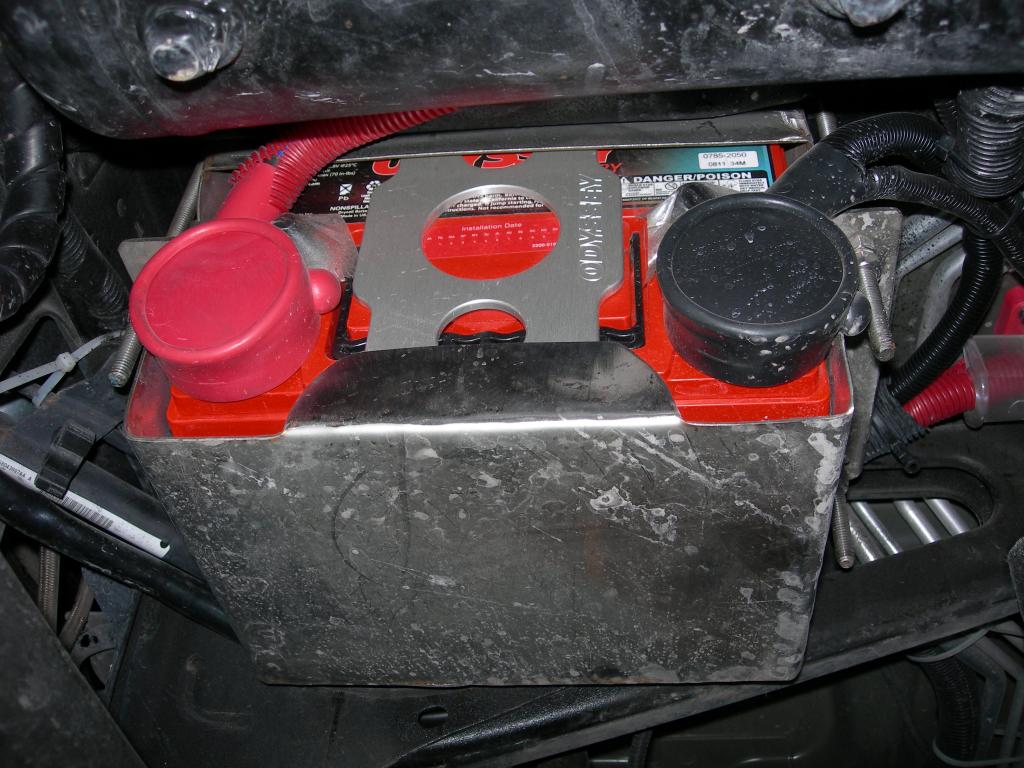
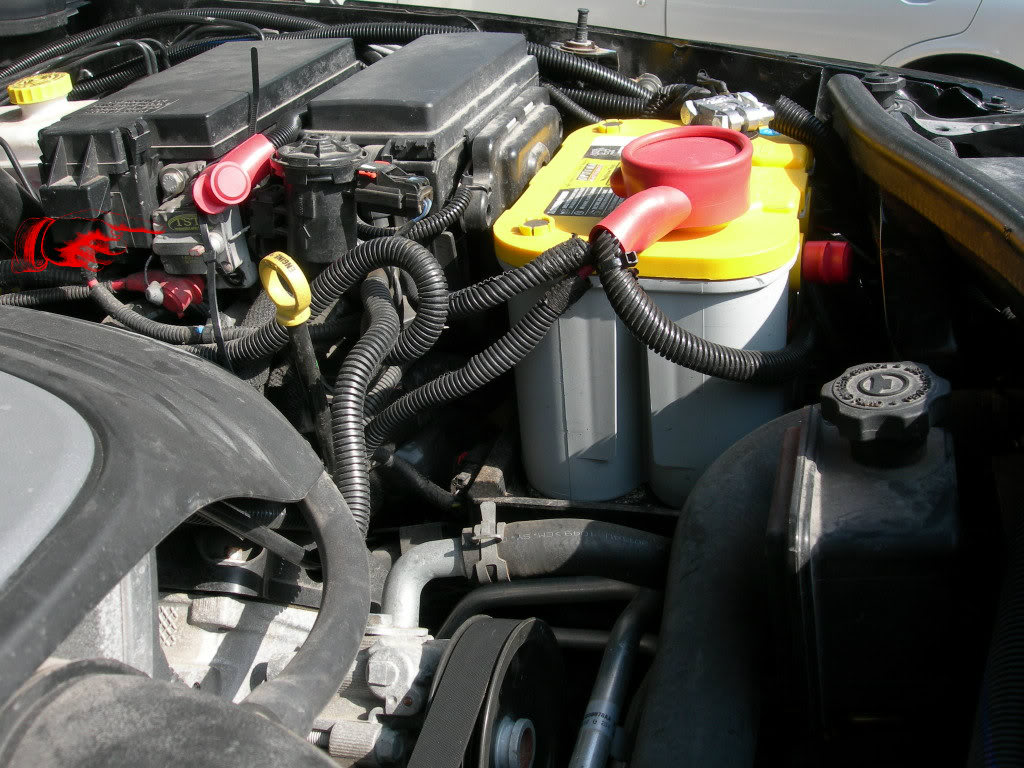
    My primary battery is an Optima Yellow top # 3478DT.

    http://www.optimabatteries.com/us/en...cts/yellowtop/

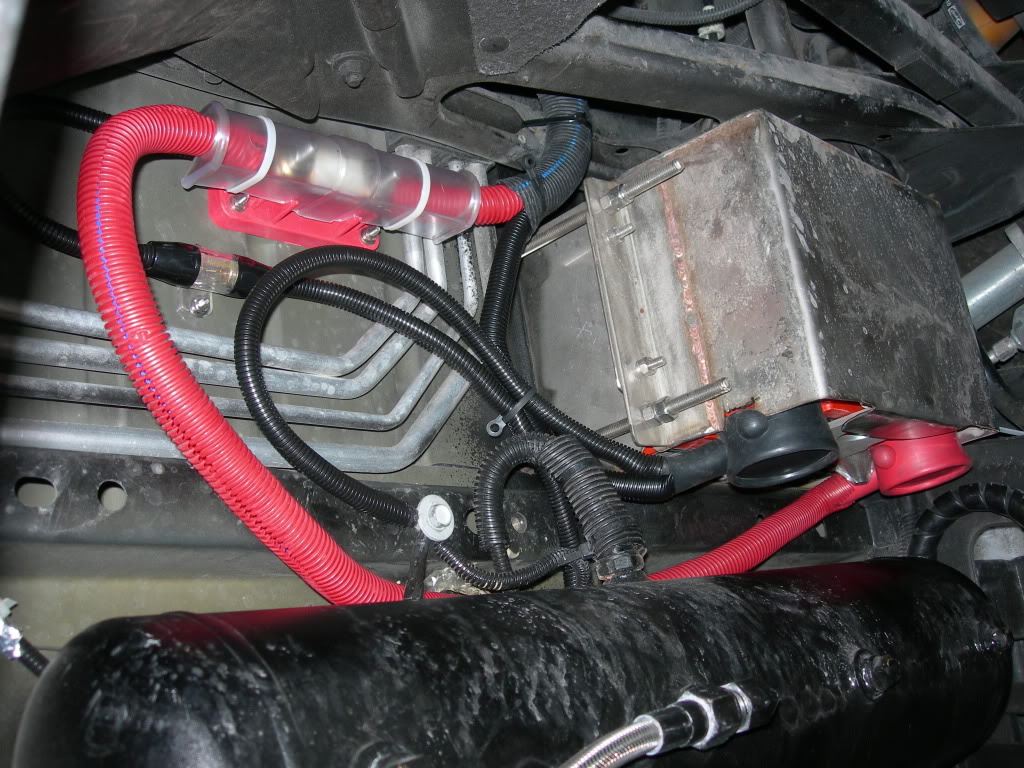
    I mounted the 2nd battery next to my OBA compressor in the space where my factory spare tire was. I used a Marine grade ( Ok yes I’m partial ) deep cycle Odyssey AGM 34M-PC1500MS as my backup because my vehicle can sit for extended periods of time and also due to its duel use, as my first responder vehicle that can drain a lot of power and needs to be able to withstand numerous deep cycles.

    http://www.odysseybattery.com/marinespecs.html

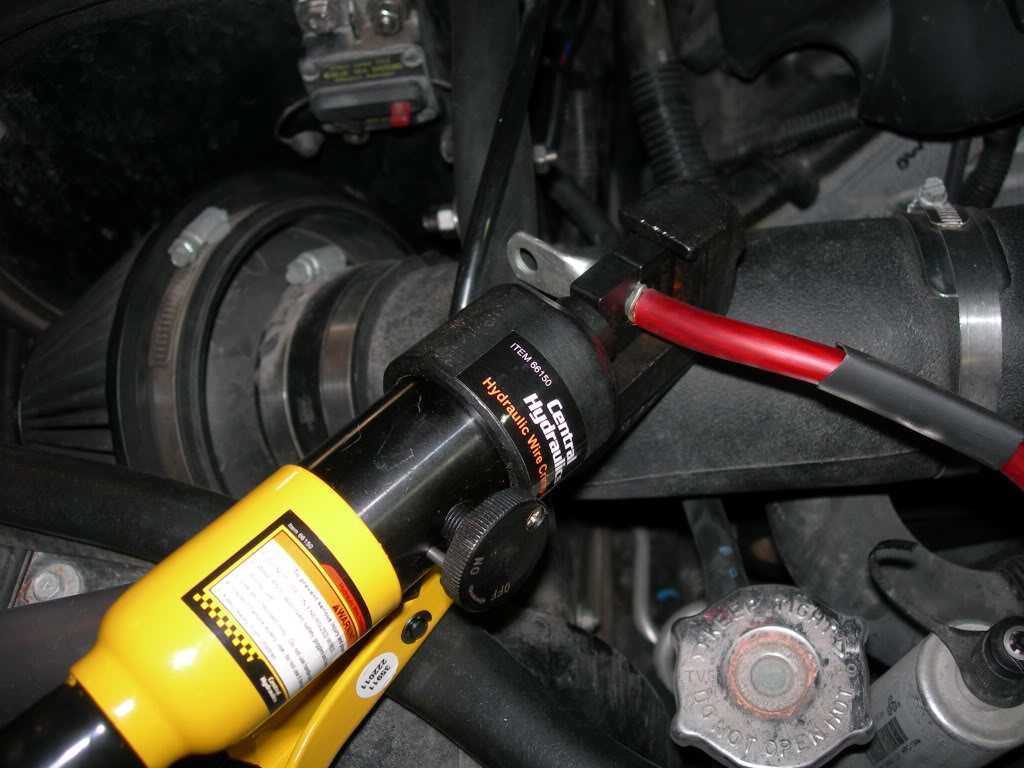
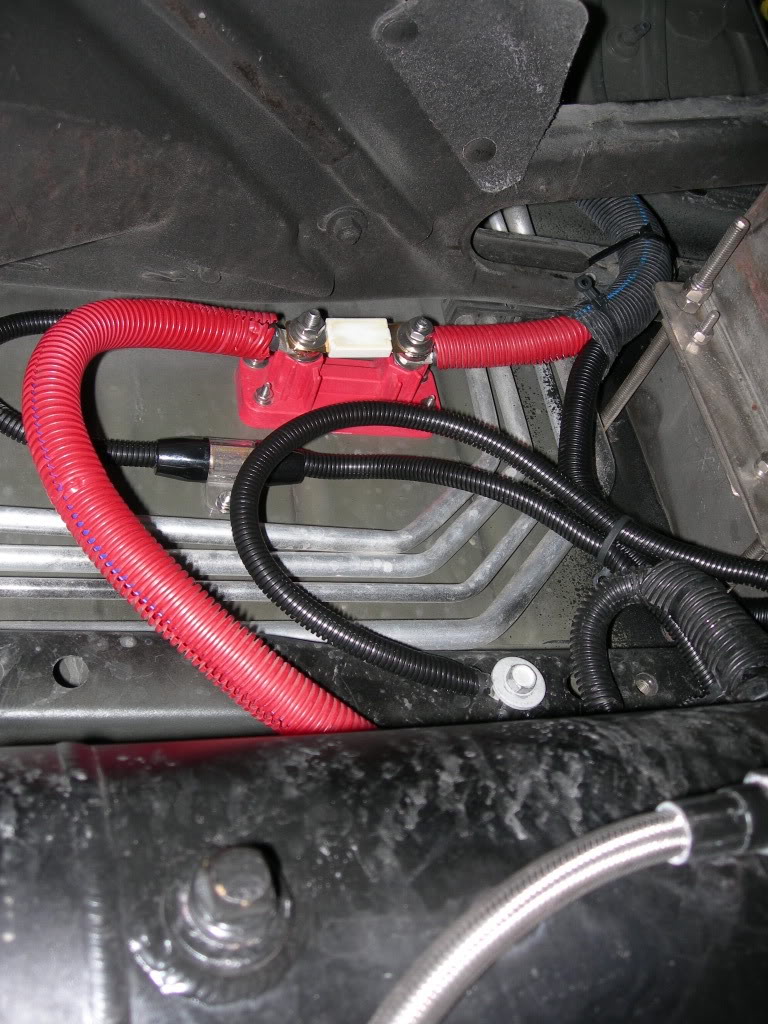
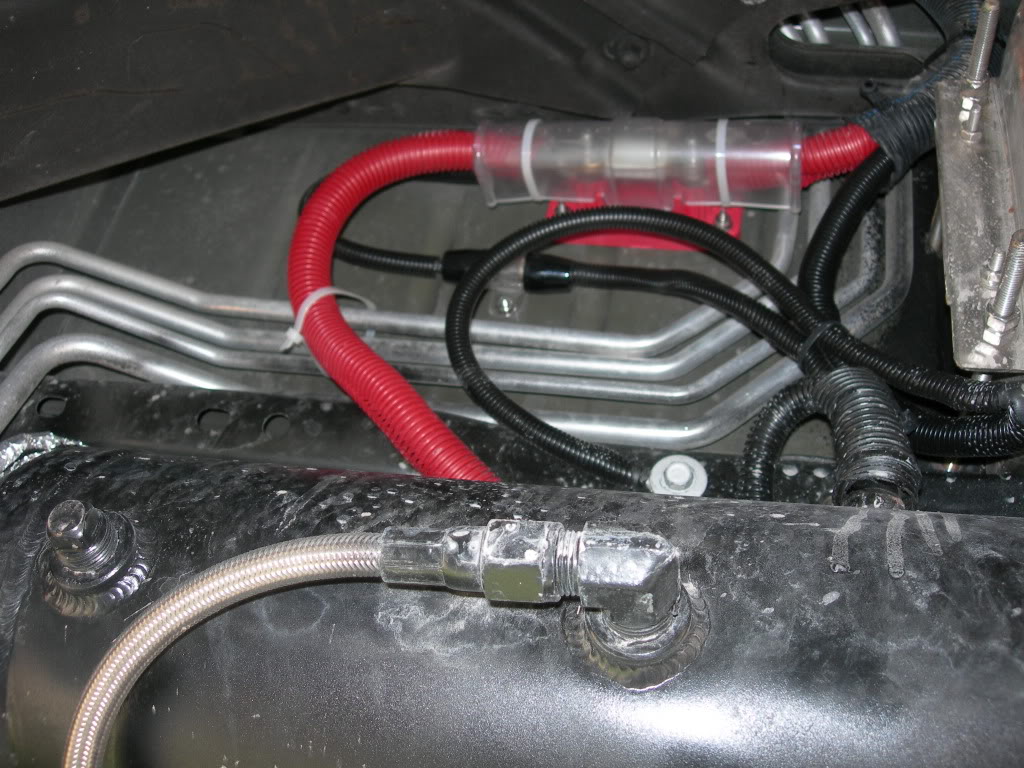
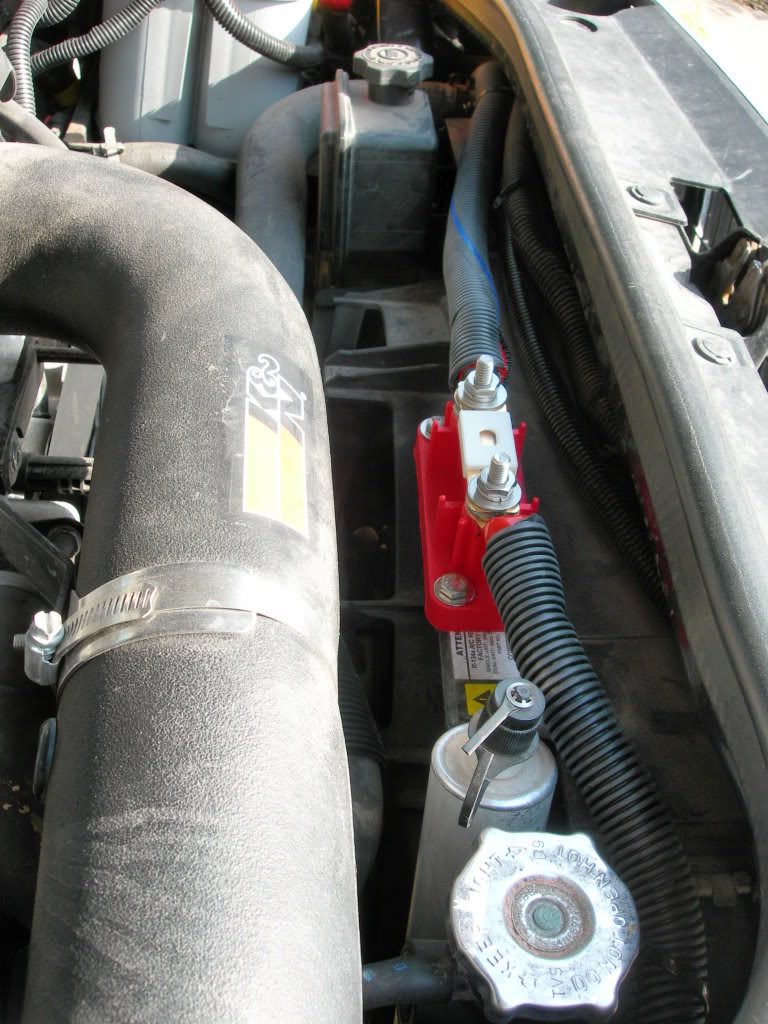
    I used Zero gauge wire from my primary battery to my winch connection and to the relay. I used 1 gauge from the relay in the front of the jeep to the battery in the rear. 1 gauge was also used between both battery's negatives. The 2nd is also grounded to the frame in the rear of the Jeep. I wanted used two 500 ANL amp fuses to protect both sides of the positive run. The fuse set up was very reasonable and I got them from VTE inc.

    http://www.vteworld.com/

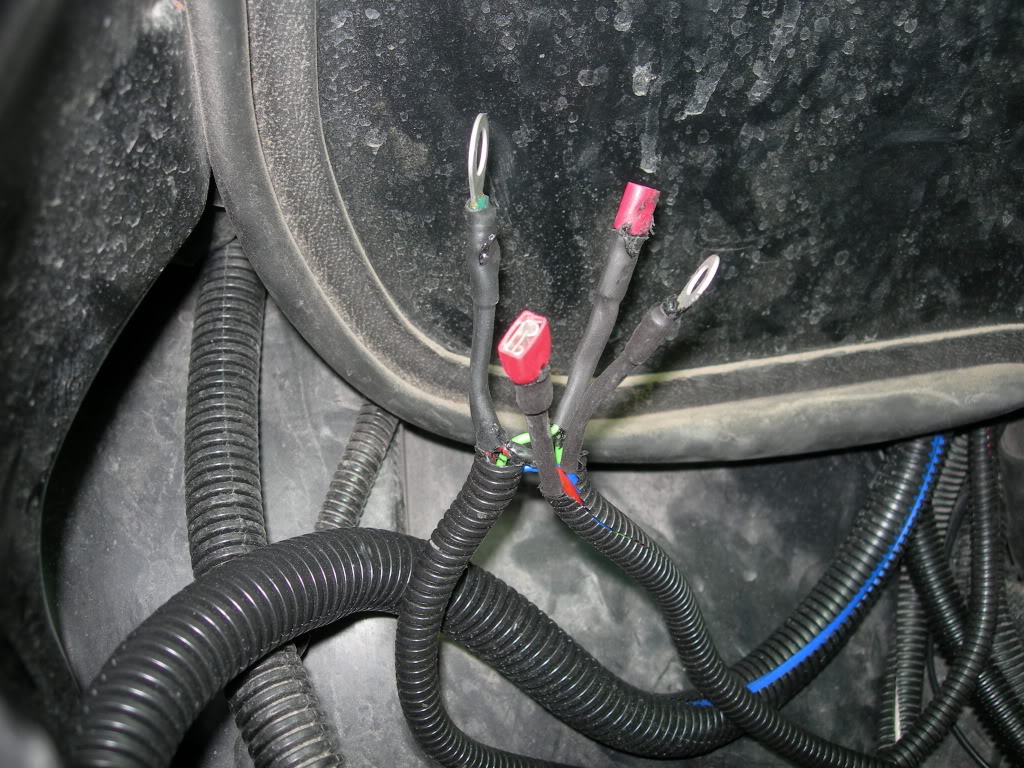
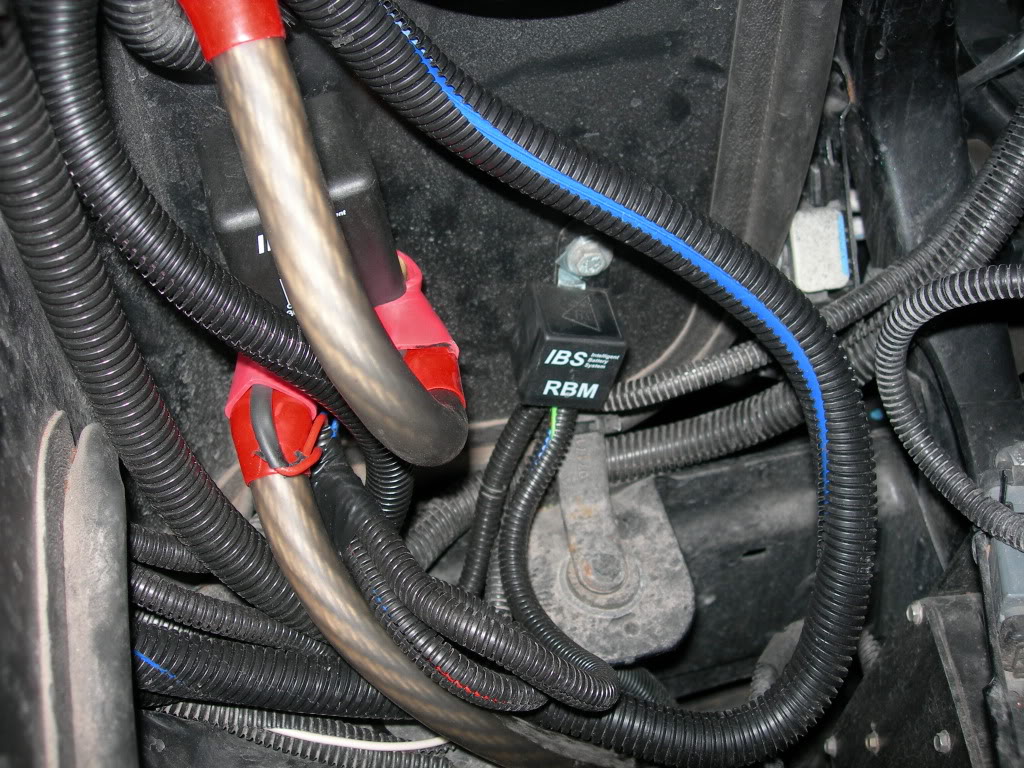
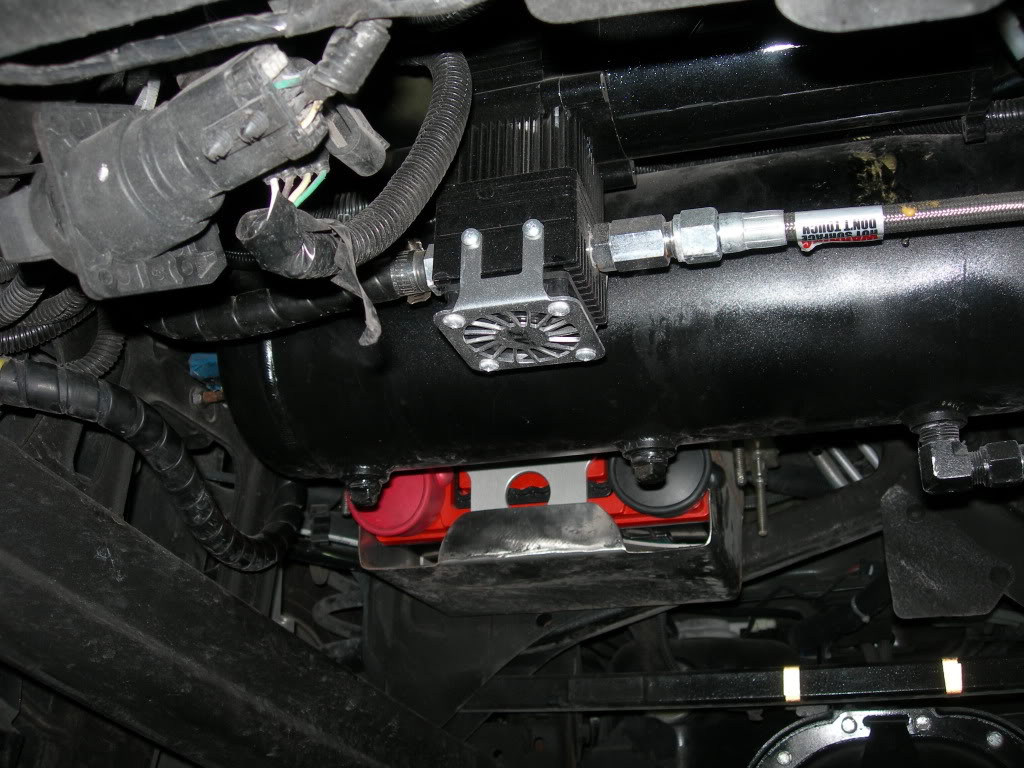
    I used a Marine grade (there I go again) split loom cover that is flame resistant and self extinguishing from the engine compartment along the transmission, past the gas tank to the rear battery.

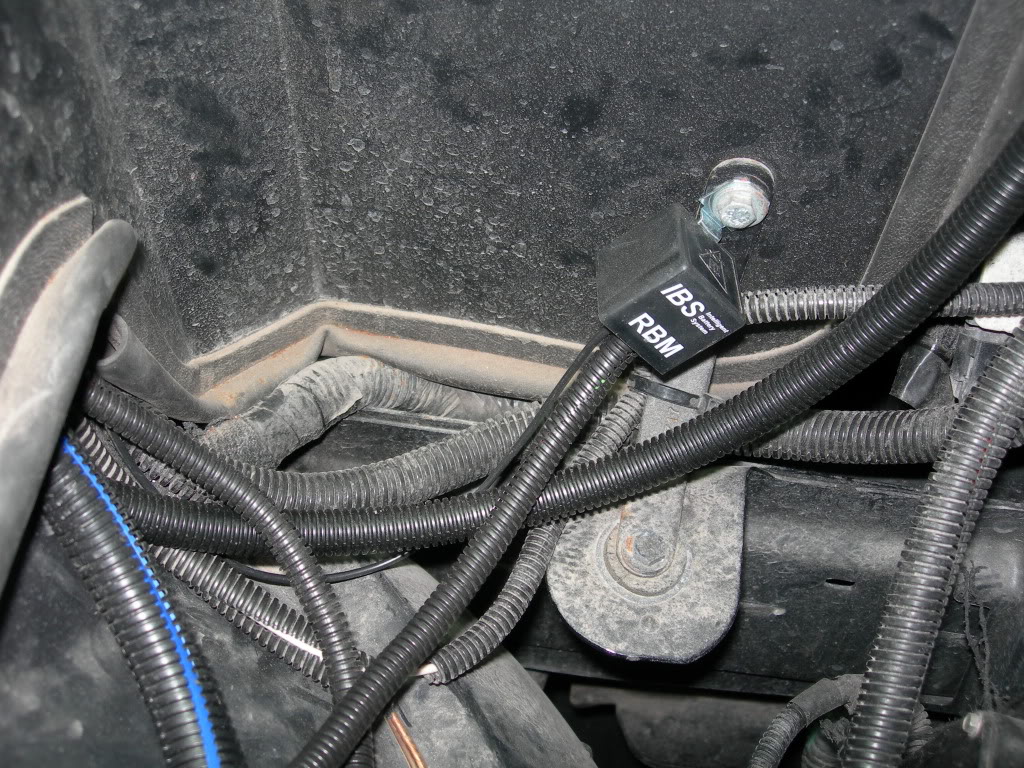
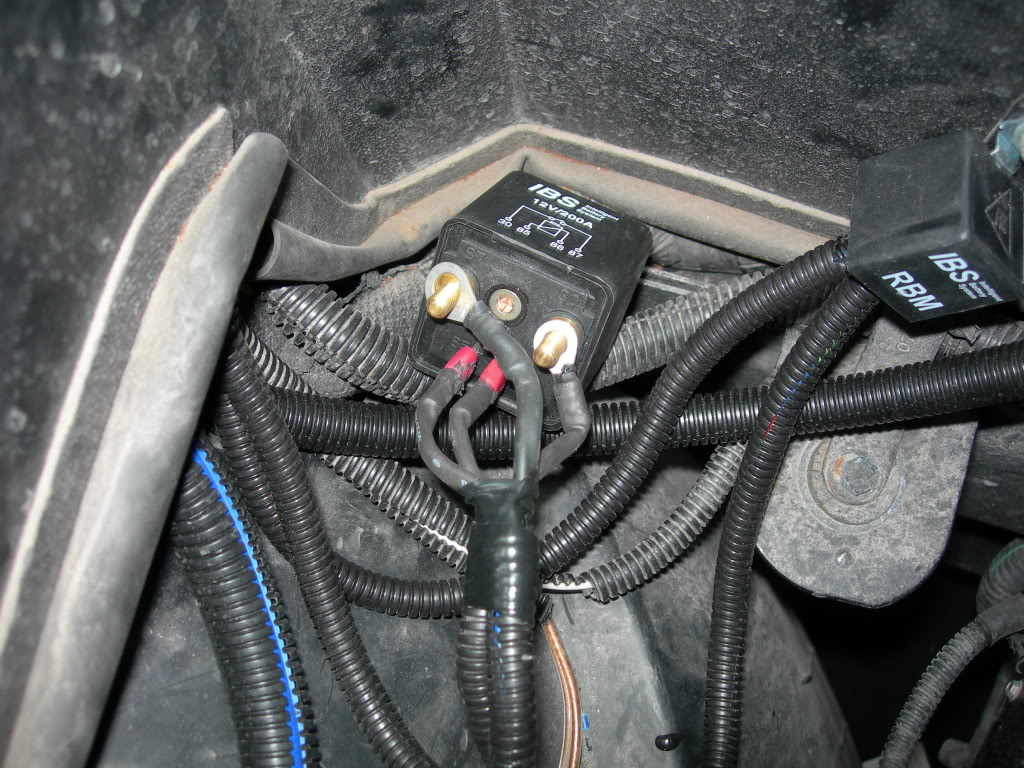
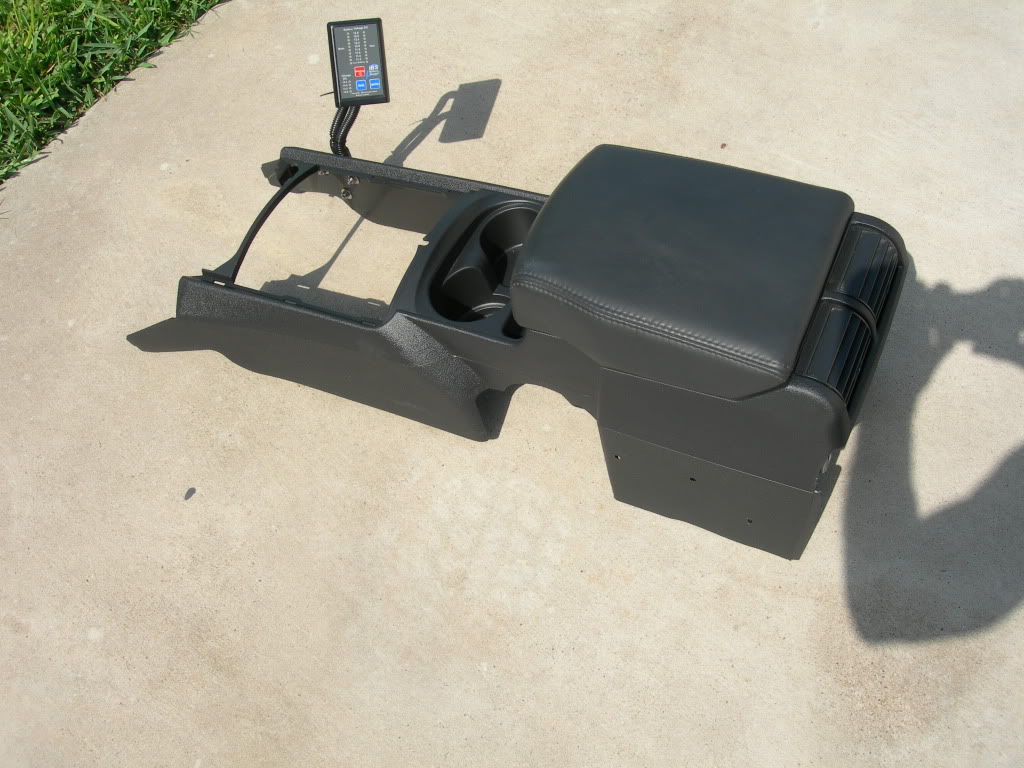
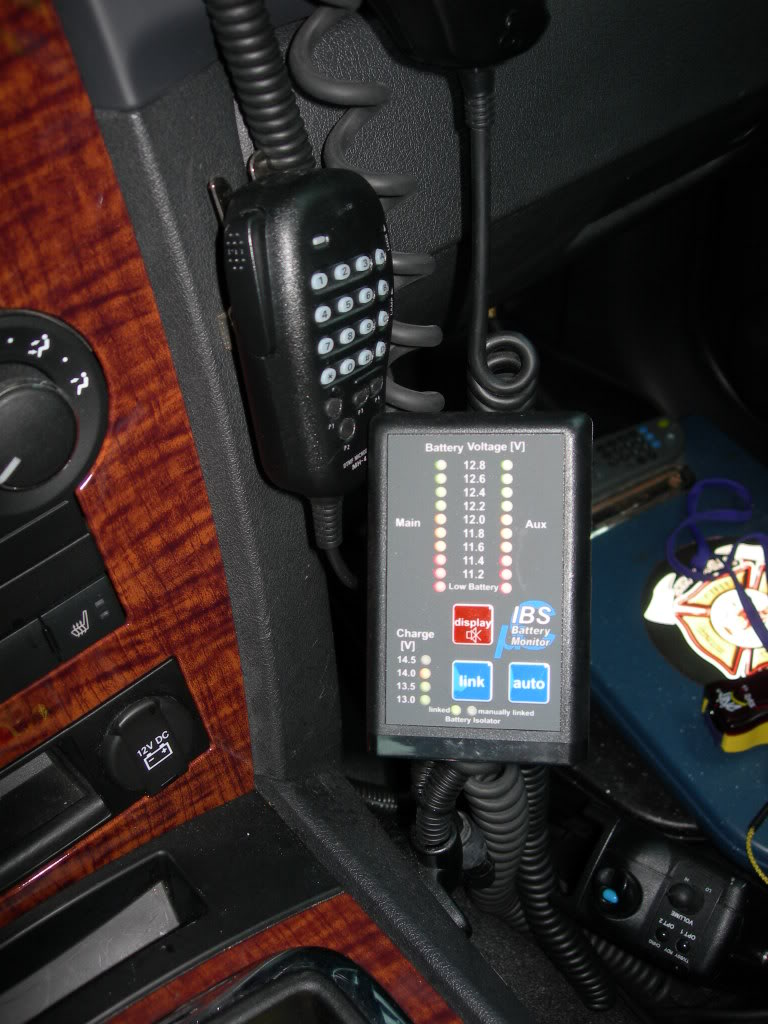
    For the charging, auto/manual connecting and isolating the two batteries, I used an IBS (they call it an Intelligent Battery System) and their Relay Booster. The unit has a controller/display that shows the voltage of each battery, when the batteries are automatically connected and disconnected (disconnects shortly after turning off the engine), vehicle charging voltage and has a manual connect/disconnect button. The unit is rated at 200 amps continuous and 500 surge amps for initial winch ops or self jump starting. For winching, with the alternator and primary battery amps I have available upstream, I felt comfortable with the remaining loads that might be demanded on the system.

    http://www.sierraexpeditions.com/ind..._detail&p=2074

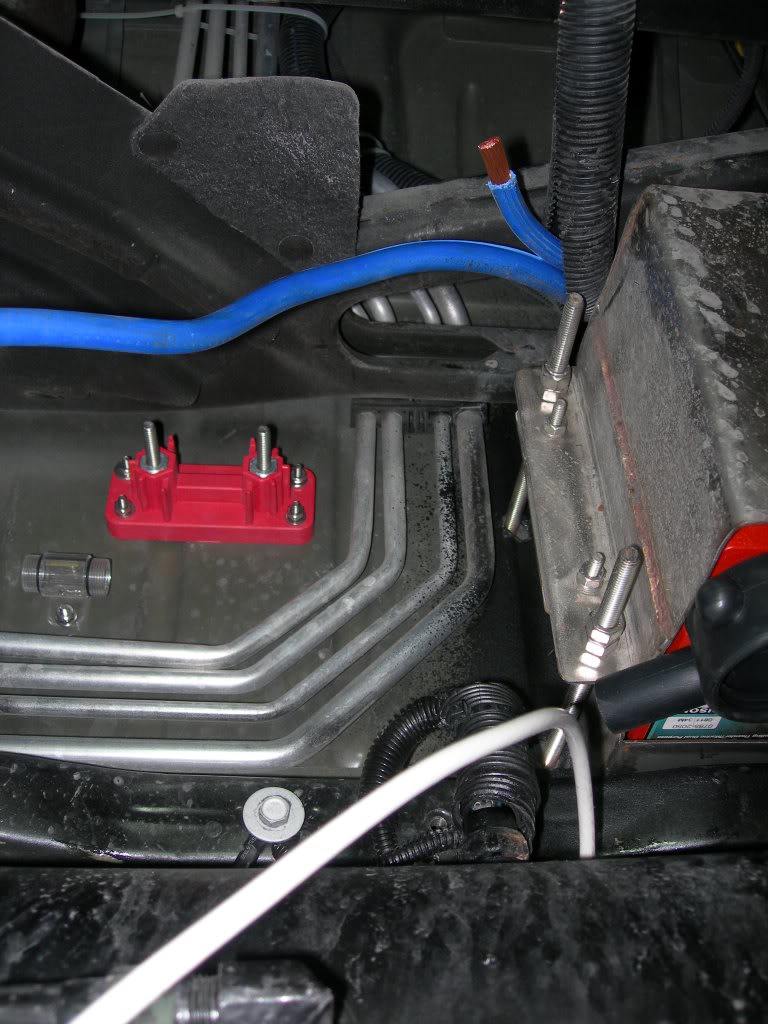
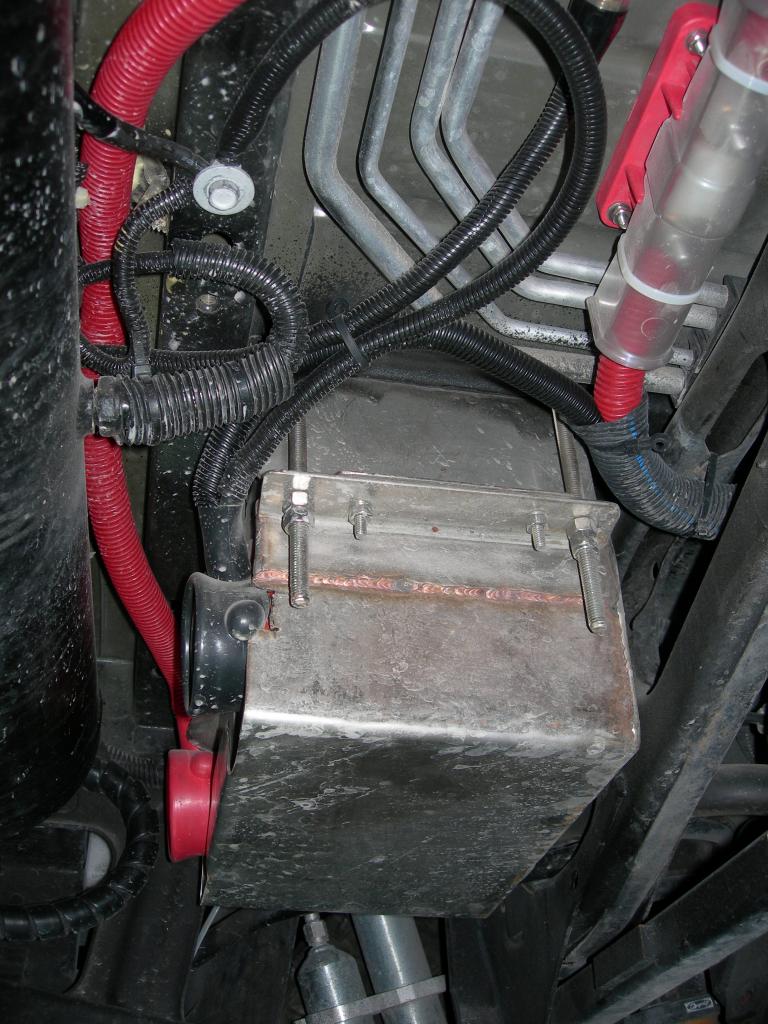
    To mount the rear battery I started off with the Odyssey 925 mounting kit. I had a SS box made for enclosing the battery and the mounting kit. I then had four SS threaded rods welded to a SS plate ( looks like a table now). The four treaded rods where then inserted down through four holes from the inside of the Jeep with the table’s “top” now laying flat on top of the rear deck for added support. The four rods go through holes in the battery box and then nuts clamp it up tight to the bottom of the jeep. I sprayed extra bed liner on the bottom of the jeep where the battery box clamps up to it for added rust protection and cushion. Neither the battery in its box or the box under the Jeep has any movement. ;-)

    Sorry for the poor descriptions... That’s why I had originally taken the pictures.. Lol…

    I had to use my floor jack to lift the battery and its box up to the bottom of the Jeep to then bolt it in.


    Gett’n ready for another project!!


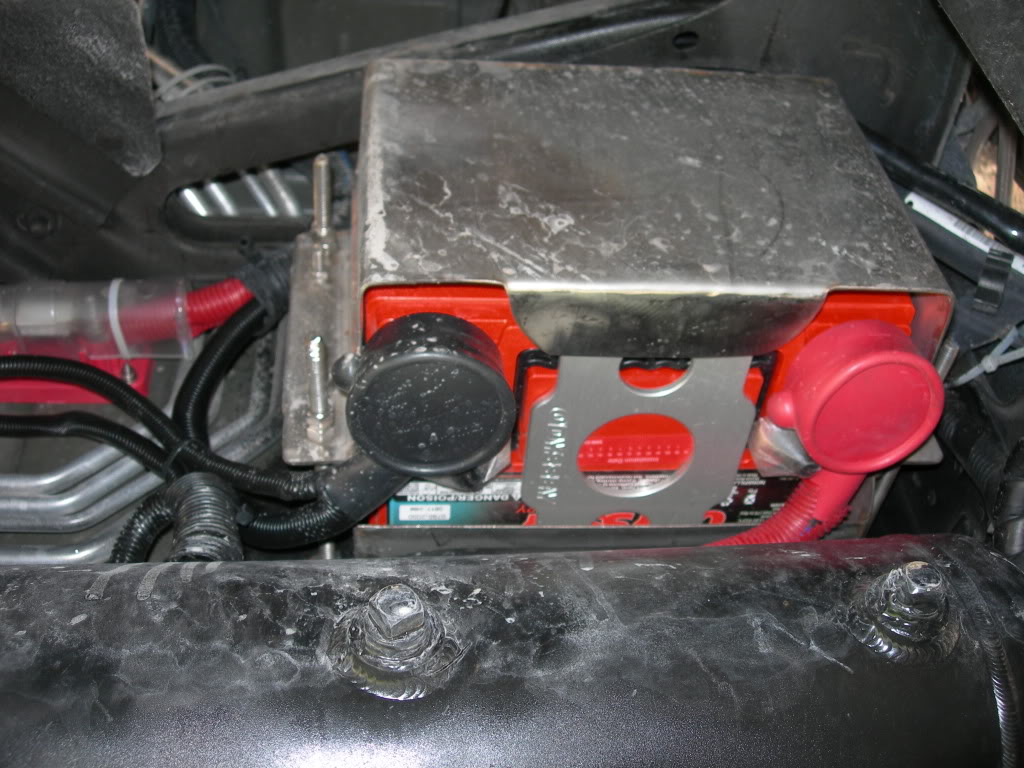
    OK where did my battery go ????


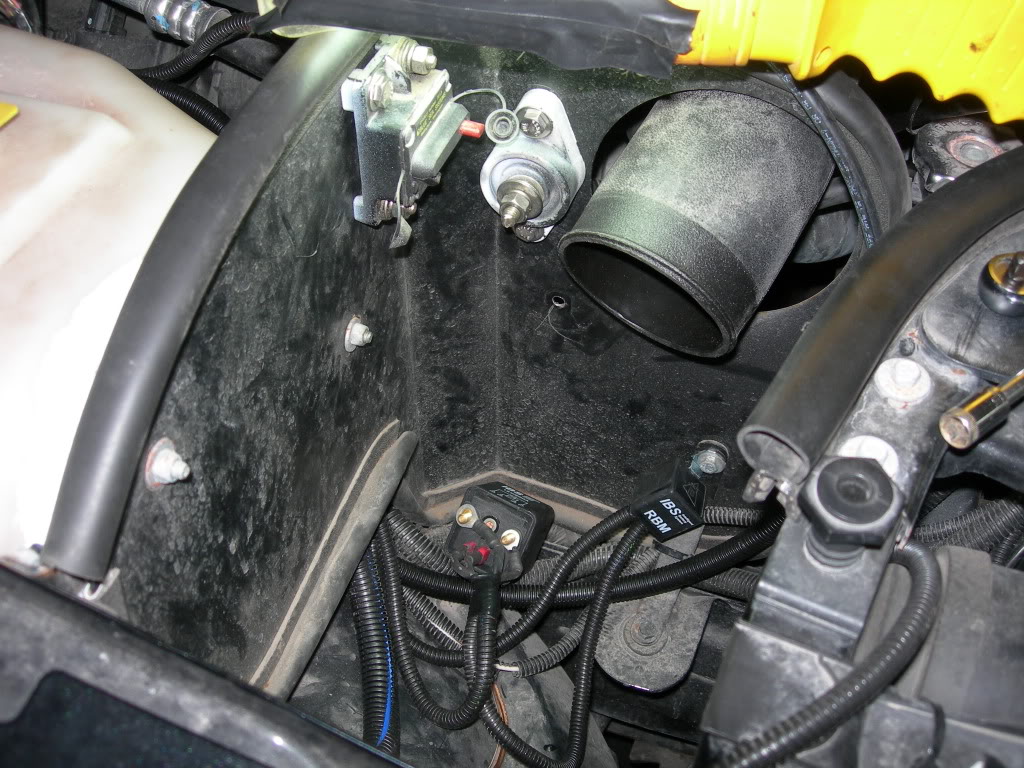
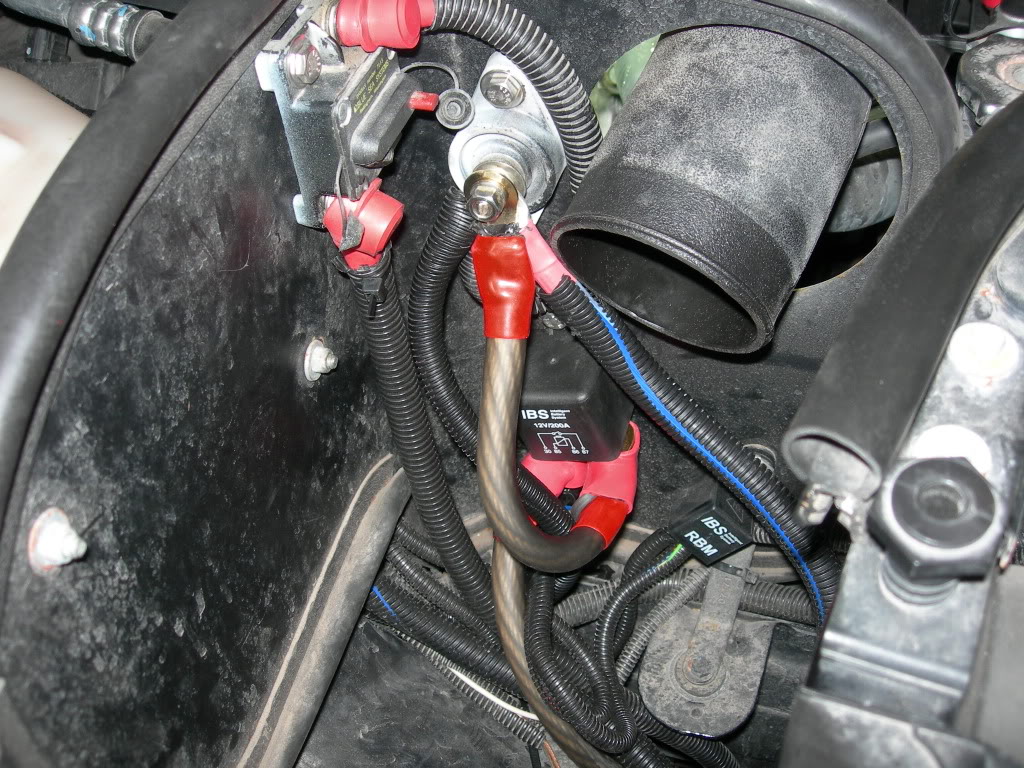
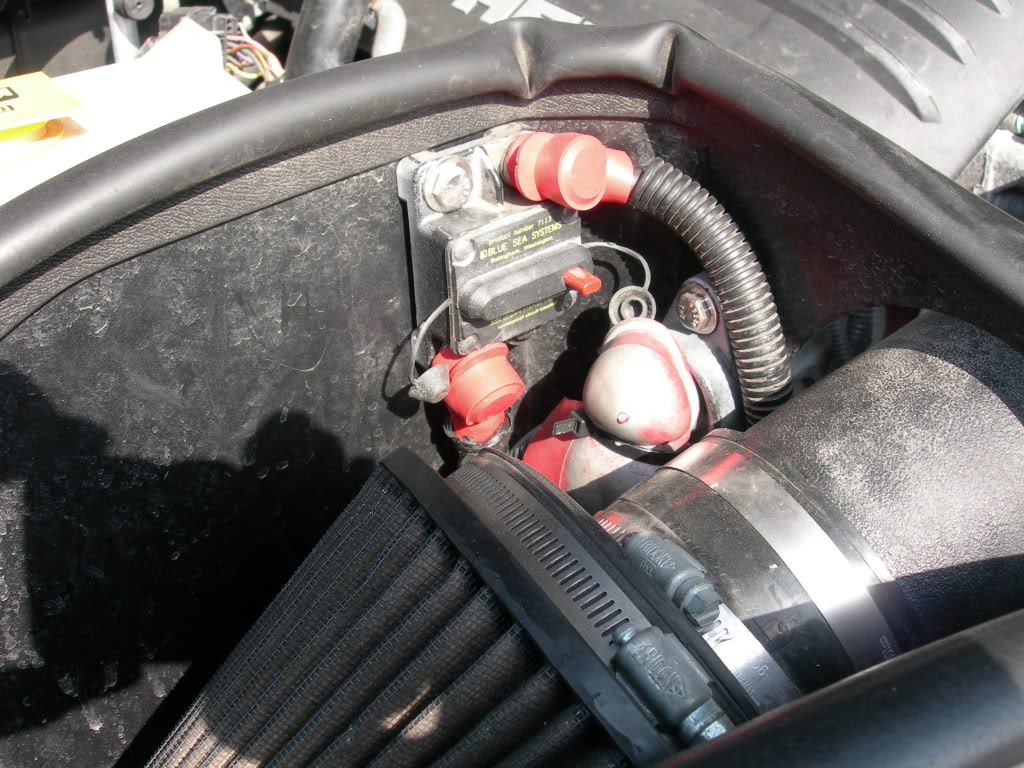
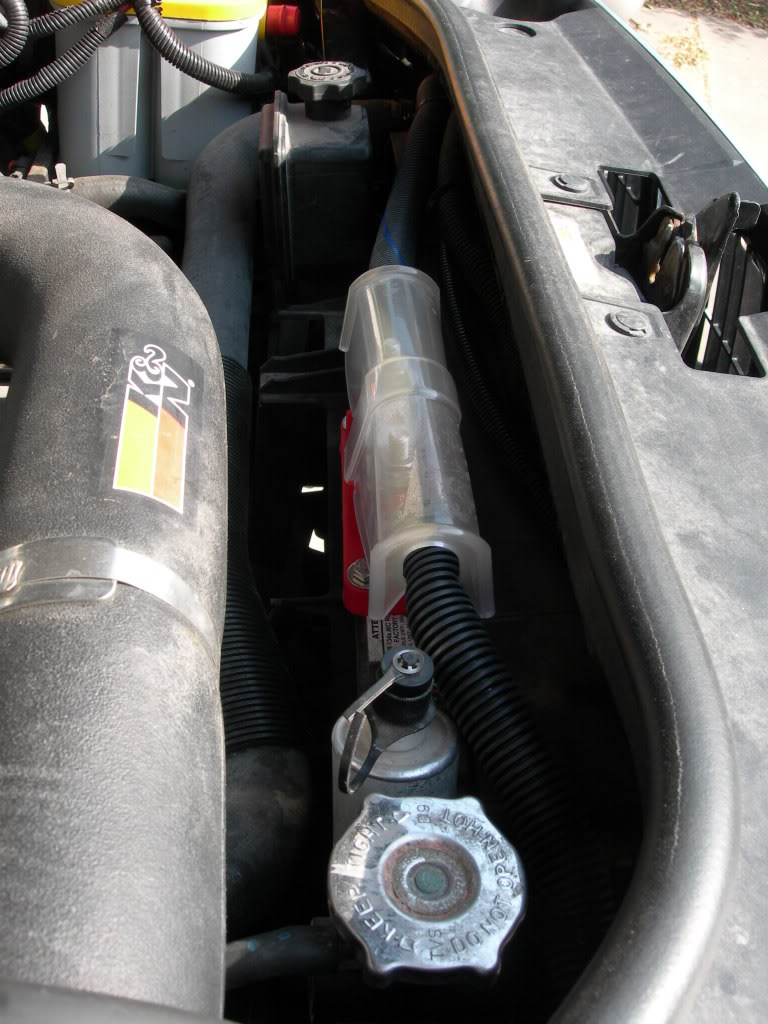
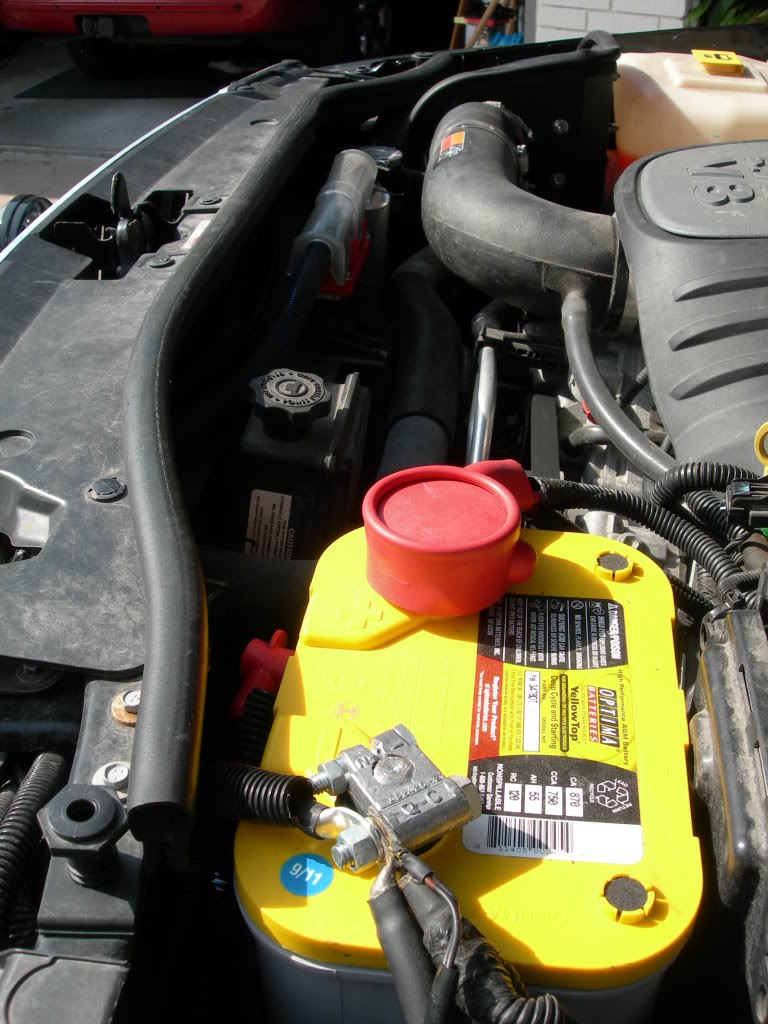
    Yellow top with one of my circuit breakers (arrow on the left).


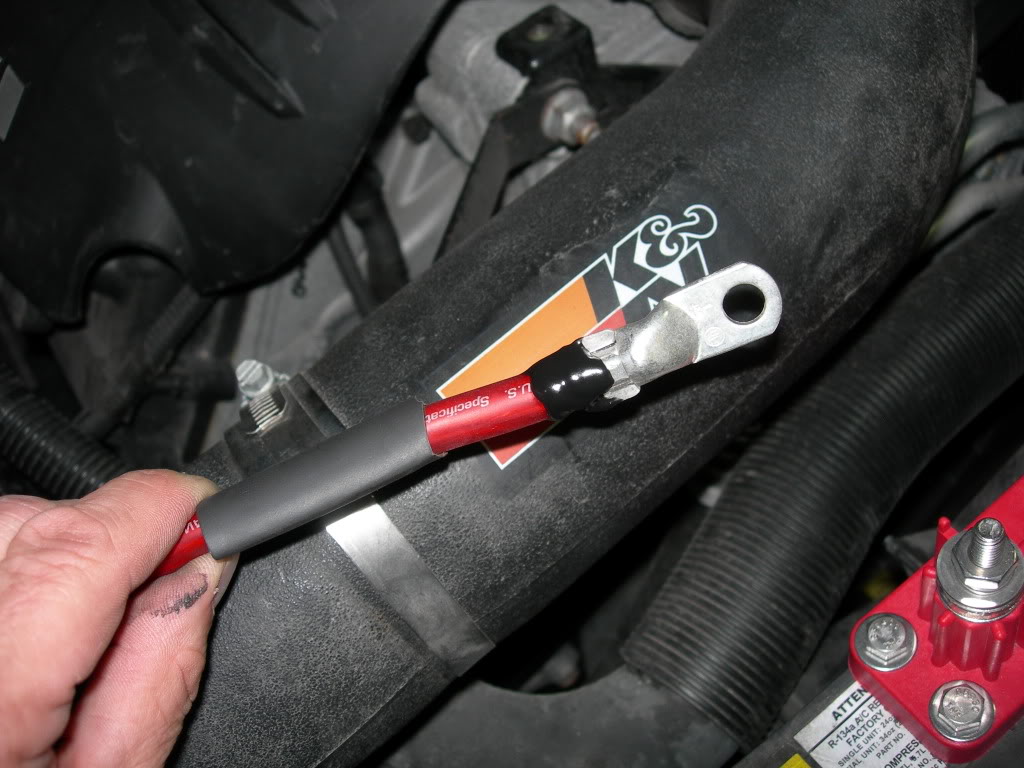
    I’m using both the top and side terminals


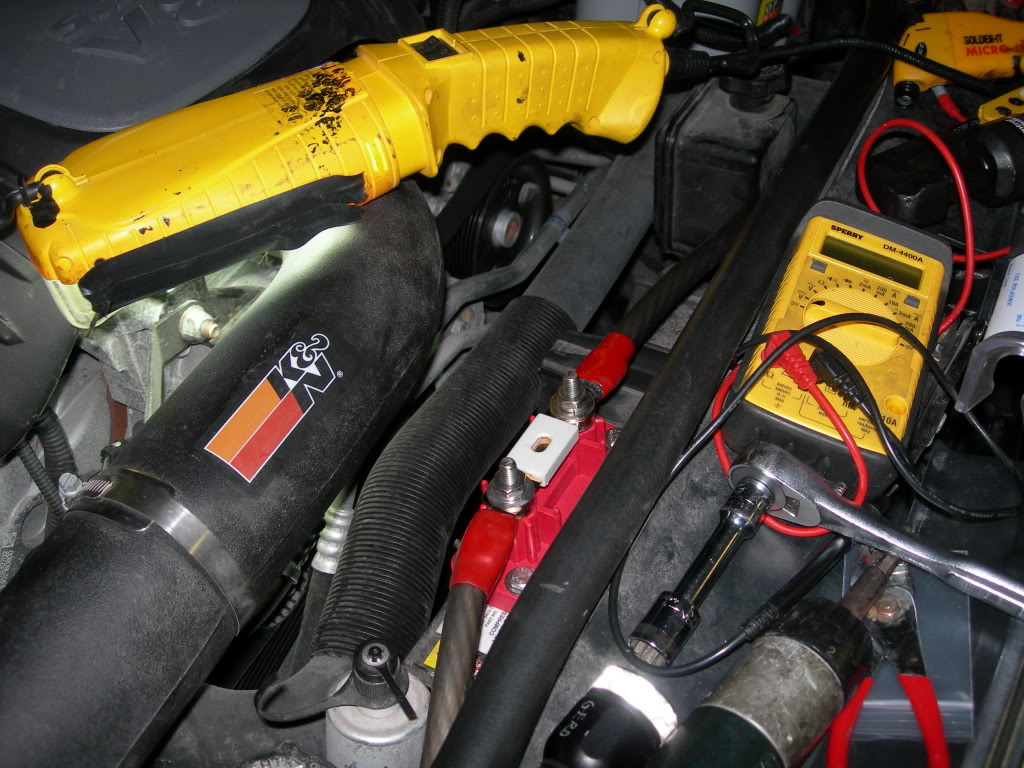
    The fuse from the starting battery to the IBS.


    After the cover was on I later added zip ties to make sure it stayed in place.


    Last edited by 1USMC; 02-10-2013 at 10:04 PM.

  2. #2
    Lifetime Member Getting Dirty 1USMC's Avatar
    Join Date
    Dec 2010
    Location
    South Texas
    Posts
    371
    Rep Power
    14
    Got a great deal with a hydraulic crimper on sale at Harbor Freight!


    Wires for the IBS


    I mounted the main and relay booster next to my K & N air filter


    I mounted another circuit breaker and power distribution post in the same area.


    Last edited by 1USMC; 02-10-2013 at 10:05 PM.

  3. #3
    Lifetime Member Getting Dirty 1USMC's Avatar
    Join Date
    Dec 2010
    Location
    South Texas
    Posts
    371
    Rep Power
    14


    The battery box with the battery on its side facing toward the rear of the Jeep.


    Preparing the power wire to go to the fuse


    Remember you are looking at this upside down.. I ended up drilling a couple of holes in the "low" spots on the fuse cover so it would not hold water....


    Last edited by 1USMC; 02-12-2013 at 10:00 PM.

  4. #4
    Lifetime Member Getting Dirty 1USMC's Avatar
    Join Date
    Dec 2010
    Location
    South Texas
    Posts
    371
    Rep Power
    14
    Compressor, Air tank, and Battery.. it was a tight fit !


    The controller


    This duel battery system has worked very well for me so far and has come in very handy ! All of the aftermarket electrical items I have are now run from the 2nd battery. Even the non switched cigarette type outlet in the front dash is now powered by the 2nd battery. I can run my 2nd battery all the way dead and still be able to easily start my Commander. I have even self-jumped myself when my main battery was too weak.

    For the way I use my Commander it was well worth the work. !!!
    Last edited by 1USMC; 02-10-2013 at 10:53 PM.
    2010 Limited > 5.7 > Pearl Black > QDII > 4" Superlift w-SSR > Bilstein HD Struts + 1/4" spacer > RCV cv Axles > JBA 6" Springs + Matt's 1/2" Spacer > BDS adj LCA > 285-65-18 Nitto Trail Grappler MT's > Moto Metal 951 > K&N CAI > Flowmaster 50 > 4xGuard-Front/Belly skids + Grill Hoop w/ Front Receiver + Rear Diff. Guard > PIIA 520 ATP > Front Camera > Steel Armadillo's Rear Bumper/Tire/ Blitz Carrier/Super Sliders +Secure Console > Dual Batteries > OBA > JKS Rear-JBA Front Discos > FlashPaq

  5. #5
    Senior Member Getting Dirty criket's Avatar
    Join Date
    May 2011
    Location
    Dobson, NC
    Posts
    647
    Rep Power
    13
    This is soo cool. I really need another battery since I'd like to have all the accersories that you have.
    SOLD - 2005 | WK | Khaki | 3.7 | QT1 | OME HD Front Struts | Rusty's 2" lift in Rear w/ Monroe load levelers (F150 version) | 265/70 Nitto Terra Grapplers | 17" Moabs | 1.5" wheel spacers | Pinch weld mod | Rear fender trim mod | 4xG Matrix w/ reciever hitch | 4xG Belly guard | SOLID Diff cover | Cobra CB radio | 4xG CB radio antenna mount

  6. #6
    Administrator
    Join Date
    Sep 2019
    Posts
    1
    Blog Entries
    36
    Rep Power
    10
    What do you think was your total costs to do this project?
    2006 XK Limited, 5.7L Hemi
    Dark Khaki, QDII, Rocky Road 2.25" lift, Steel Armadillo front bumper with Warn PowerPlant winch, Steel Armadillo rear bumper w/ tire carrier, Rock Sliders, Light Bar & Front Fender Tube Fenders, 4xGuard belly skid plate & rear differential guard, BFG M/T A/T 255/75R17s on Rubicon rims, Spidertrax 1.5 inch wheel spacers, Rhino Rack Pioneer Tray with FoxWing Awning, Superchips VIVID Programmer, Air Flow snorkel, Steel Armadillo Secure Console, Cobra CB Radio, Lock Pick Video Programmer, ASFIR Skid Plates.

    Knappster's Garage


    Profile for Knappsters

    AKA: the Owner of The Steel Armadillo L.L.C.

  7. #7
    Senior Member Getting Dirty stites-xk's Avatar
    Join Date
    Feb 2012
    Location
    Colorado Springs, Co
    Posts
    630
    Rep Power
    13
    That's pretty awesome man!

    Sent from my DROID RAZR using Tapatalk 2

  8. #8
    Senior Member Getting Dirty The_War_Wagon's Avatar
    Join Date
    Nov 2011
    Location
    da' 'BURGH
    Posts
    666
    Rep Power
    13

    Thumbs up

    GREAT project! Since my Commander is gonna remain a DD at this point, I'm wanting to go with a dual battery/high amperage alternator setup in my Ramcharger. Nice creativity MAKING space in the Jeep. All I have to do in the RC, is turn the battery SIDEWAYS... and then slide the next battery in right beside it, and tie 'em down thataway!
    '07 Jeep Commander, Rocky Mountain Edition - 287 V-8 - Superchipped - aFe Stage II R-5A CAI - Flowmaster Super 44 - 2" Daystar lift - Spidertrax spacers - 32x10.5x17 Cooper A/T's - Fastman throttlebody - Skyjacker 8000 shocks

  9. #9
    Lifetime Member Getting Dirty pjmjr508's Avatar
    Join Date
    Jan 2011
    Location
    Everett WA
    Posts
    1,673
    Rep Power
    15
    great setup
    PJMJR508
    (Happy Jeep)

Thread Information

Users Browsing this Thread

There are currently 1 users browsing this thread. (0 members and 1 guests)

Similar Threads

  1. Dual Batteries on WK
    By naidib04 in forum Stereo / Electronics / Electrical
    Replies: 7
    Last Post: 12-21-2011, 11:45 AM
  2. Do you have dual batteries on your Commander ?
    By 1USMC in forum Stereo / Electronics / Electrical
    Replies: 14
    Last Post: 03-05-2011, 08:29 AM

Tags for this Thread

Posting Permissions

  • You may not post new threads
  • You may not post replies
  • You may not post attachments
  • You may not edit your posts
  •