


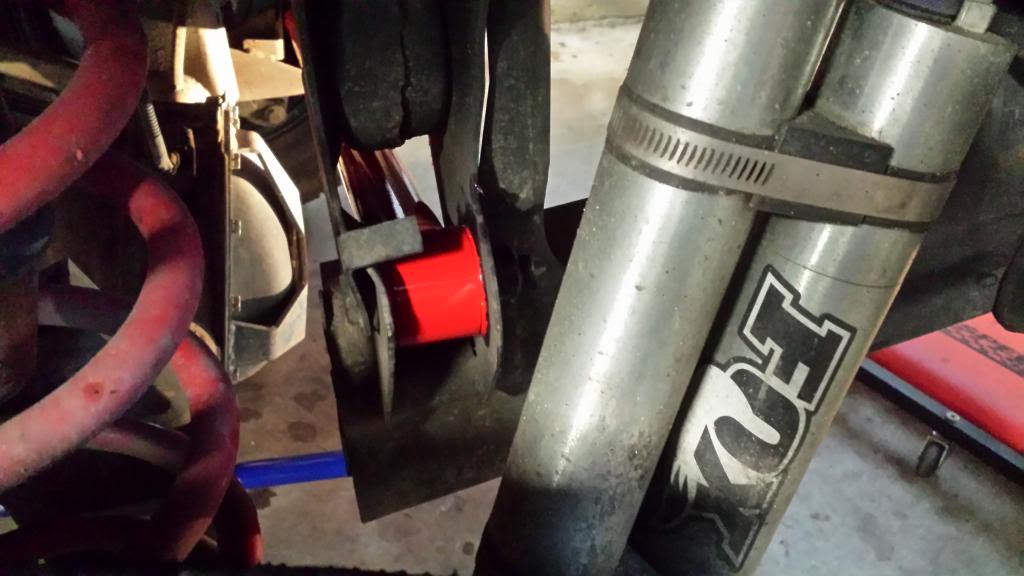
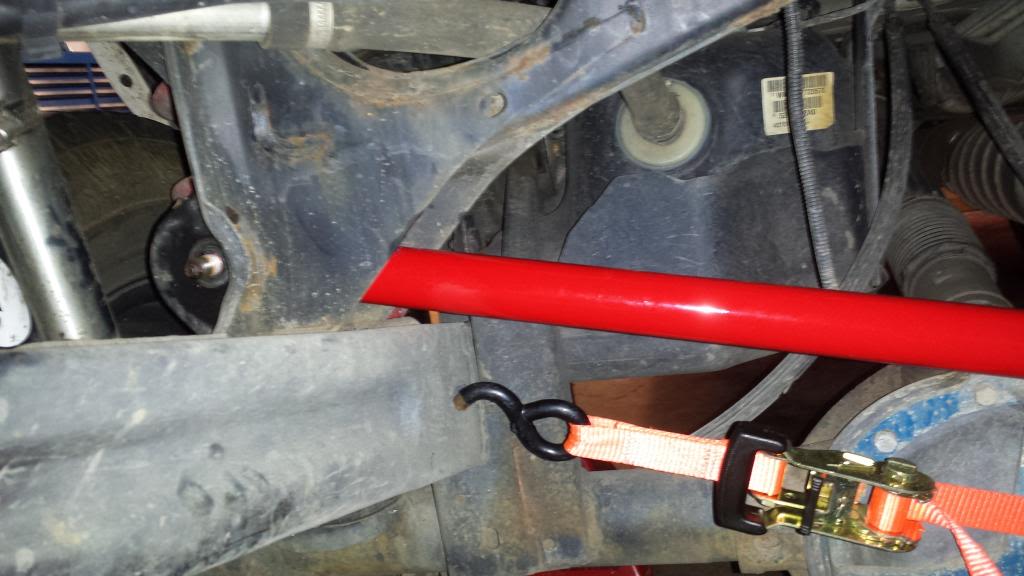
There's a few different methods for doing this. I use the "ratchet strap" method.... regardless of what you use to get the holes to line up (ratchet strap, jack under shock mounts, fat friend pushing axle, magic, etc), the general "how to" is the same.
Tools:
Jack stands
Jack
21mm socket
21mm wrench
Ratchet
GOOD ratchet strap
Soft blow hammer
Steps:
1: Parking brake on
2: Remove spare tire (makes working under there so much nicer!)
3: Jack up rear
4: Jack stands under frame, just in front of LCA mounts
5: (Optional) Remove tires.
6: Lower rear axle. If you didn't remove tires in Step 5, make sure the tires aren't touching the ground
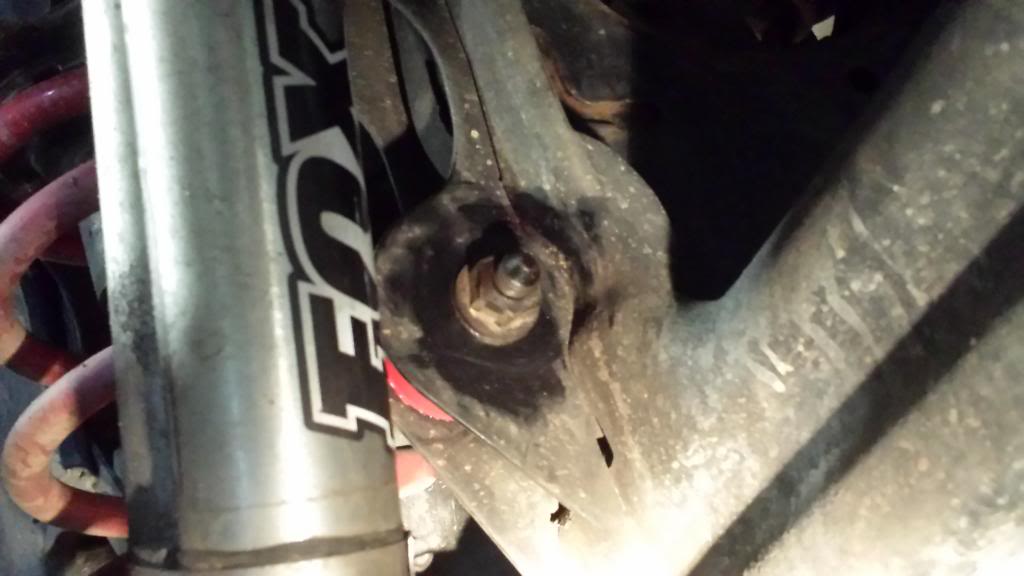
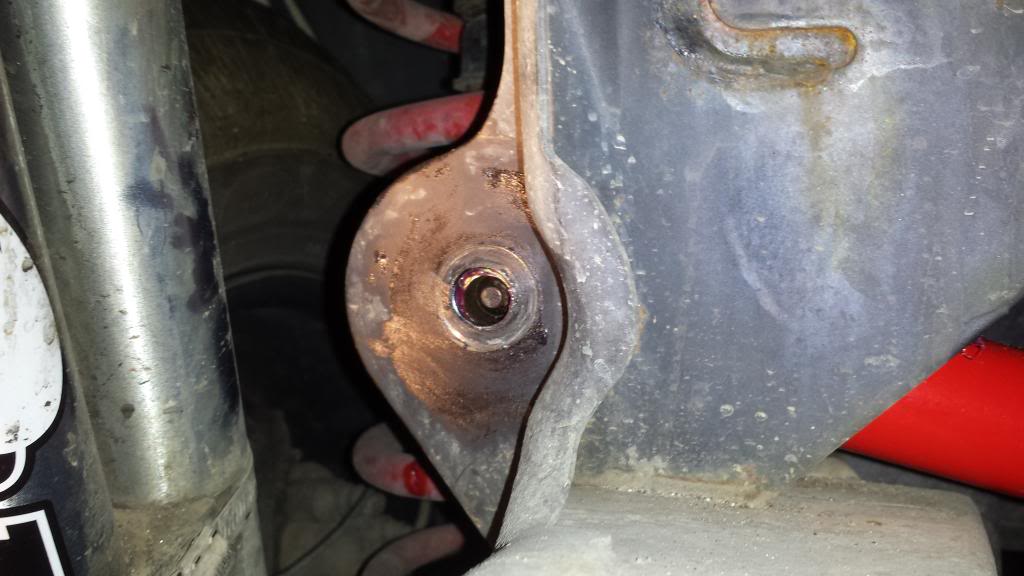
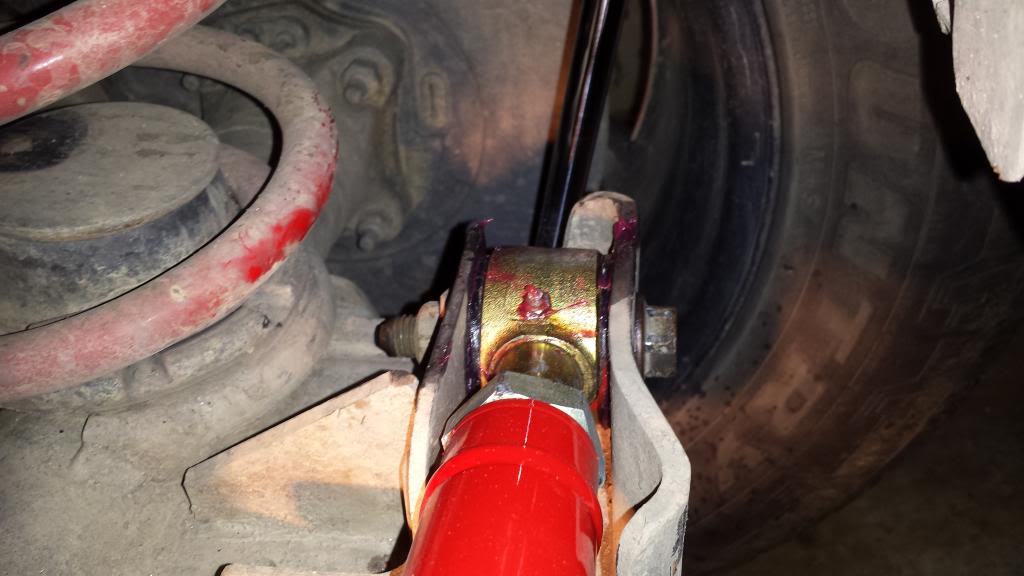
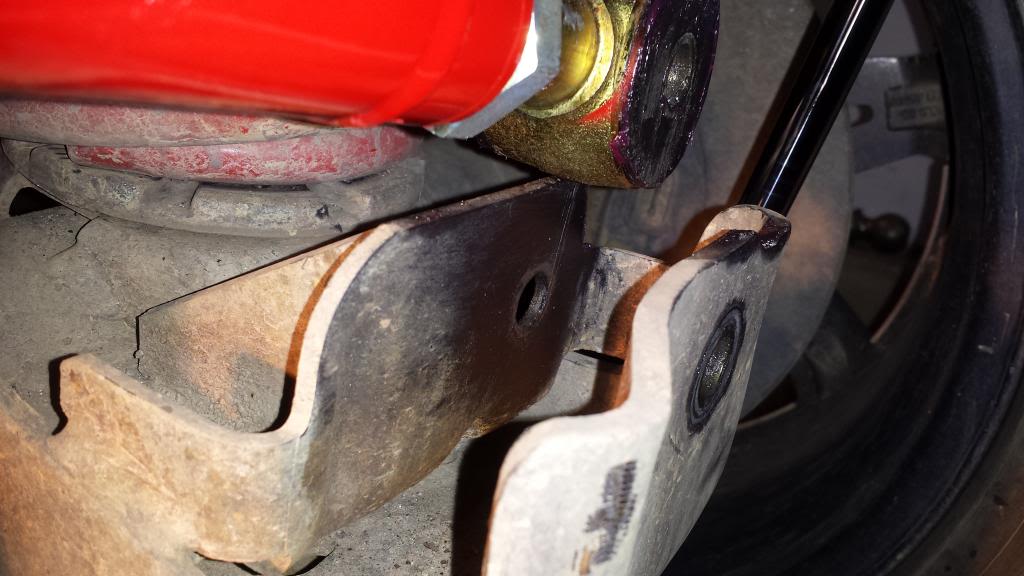
7: Use 21mm socket to remove driver side nut as shown
8: I use this bolt as my guage to determine when there is no load on the trackbar. If you can move that bolt by hand, you're good to go. In that last picture you'll notice that the bolt is towards the passenger side, so I have to pull the axle towards the drivers side to un-load it. If your bolt is already up against the drivers side, you'll just need to position your ratchet strap as a mirror image of mine.
One reason i like this method is because I can tension the ratchet strap, keep an eye on the bolt, and check the bolt all from the same place.
Once you can slide the bolt in/out by hand you're good to move on to the next step
9: Using 21mm socket and wrench, remove passenger side nut/bolt
10: At this point you can remove the track bar, replace it, adjust it, etc.
11: Before reinstalling, i like to clean the surfaces that the bushings rub against and add some grease.
12: Install driver side first, do not tighten the nut
13: Get passenger side in place (i needed a soft blow hammer to get the Rustys bar to slide in; its a nice tight fit)
14: See where the axle needs to shift to align the hole on the passenger side
15: Re-position ratchet strap and adjust as necessary to get the driver side bolt in
16: Jack the rear axle up close to where it will be at ride height (just before lifting body off jack stands)
17: Torque bolts. If you're OCD, the torque spec is 140 ft-lb.


 Reply With Quote